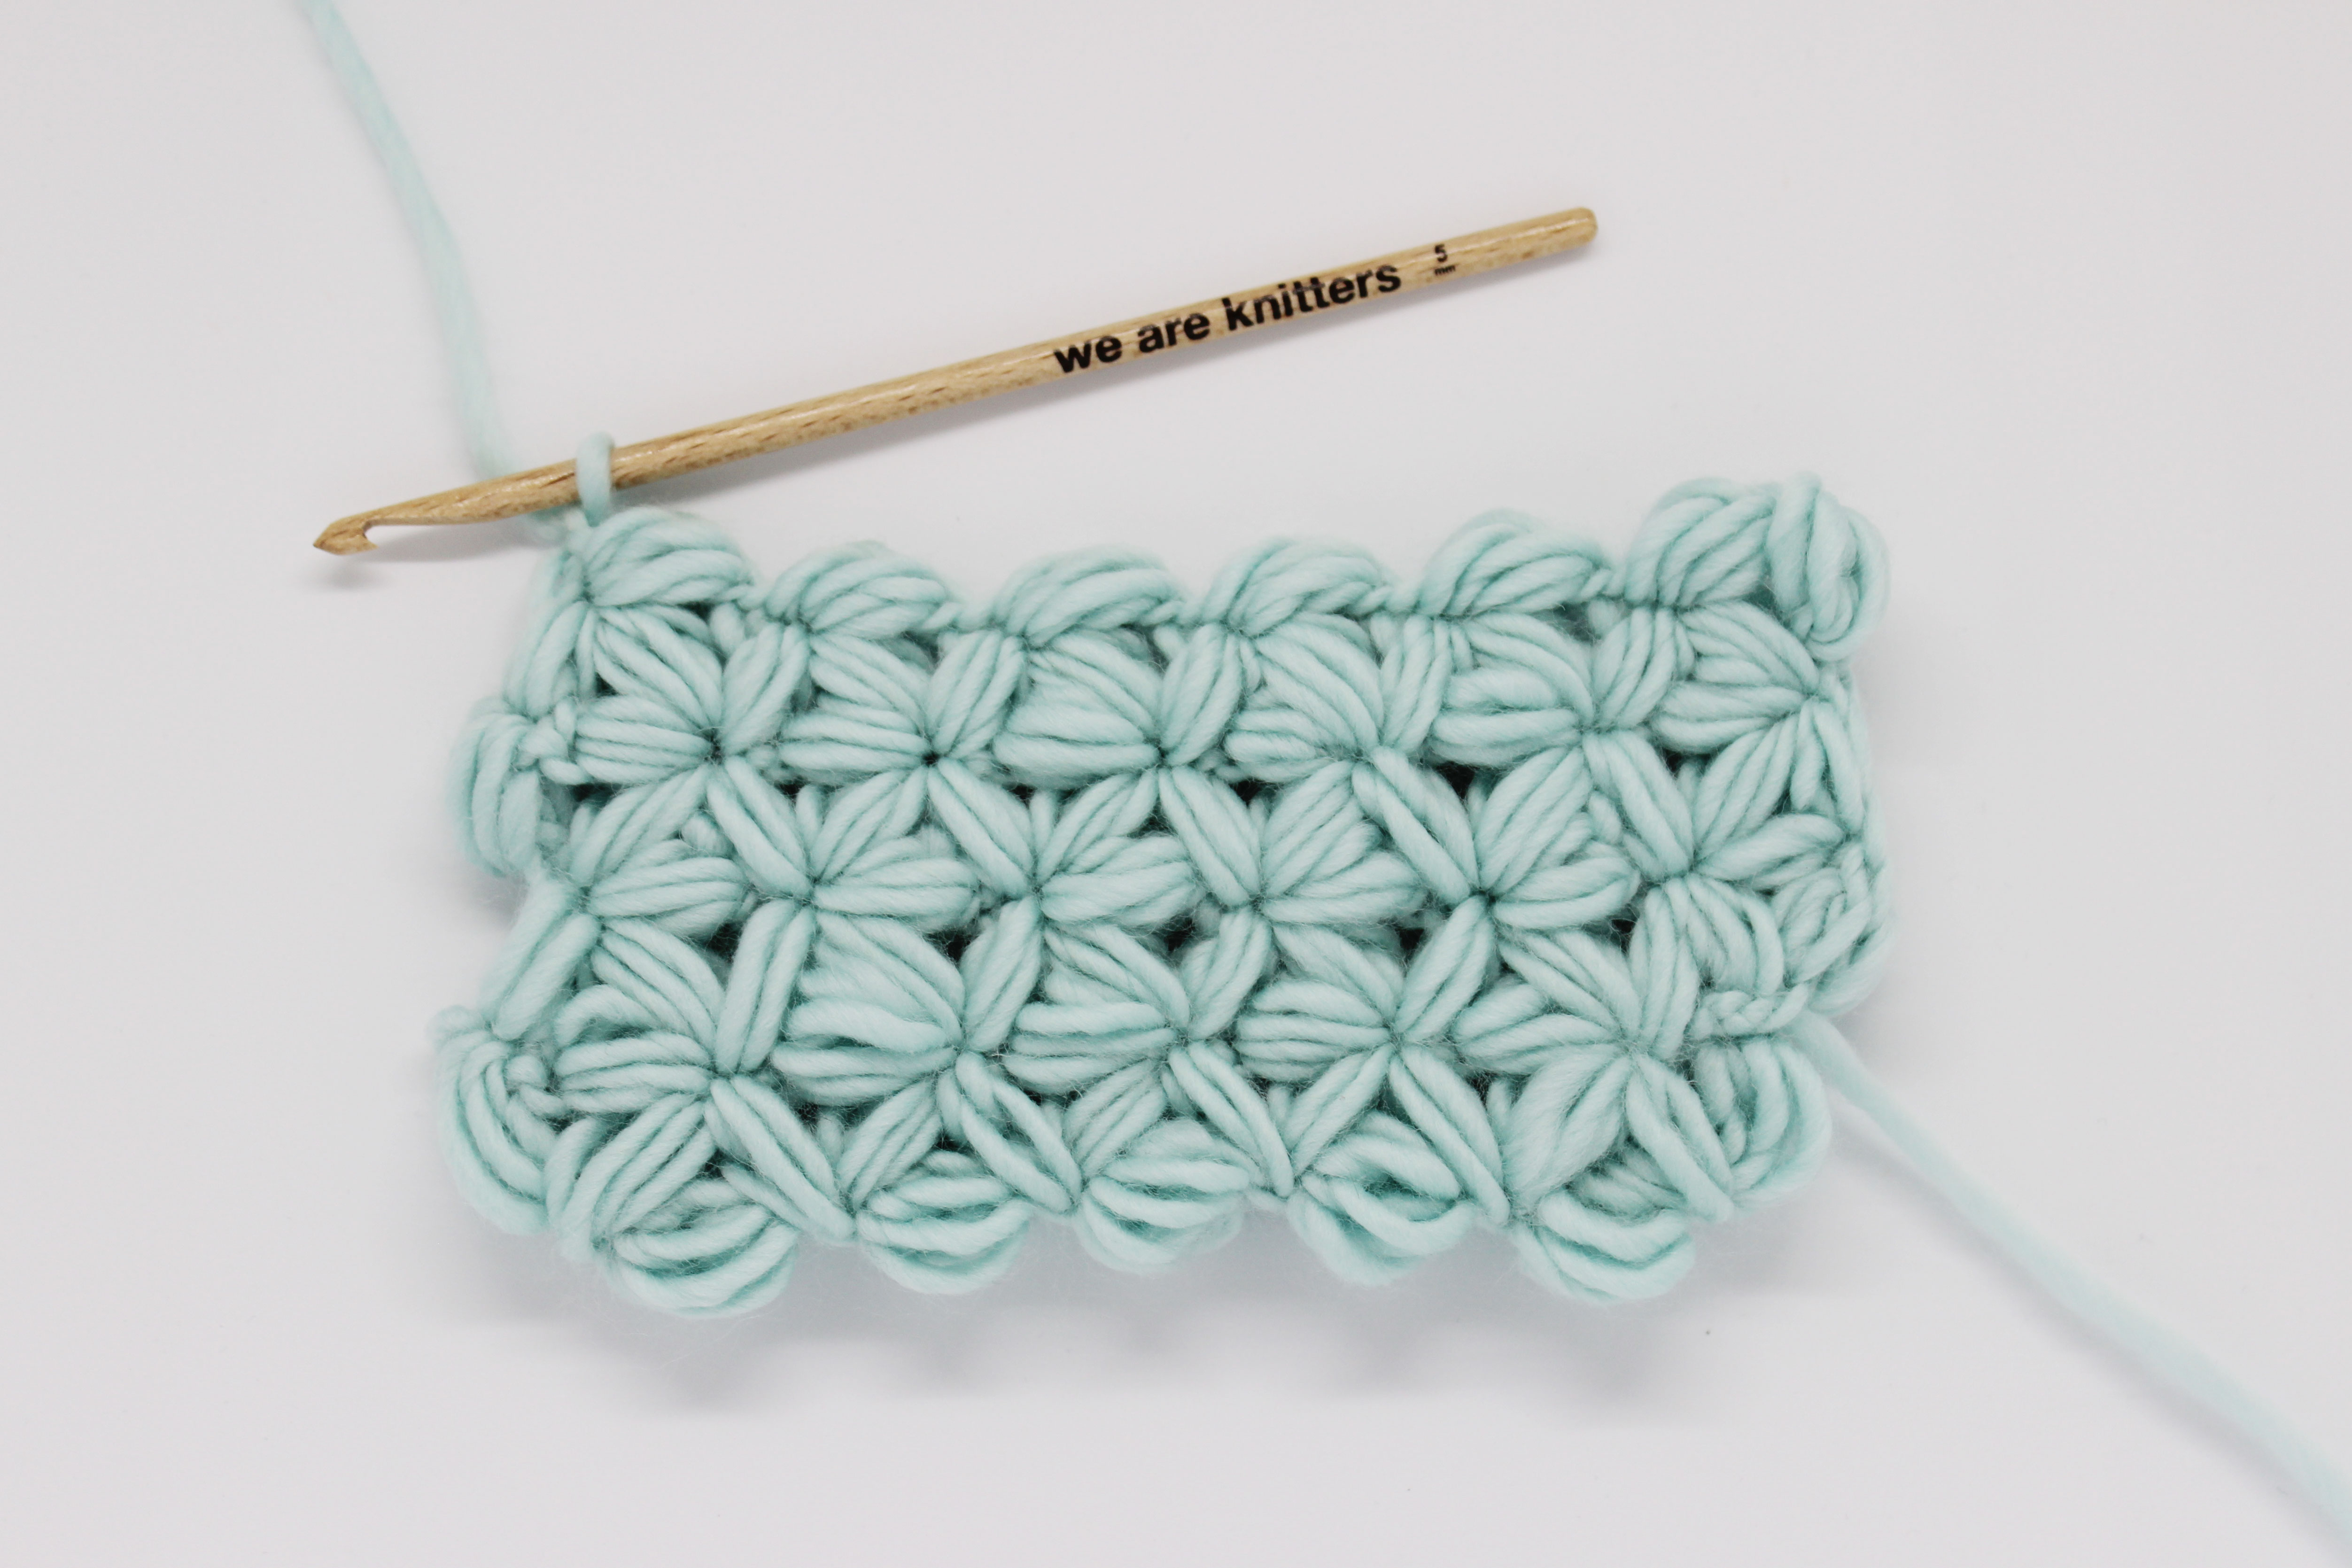
Jasmine stitch is considered one of the most difficult stitches in crochet. Can you believe it? We can’t! You’ll see that with our step by step guide, it’ll be super easy for you to work this chunky, reversible stitch that will perfectly complement your accessories and other autumn pieces.
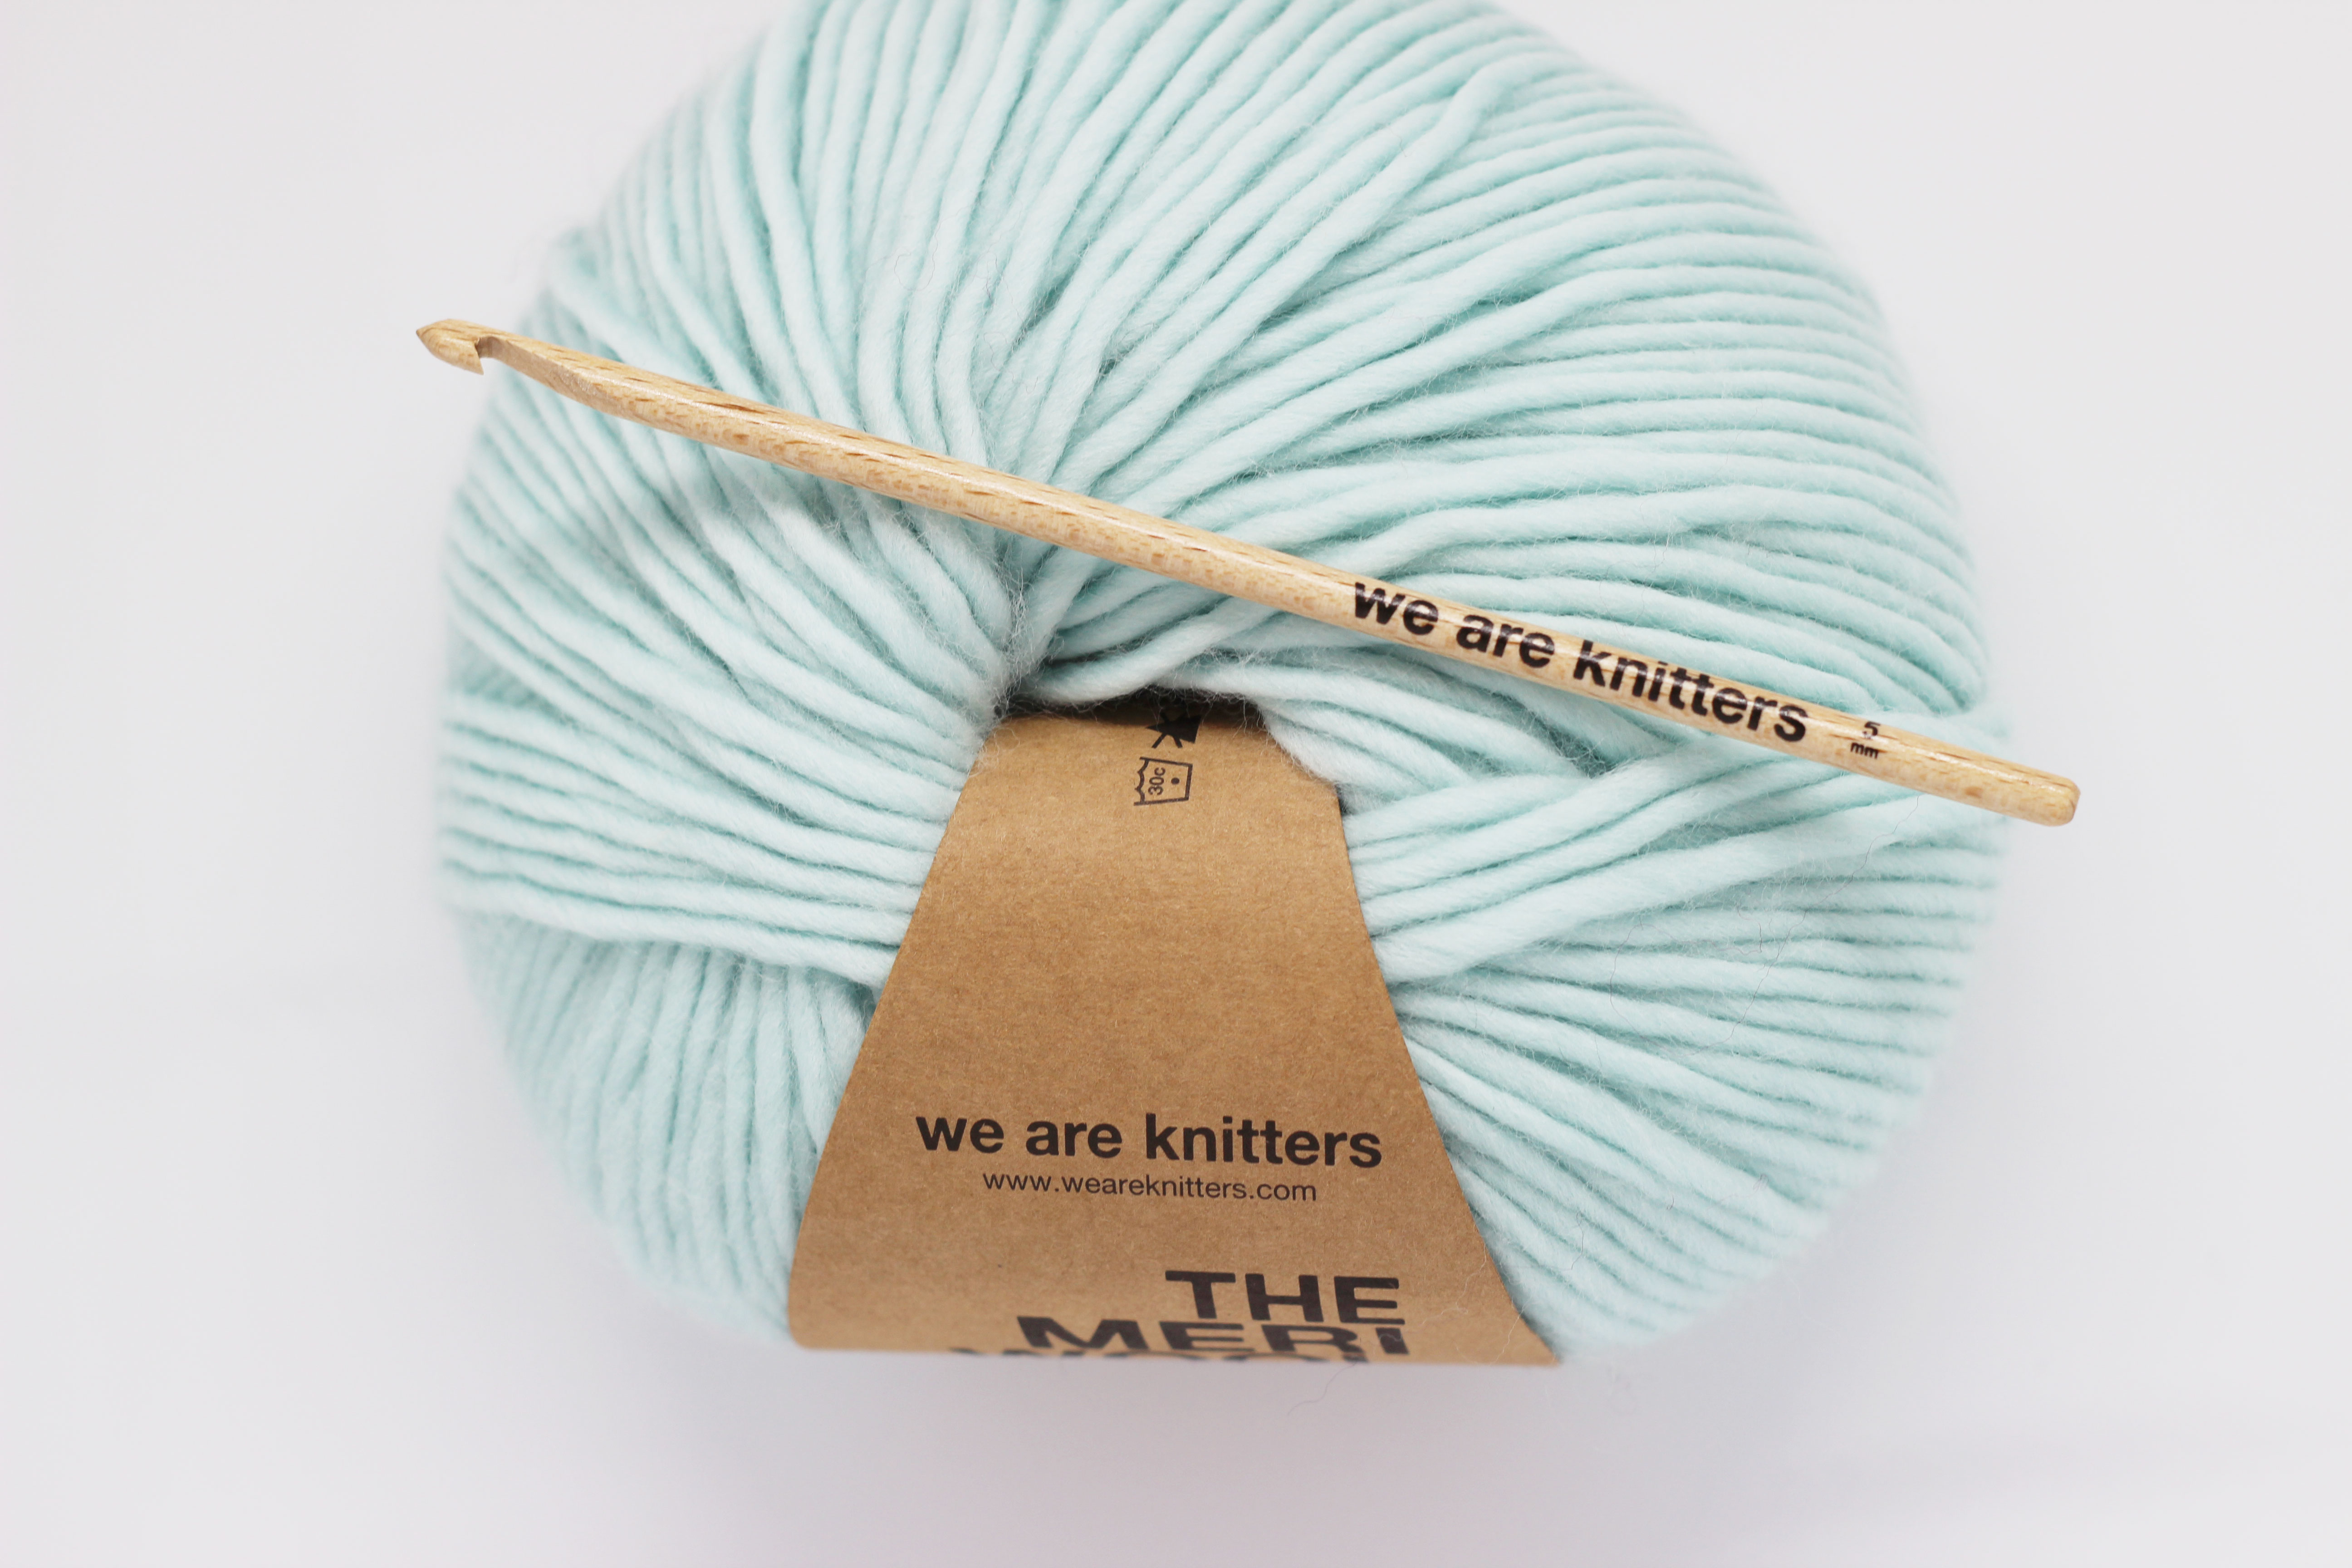
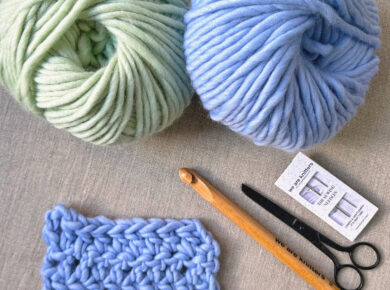
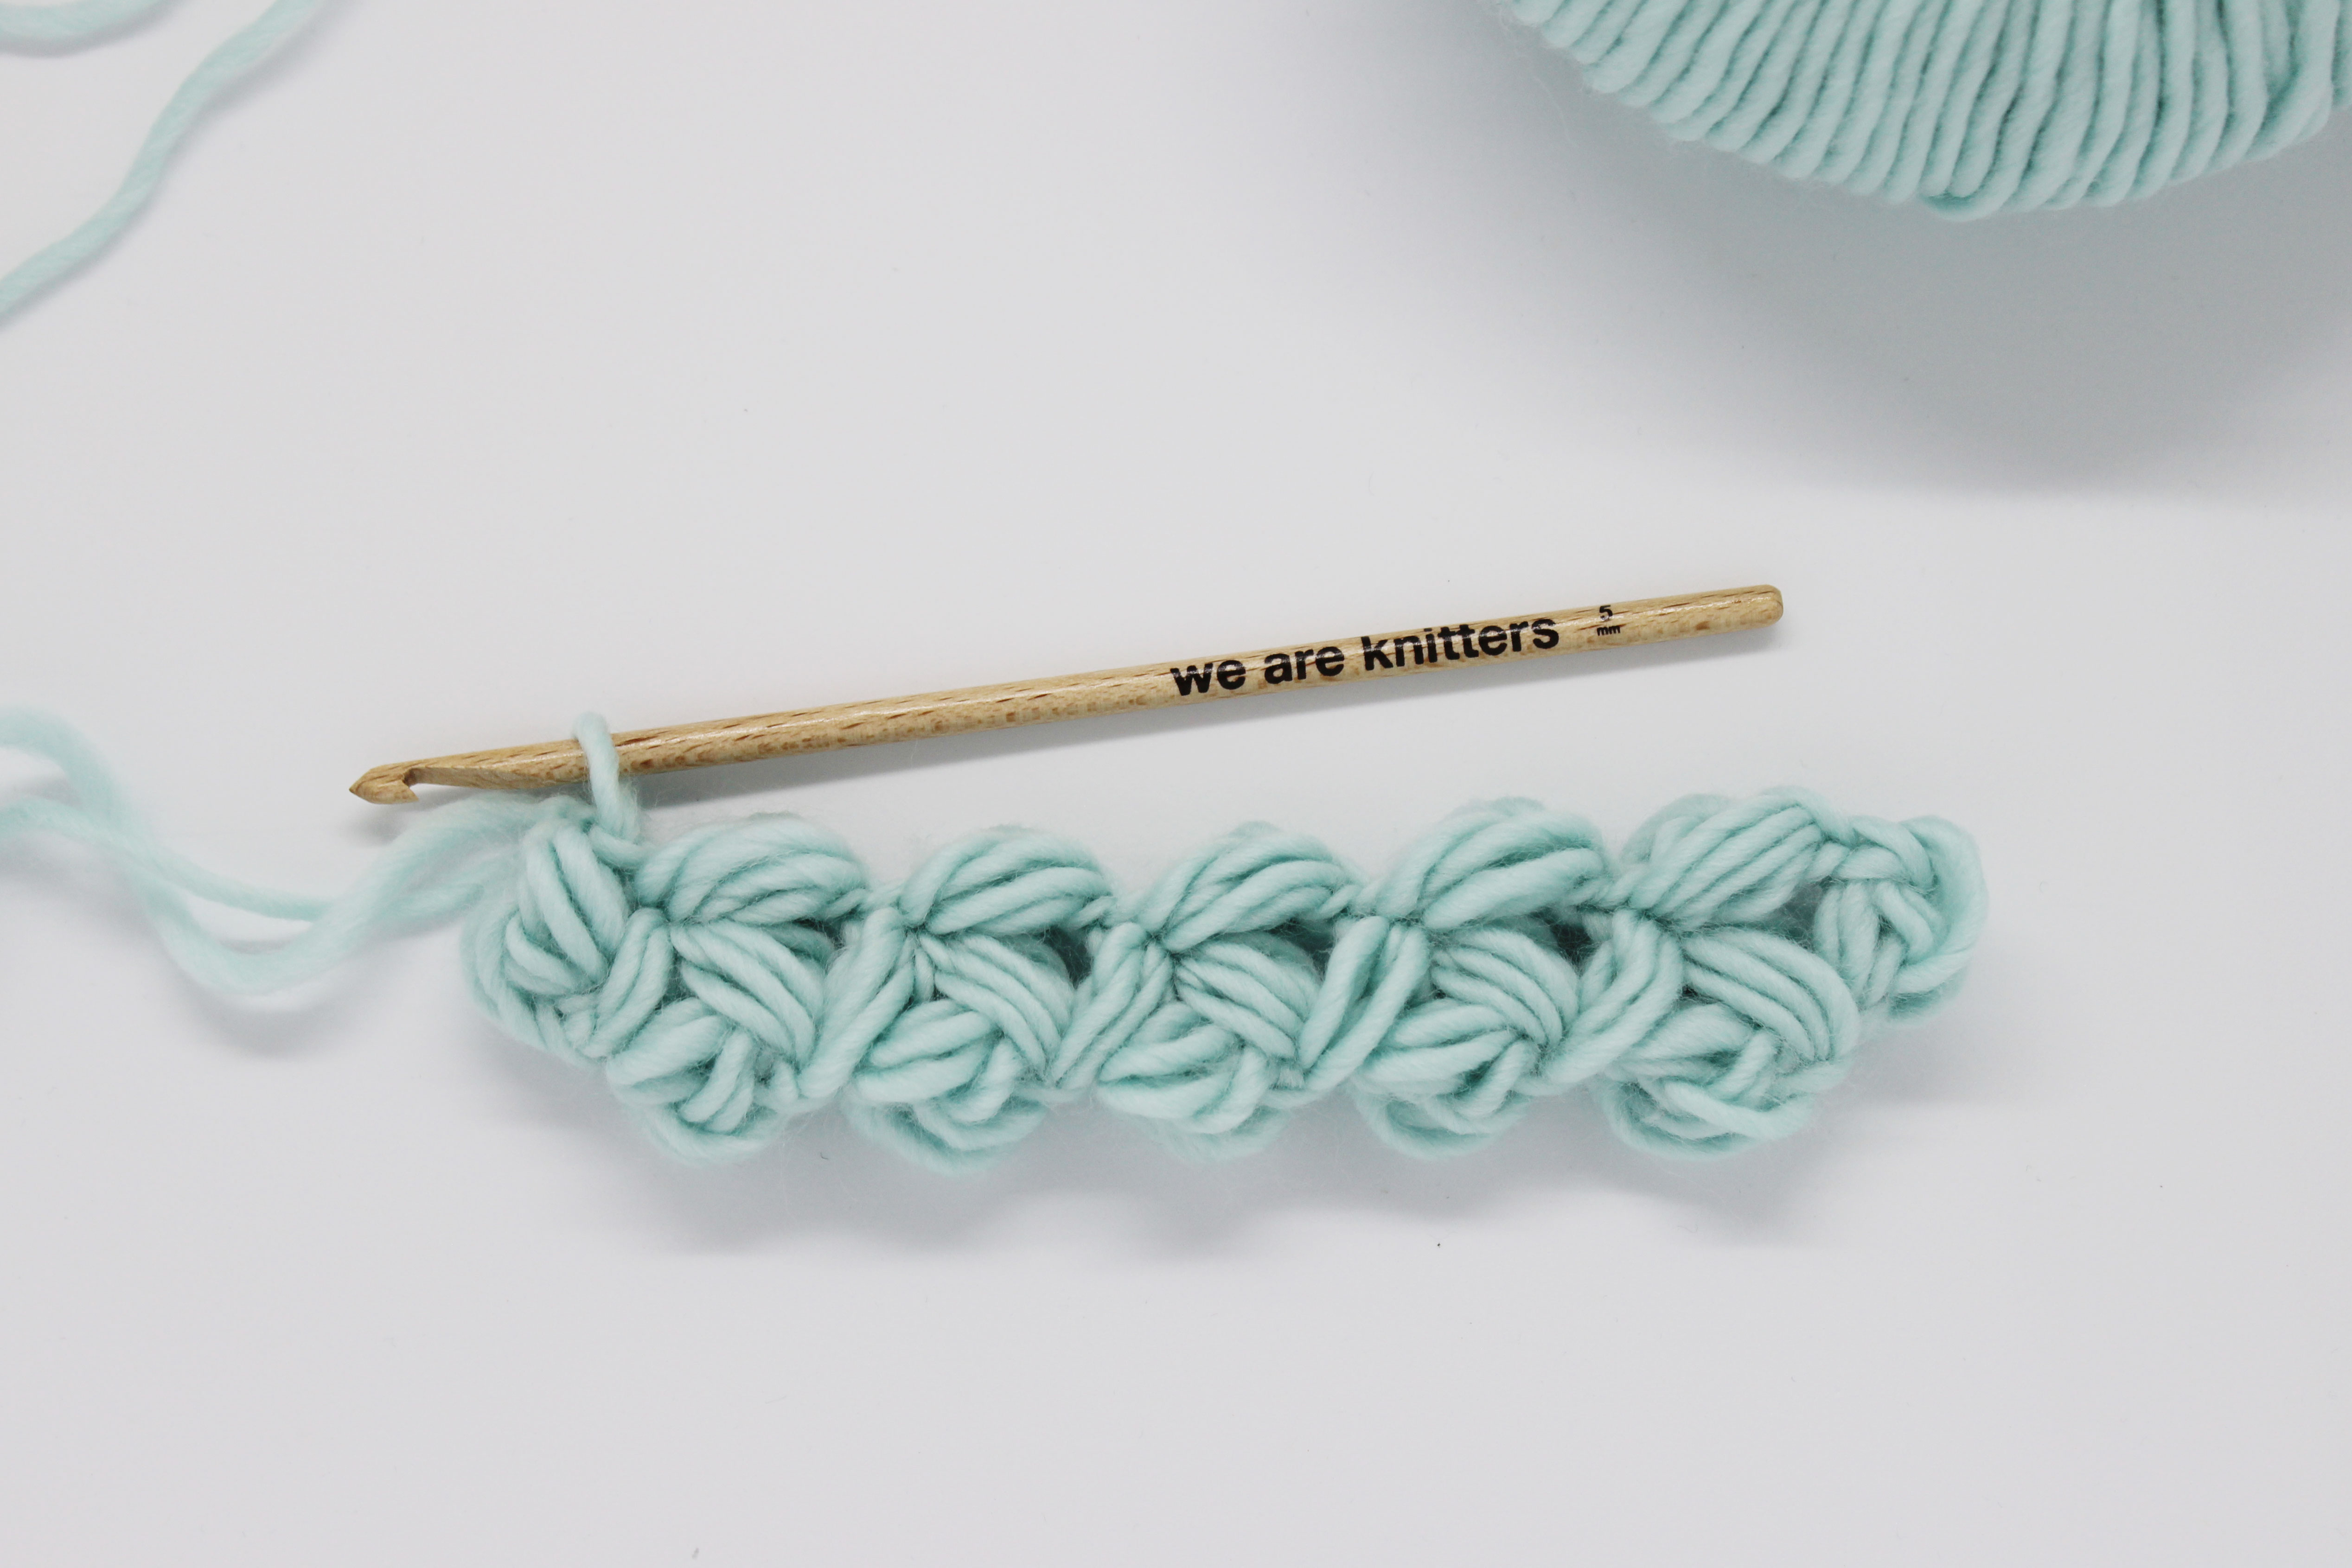
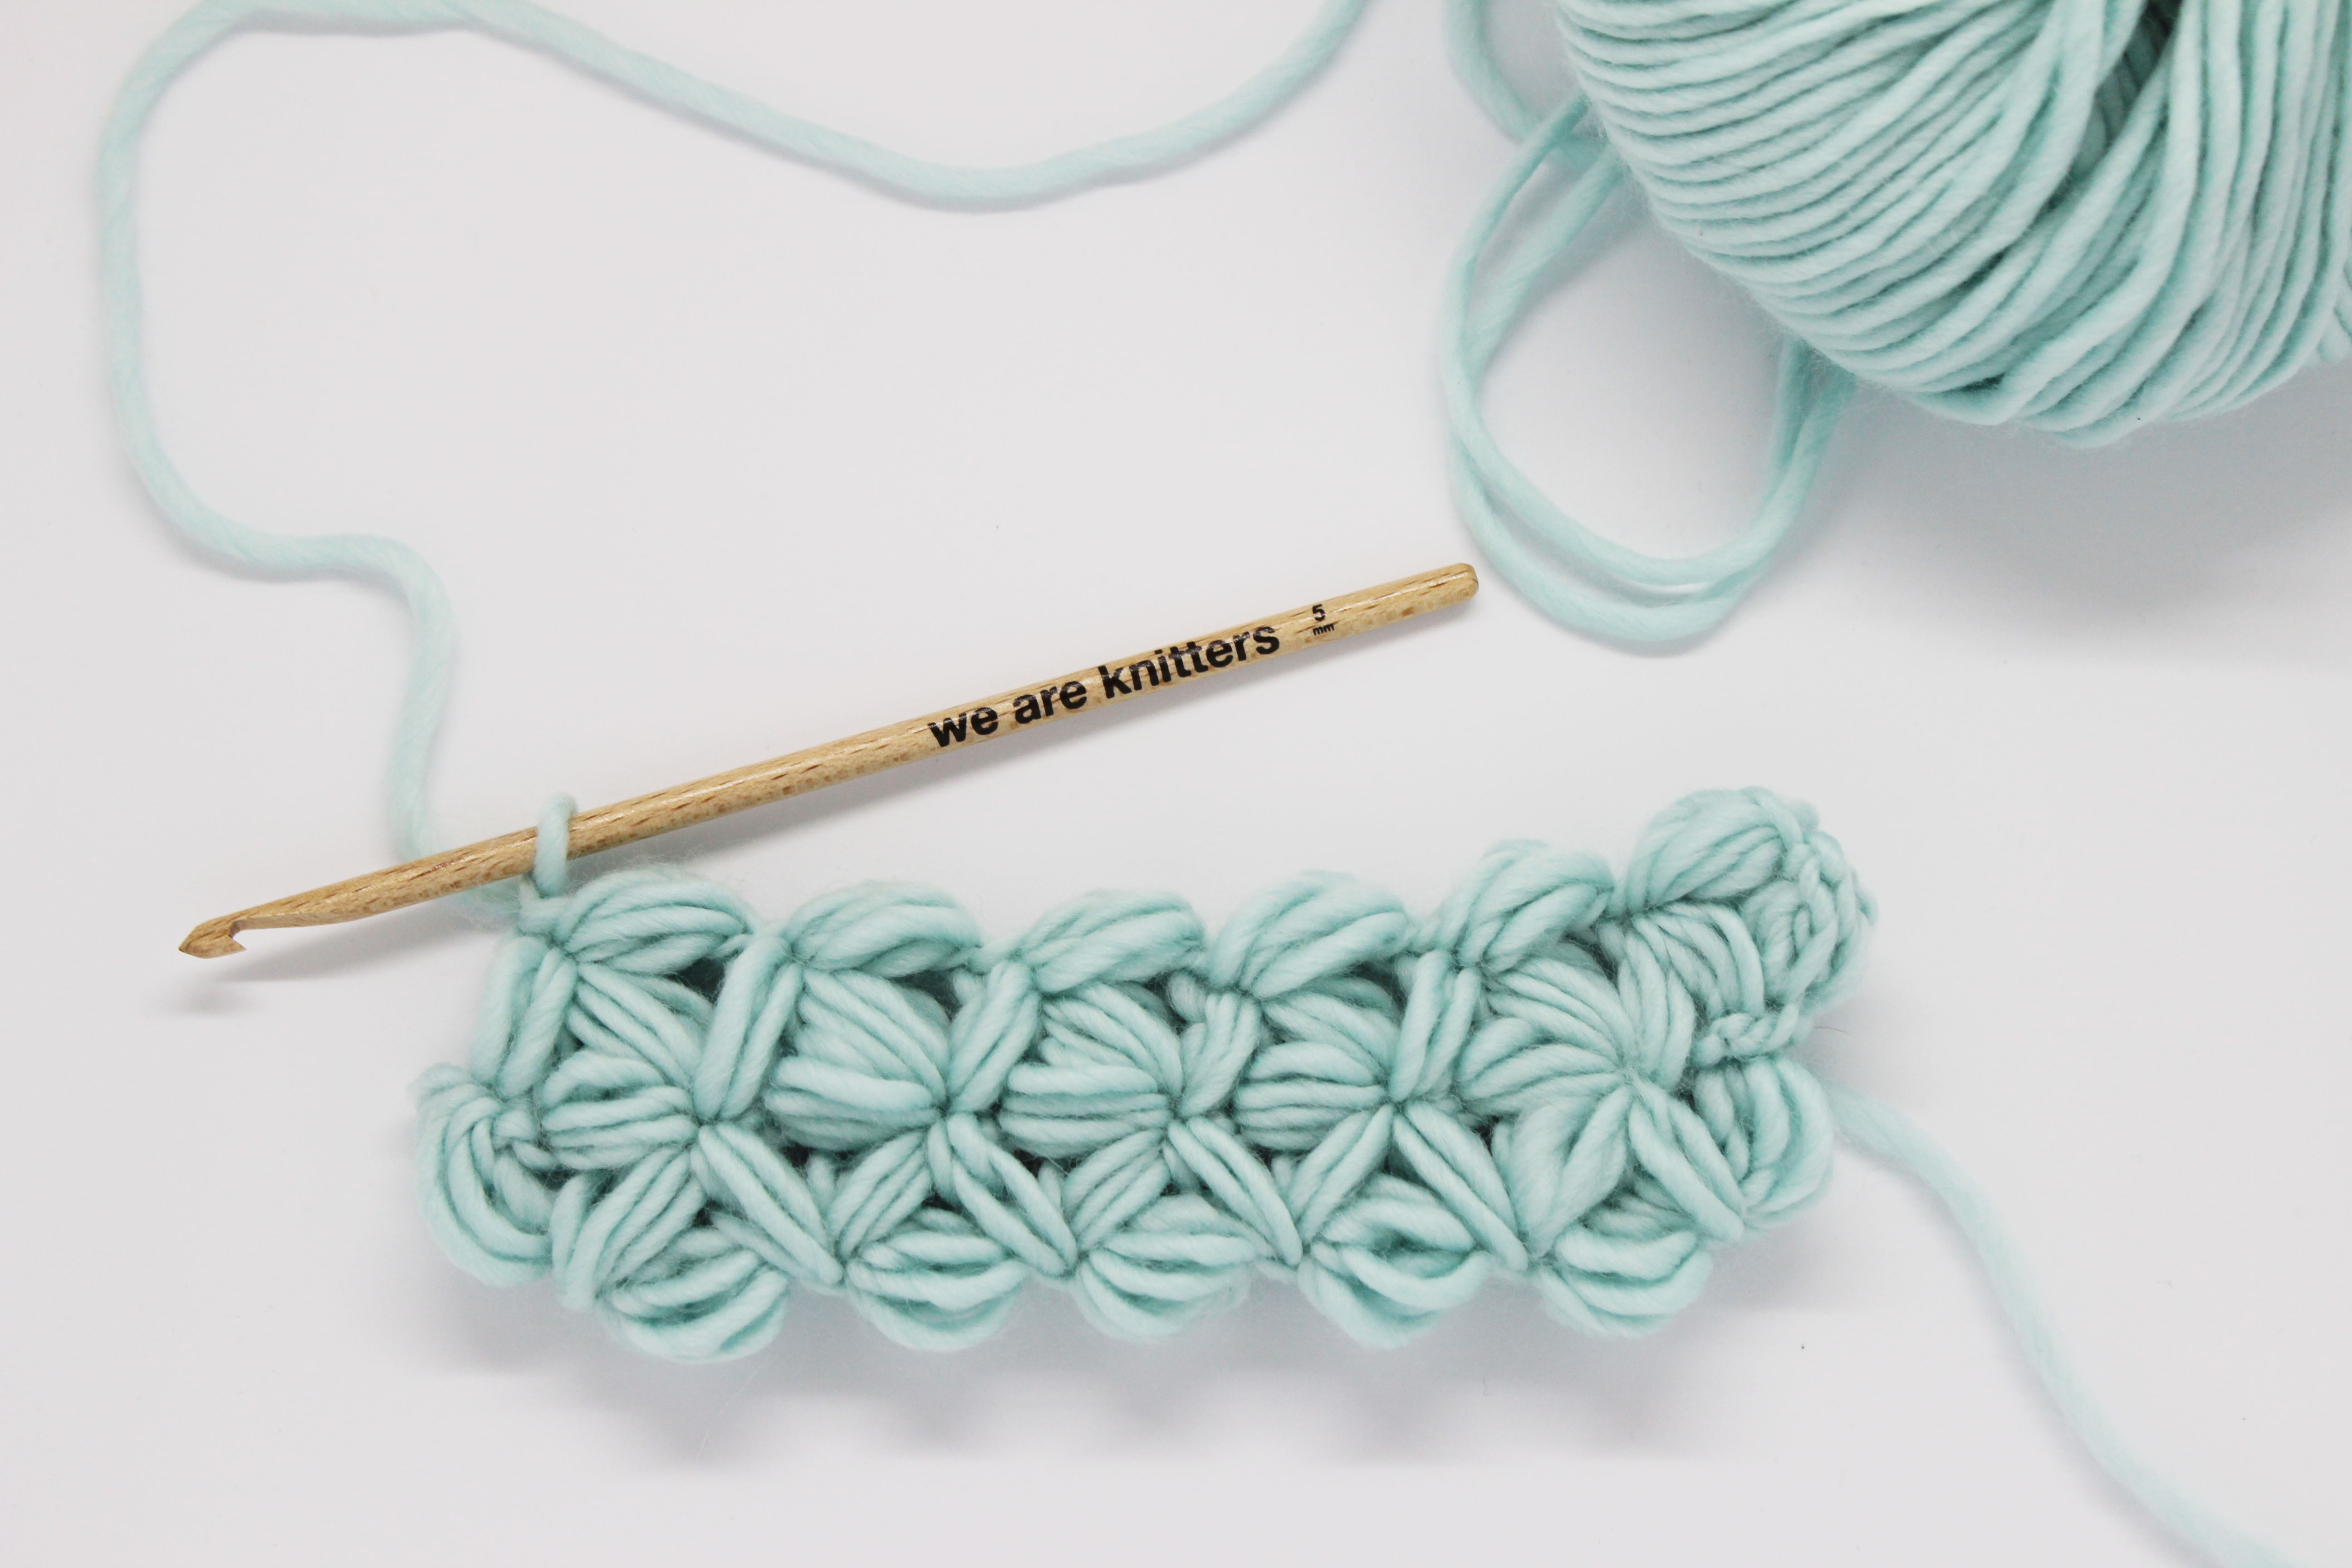
For this tutorial, we’ve used a 5mm crochet hook and one skein of The Meriwool in Aquamarine. Light colors are perfect for this stitch J
Before beginning, the only things you need to know how to do are chain stitch and single crochet.
This stitch is made up of several “petals” that we’ll join in a few ways. Next, we will teach you how to make one of them:
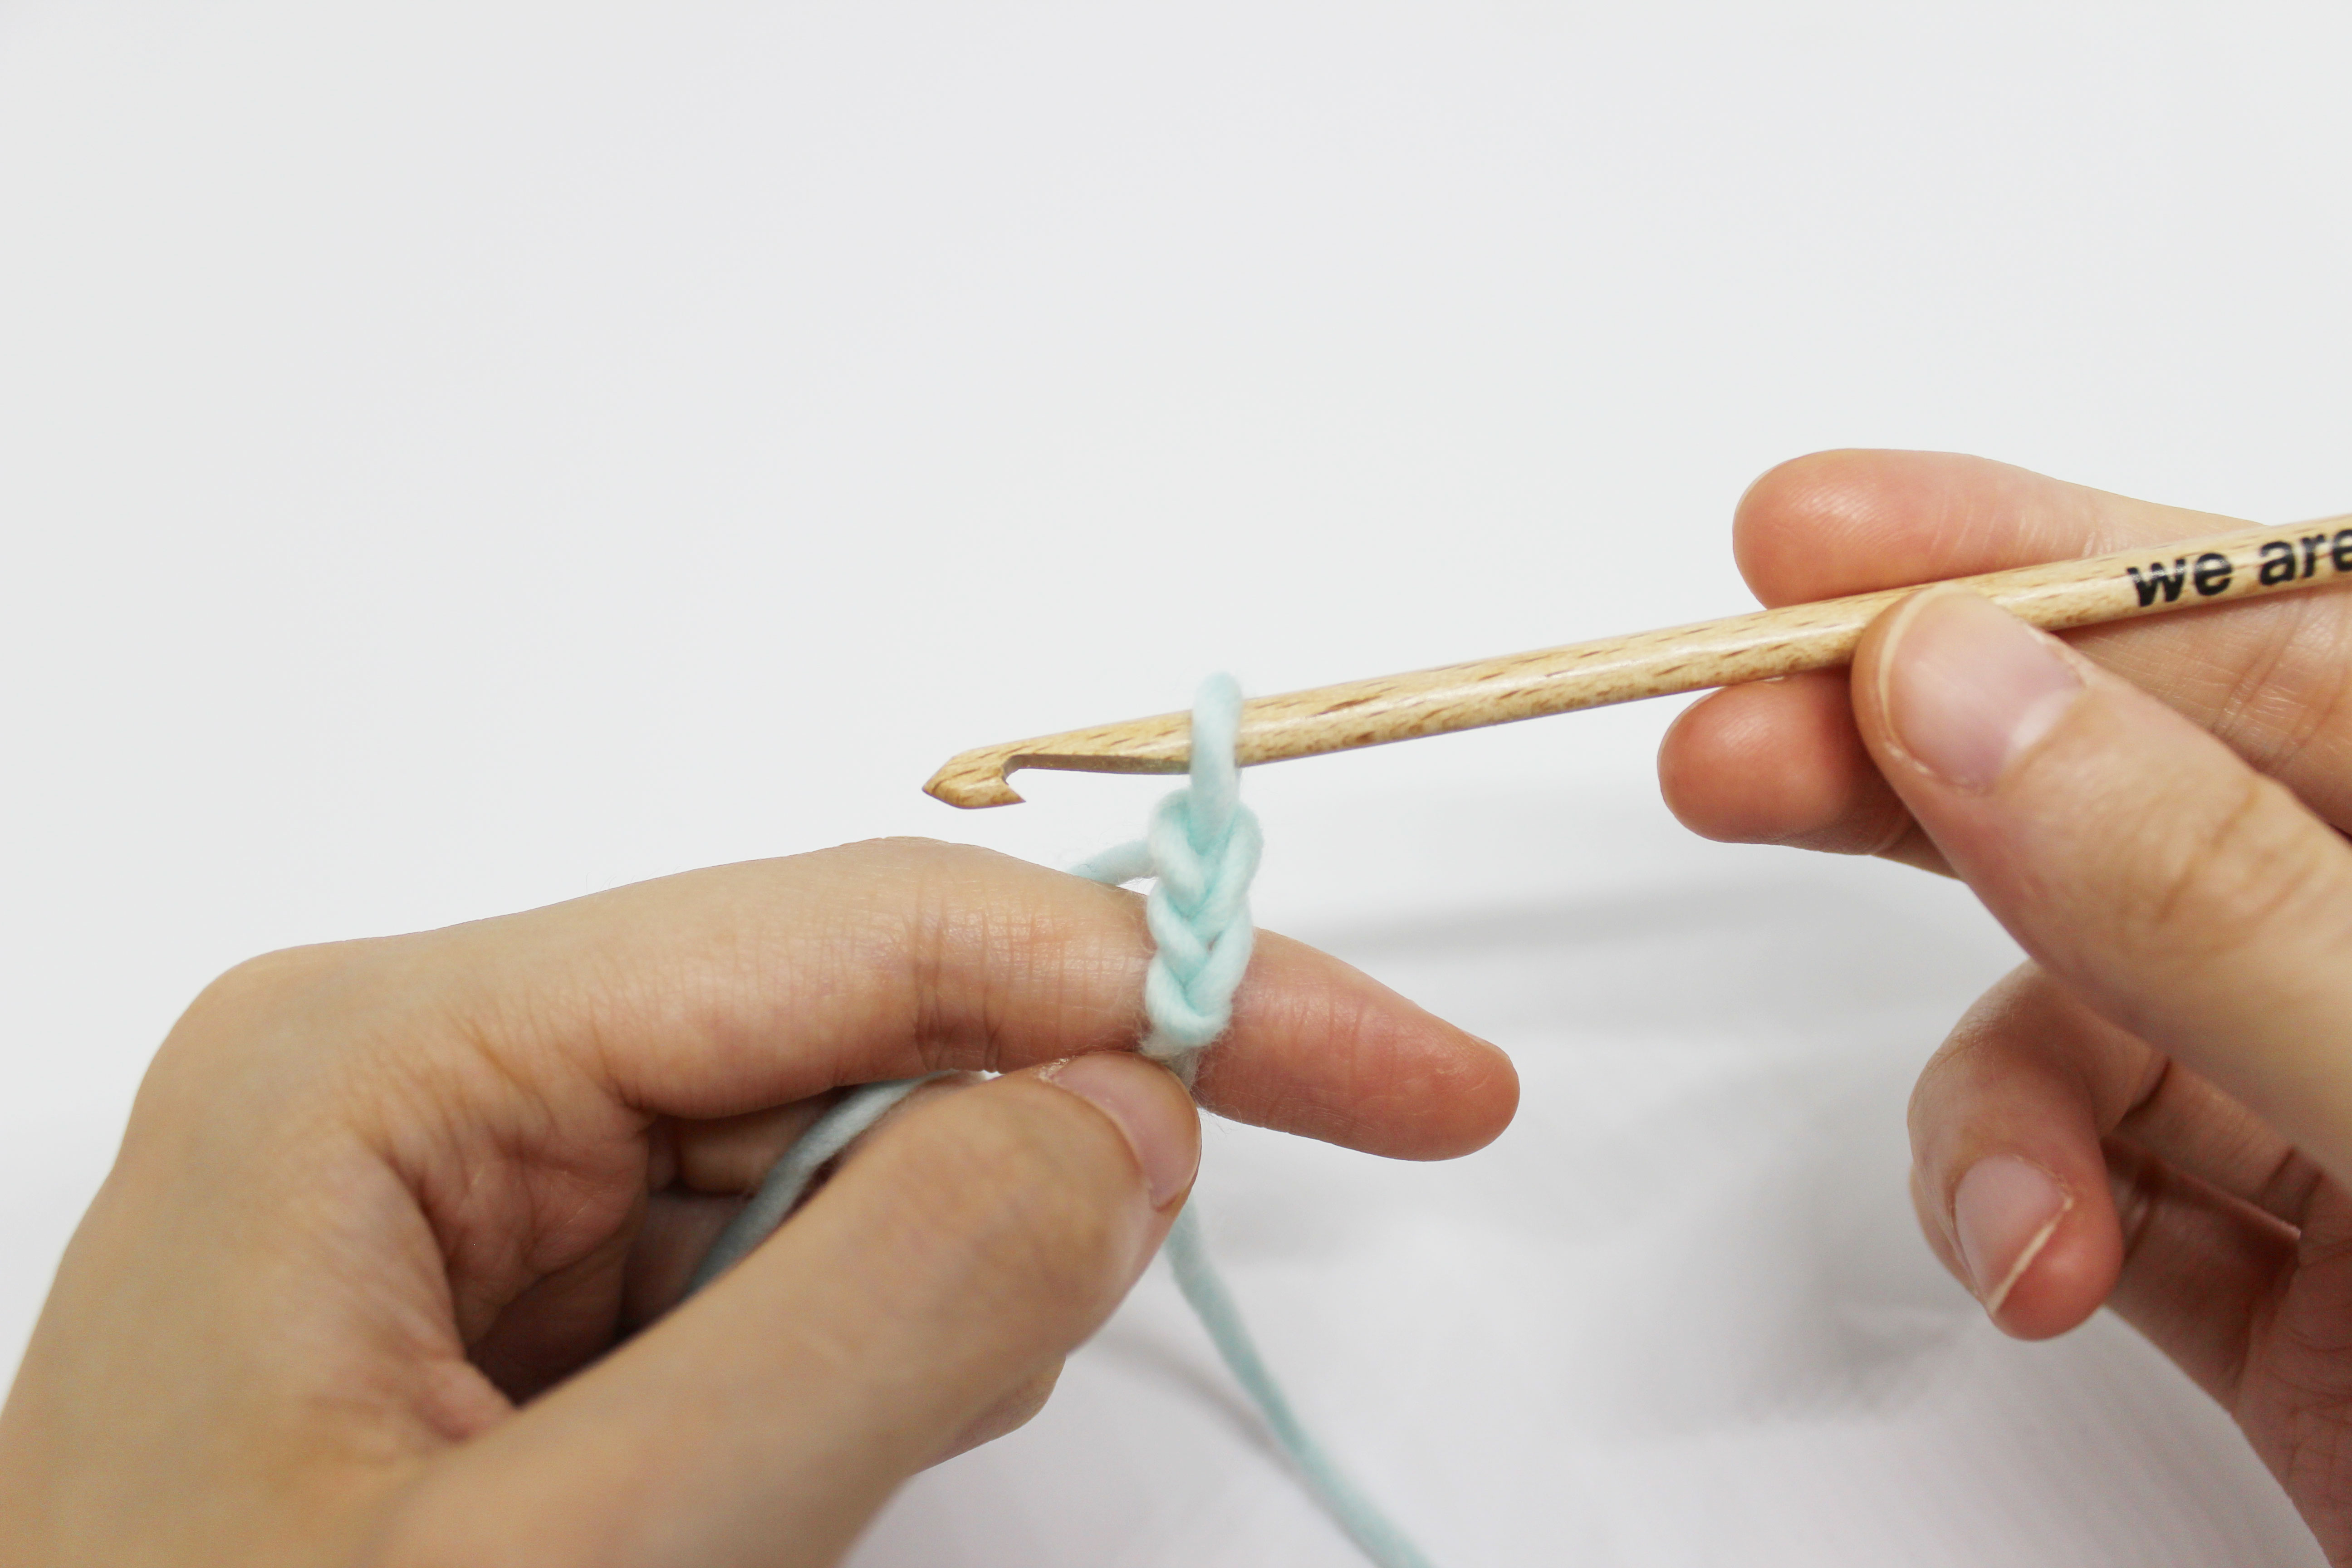
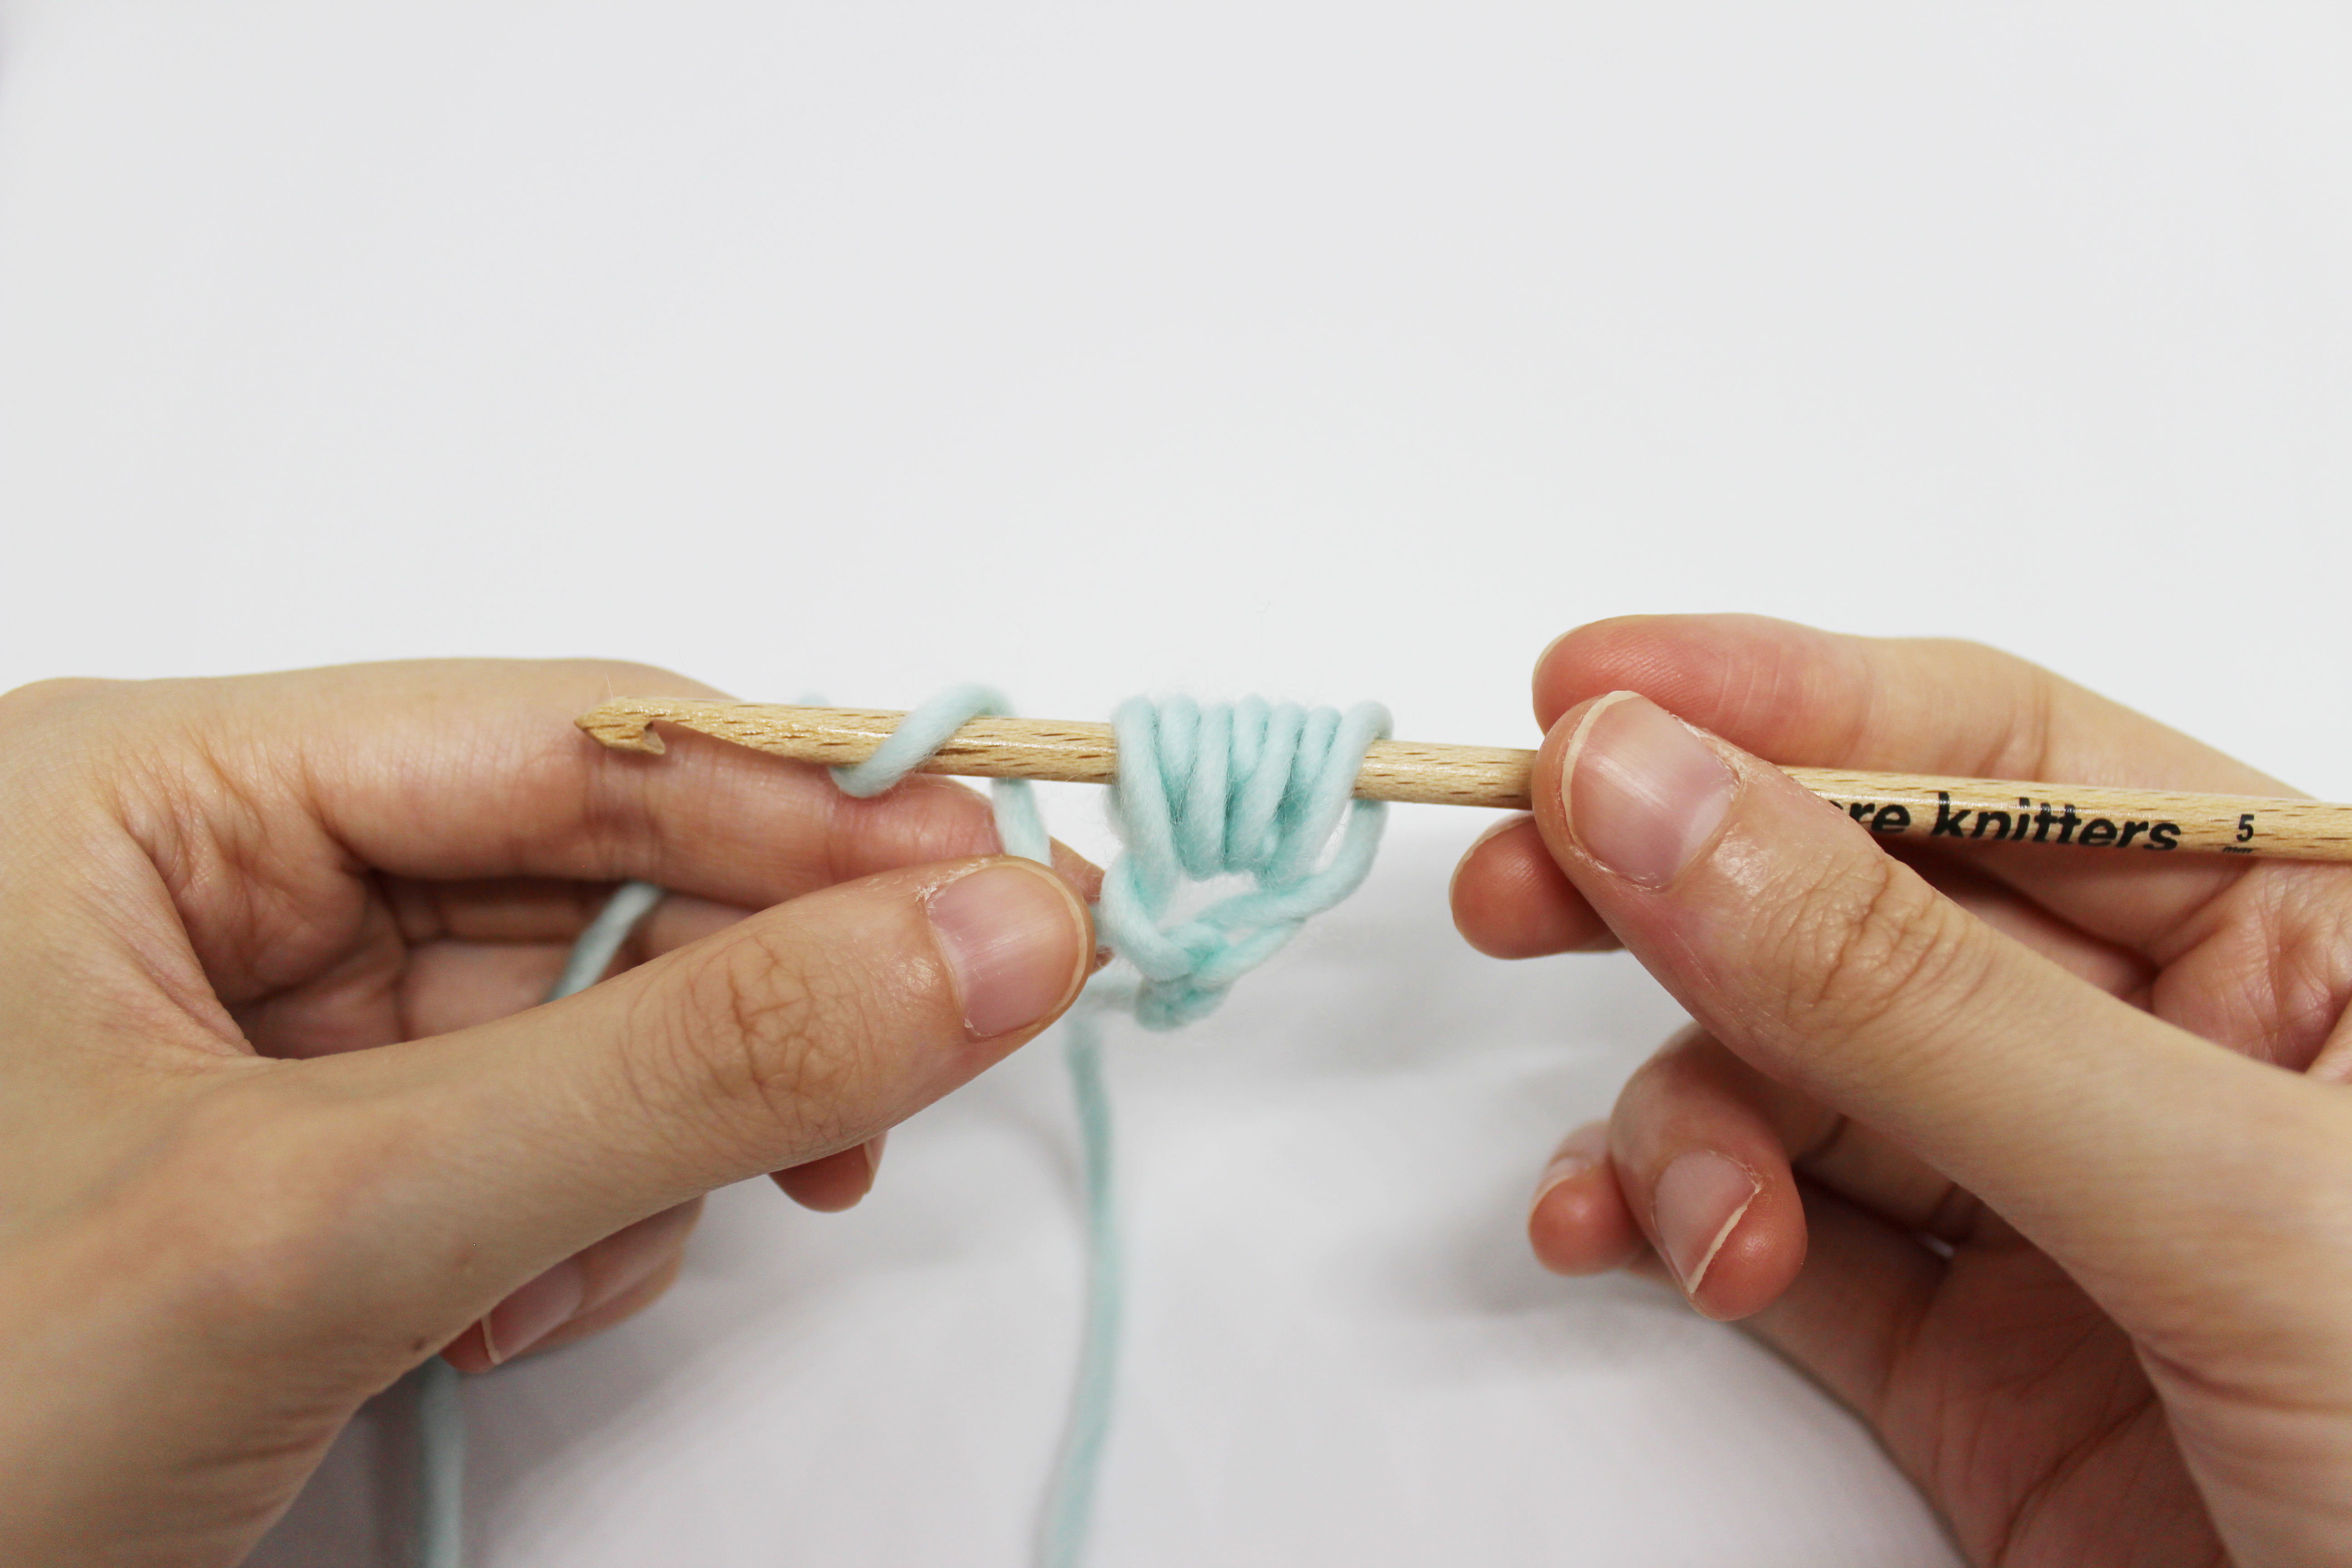
- Begin by chaining 2 stitches.
- Without moving from the chain your hook is in, pull the hook upward to lengthen the loop a little. Make sure that the it is not too too tight and it will make the following steps much easier.

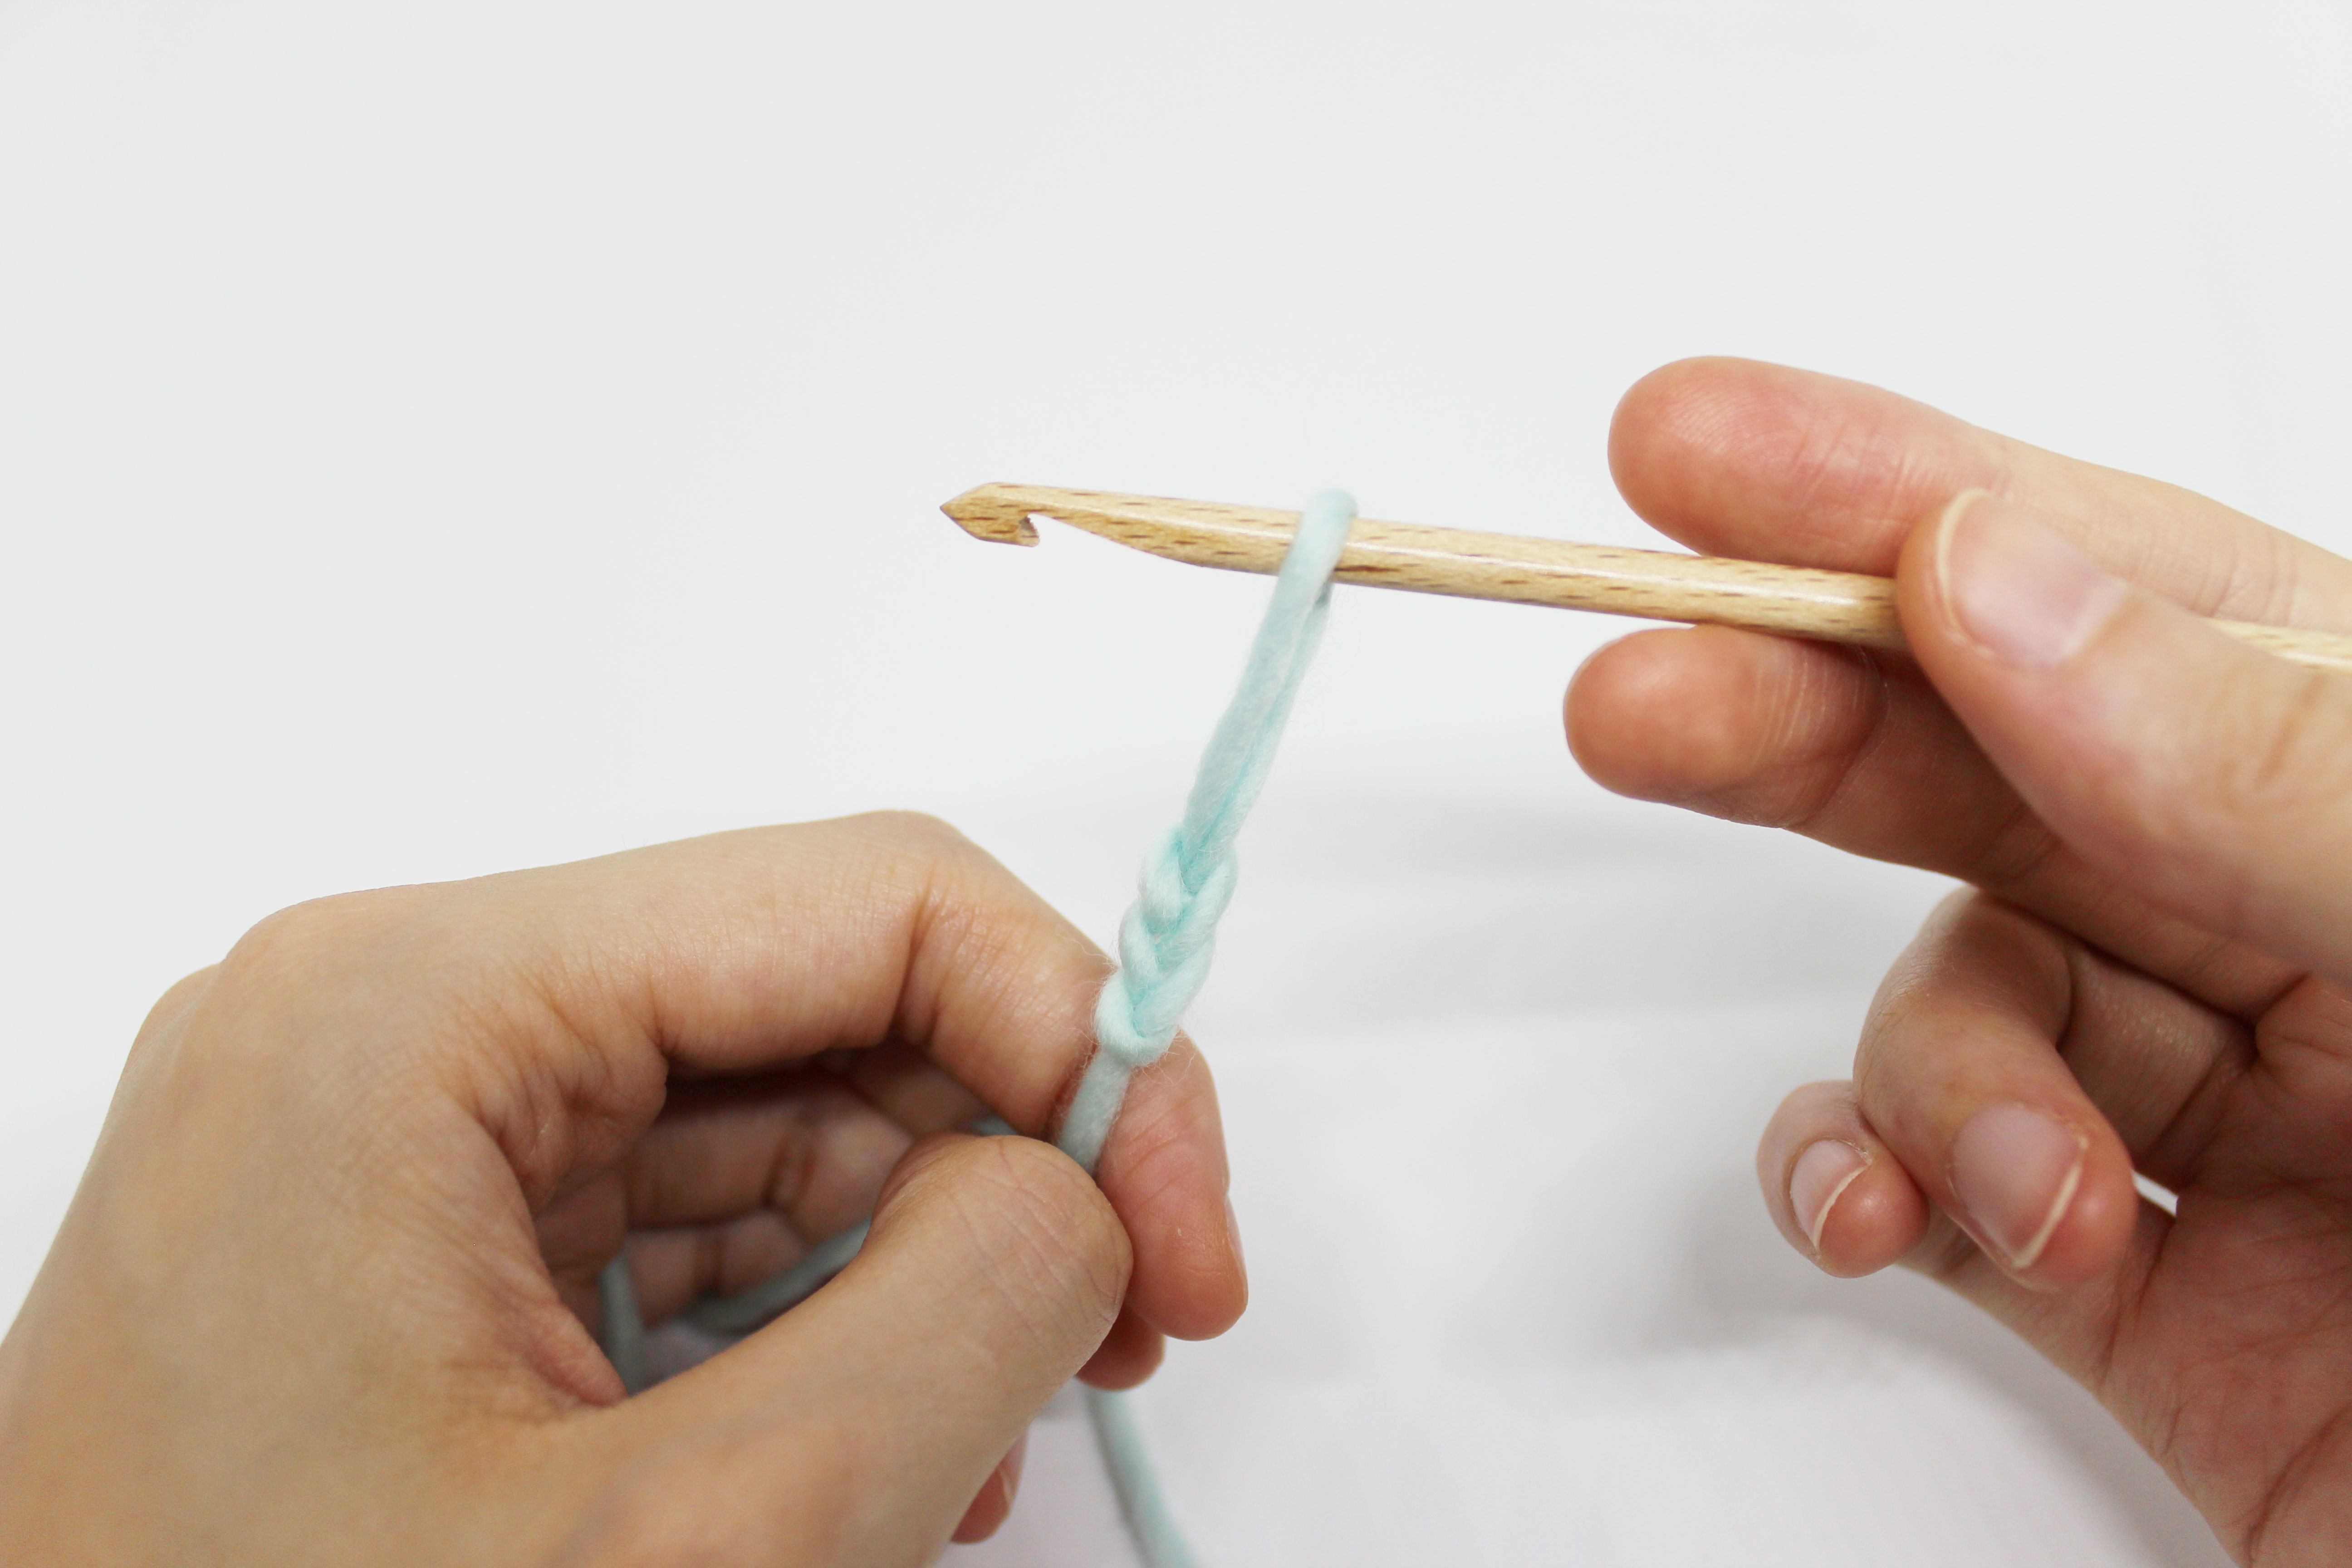
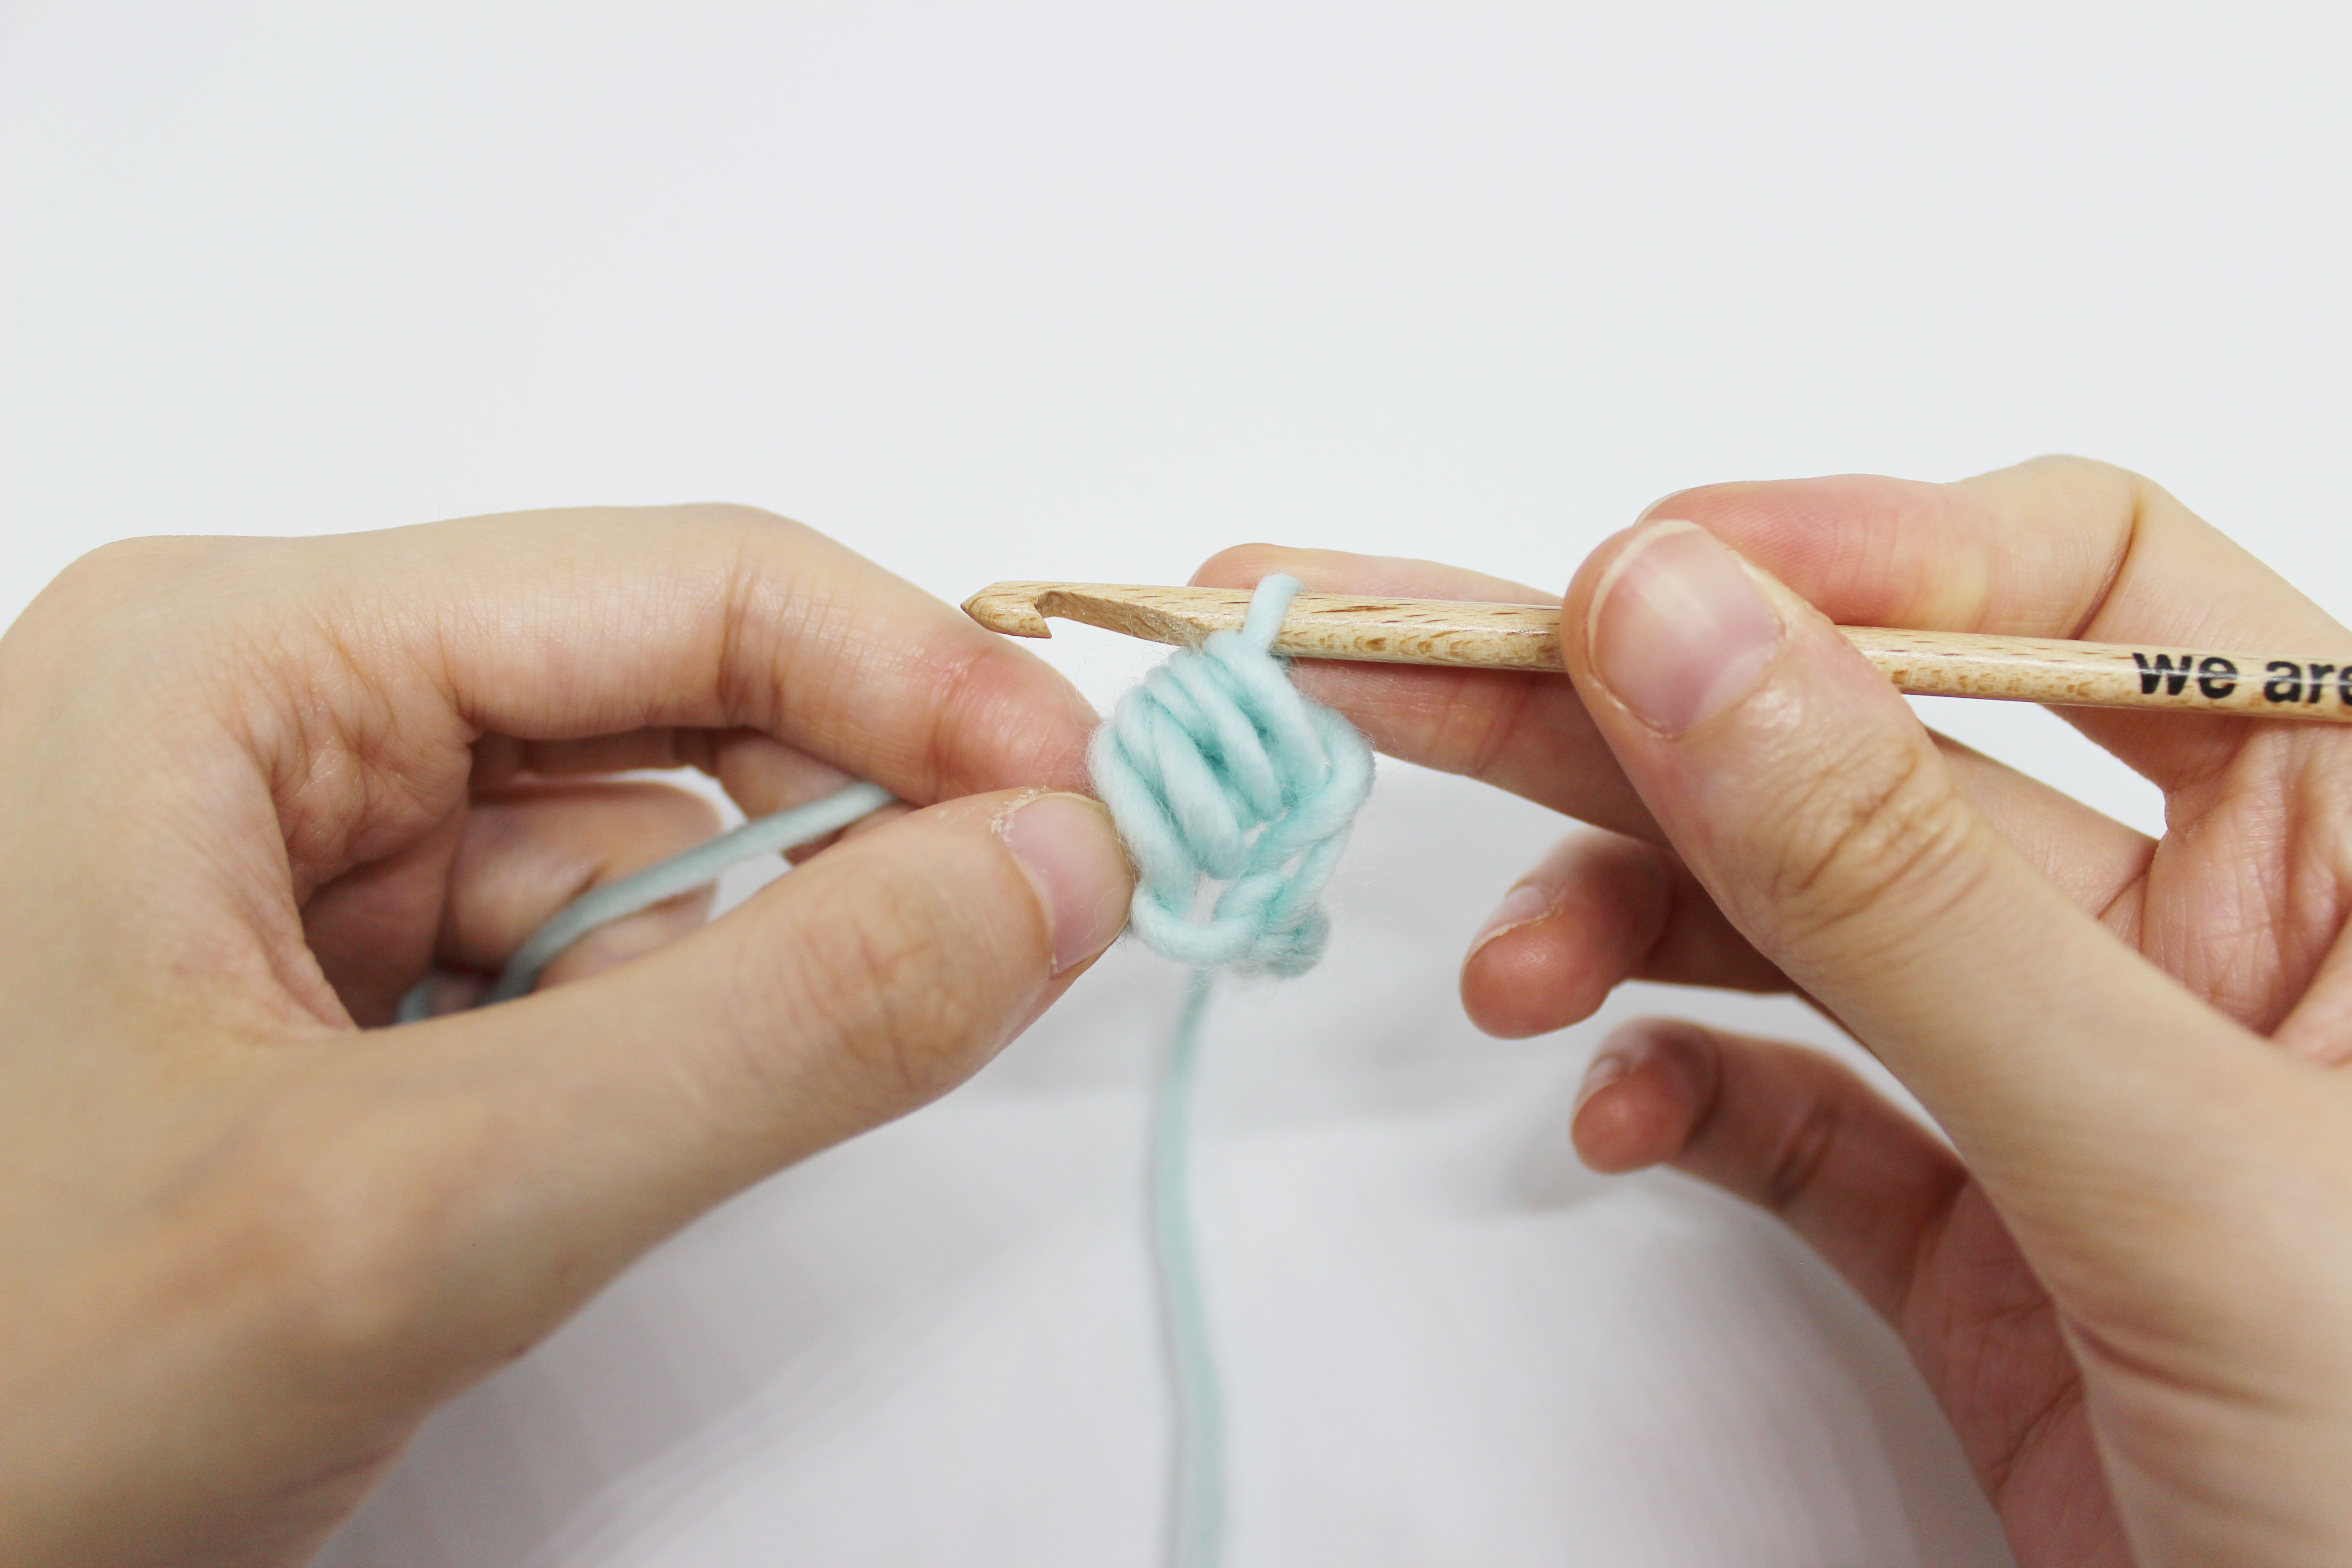
- Grab a strand.

- Working into the same chain, grab another strand, like in the image above.

- Pull the yarn through. Now you have the 3 strands on the hook.
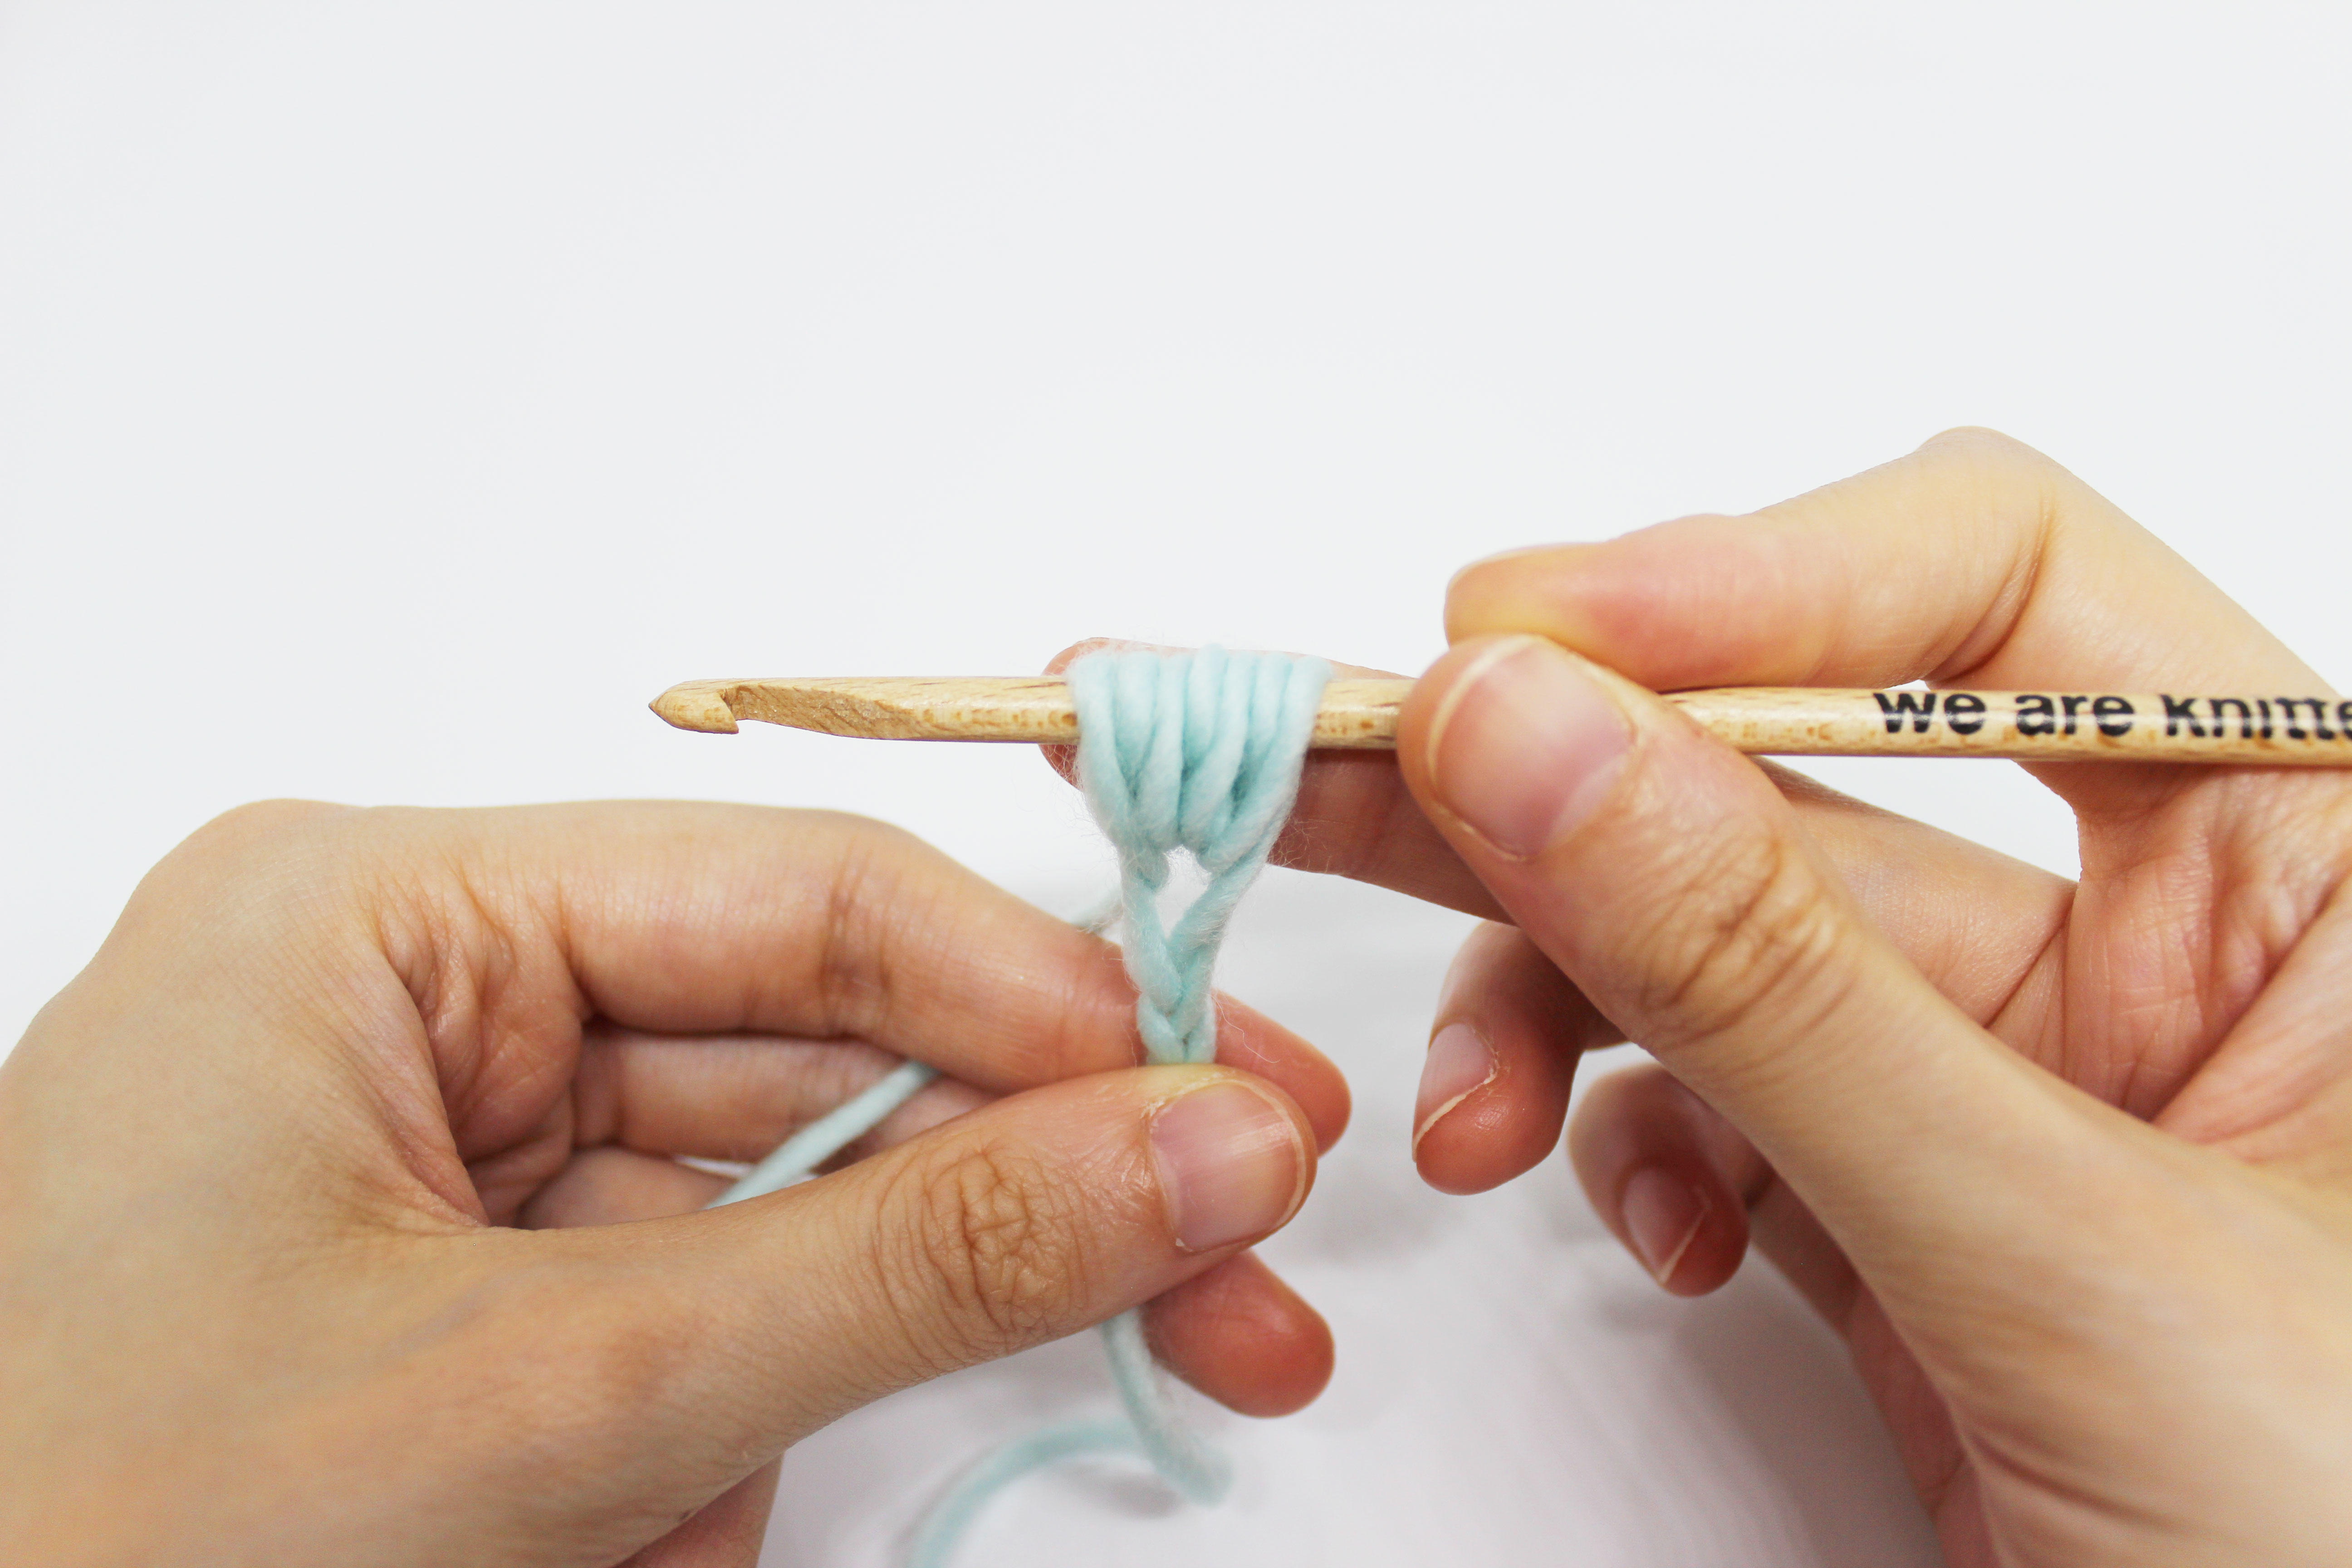
Repeat steps 3, 4, and 5 two more times until you have 7 strands on the hook.

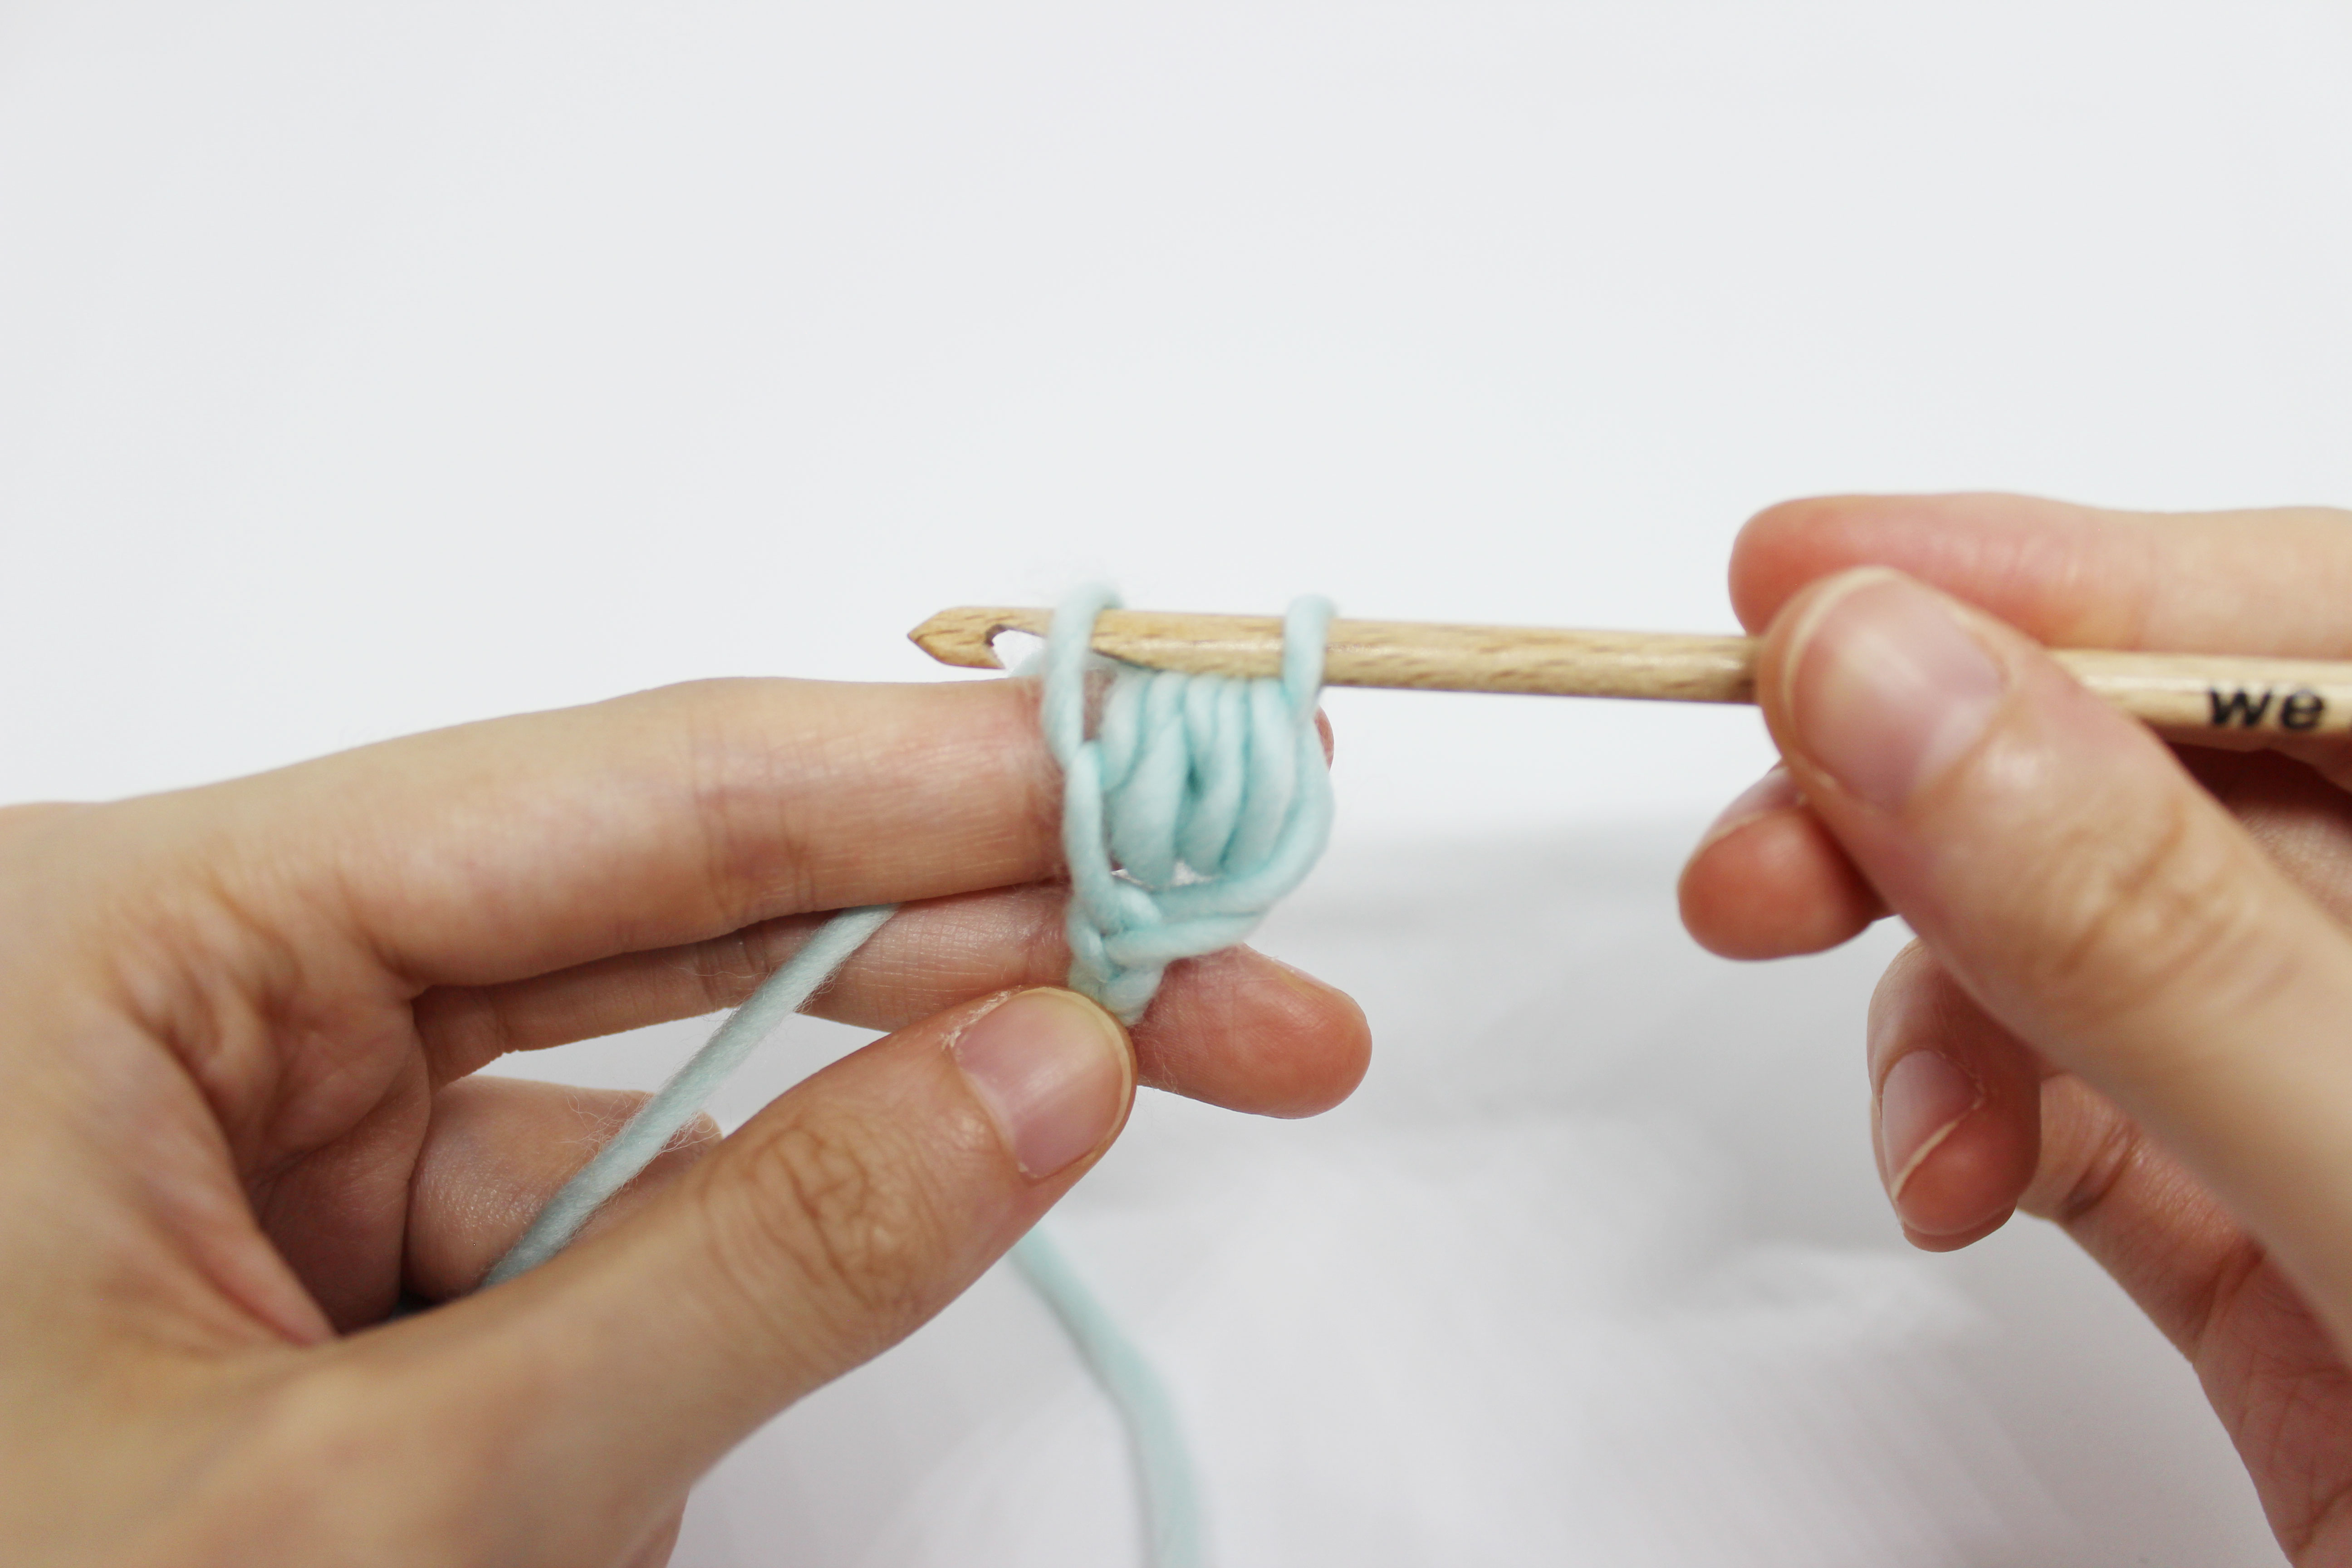
- Grab one more strand.
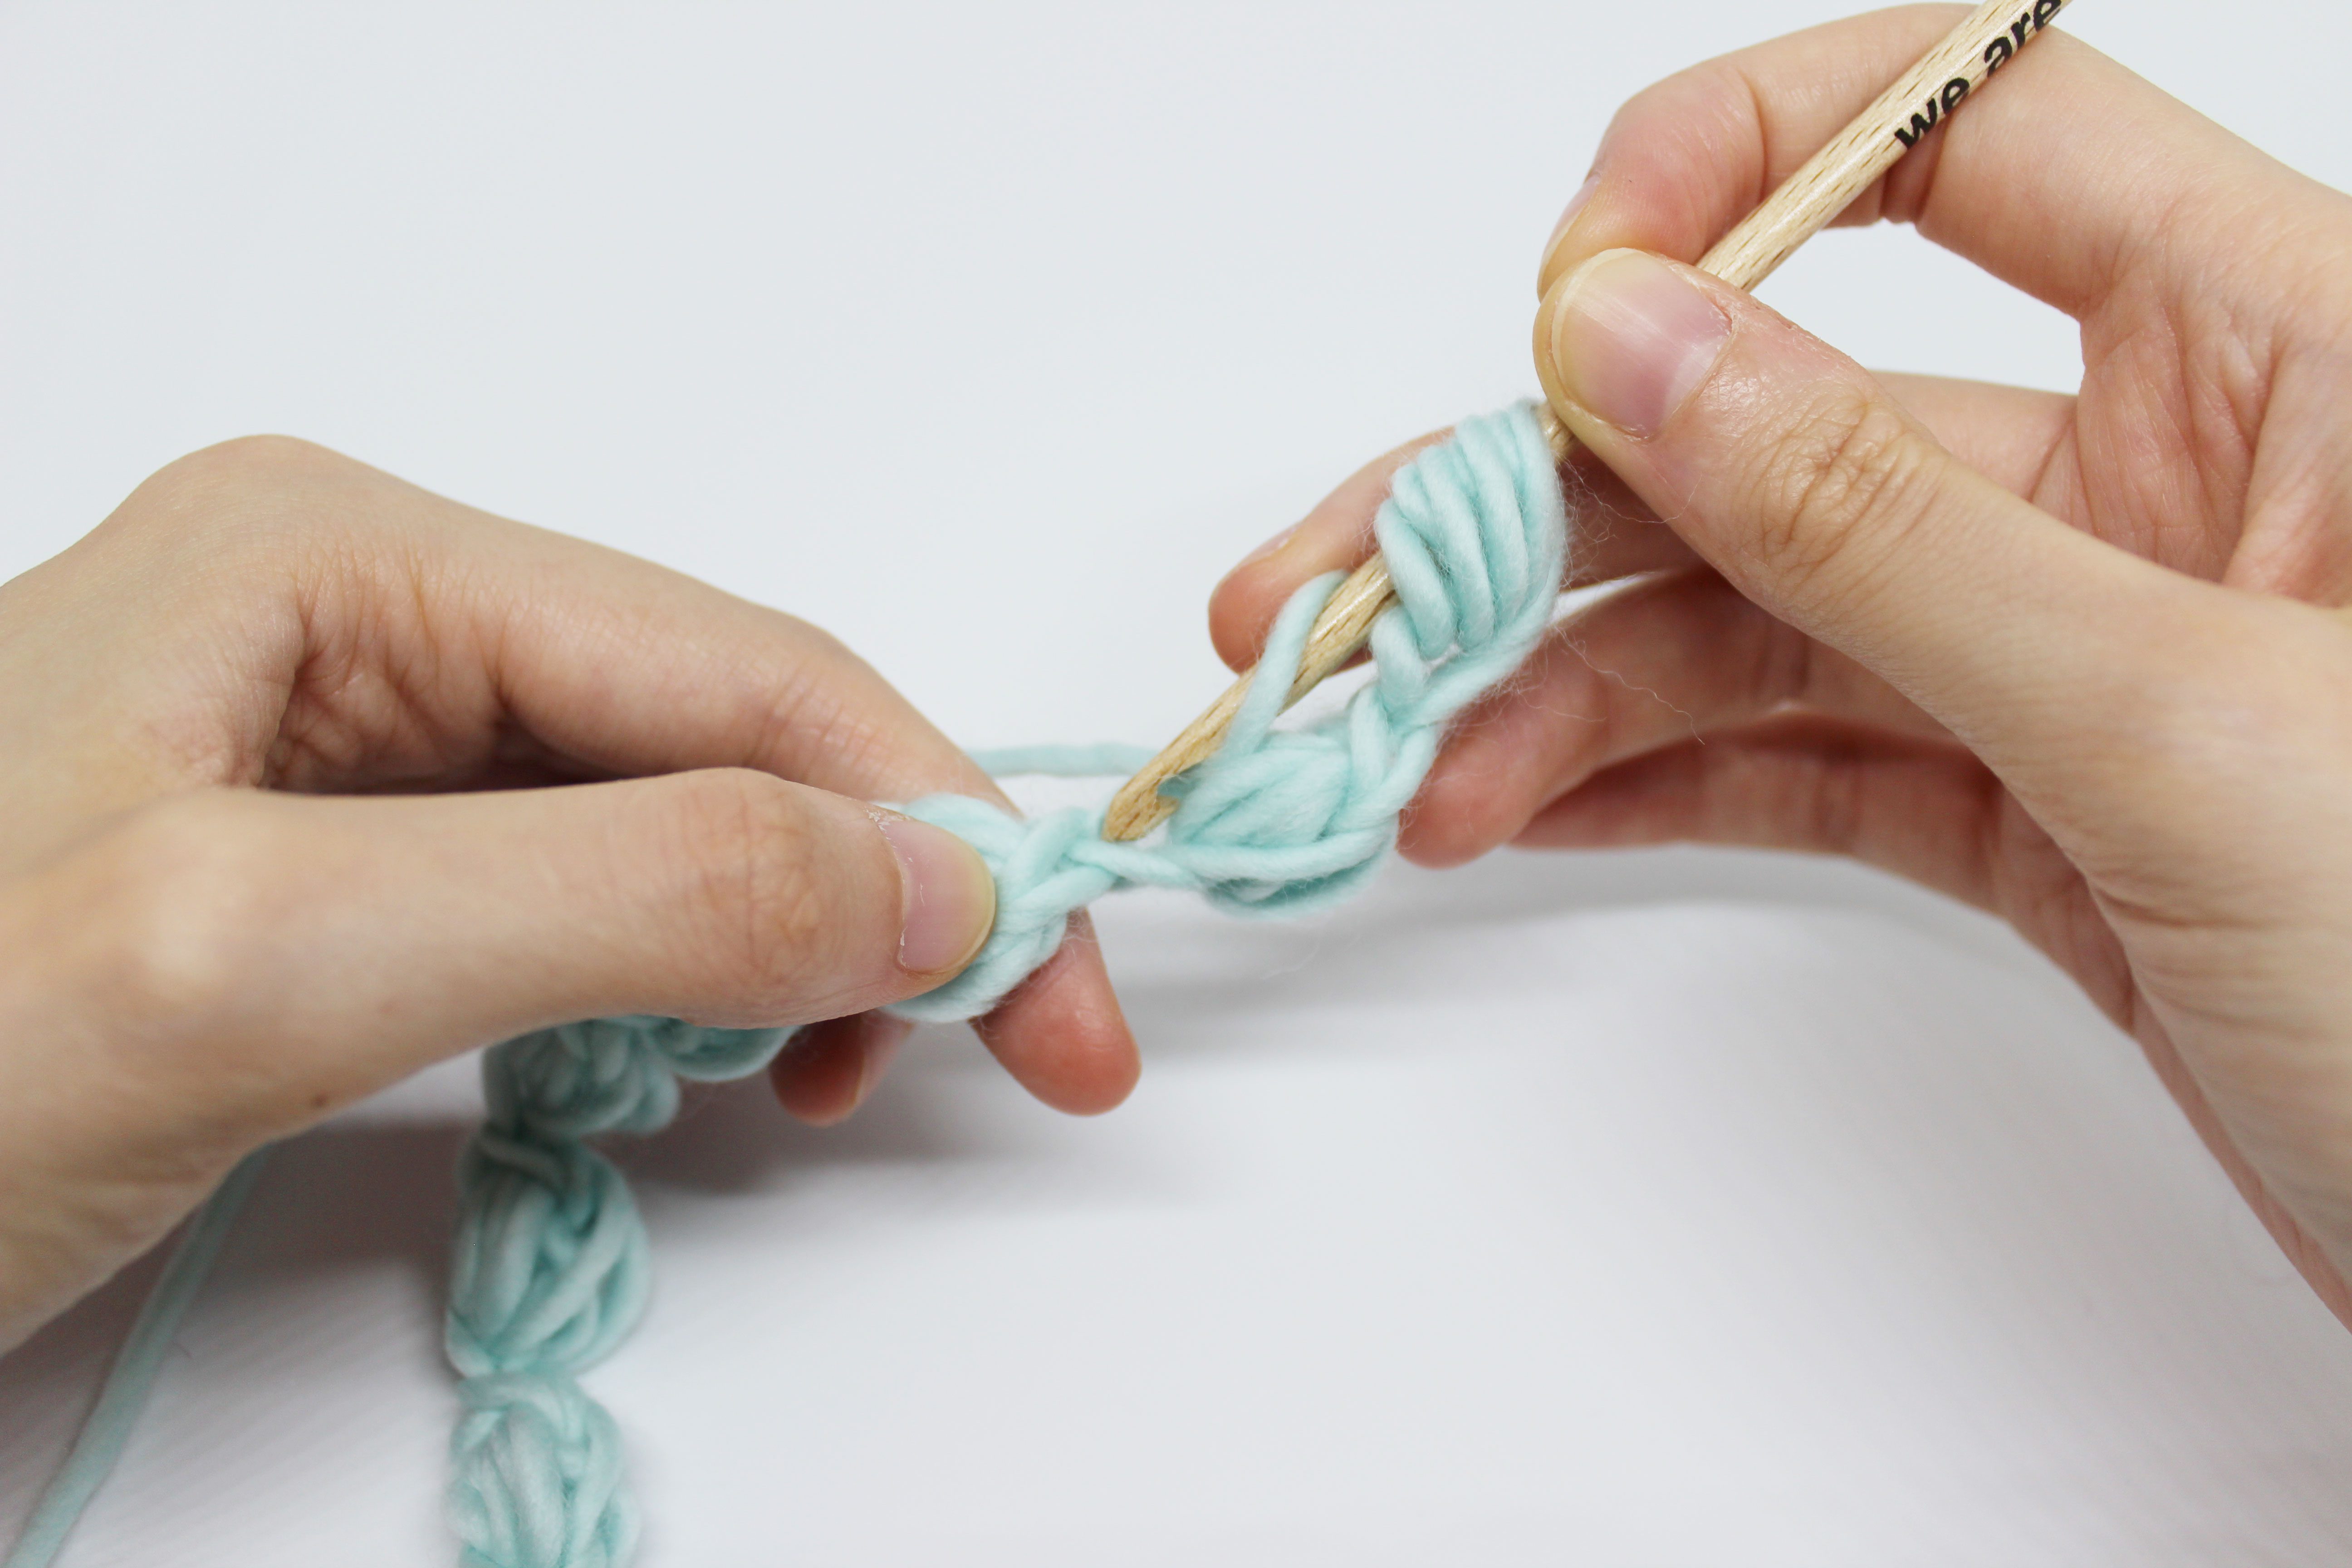
- Hold the strand you just used below with your thumb and index finger. Hold this here because you will used to close off the petal.
- Pull the yarn through all the loops on the hook.
- Pull the yarn through the loop between your left fingers and work a single crochet: pull the yarn through, wrap the yarn around the hook, pull the yarn through the two loops on the hook.
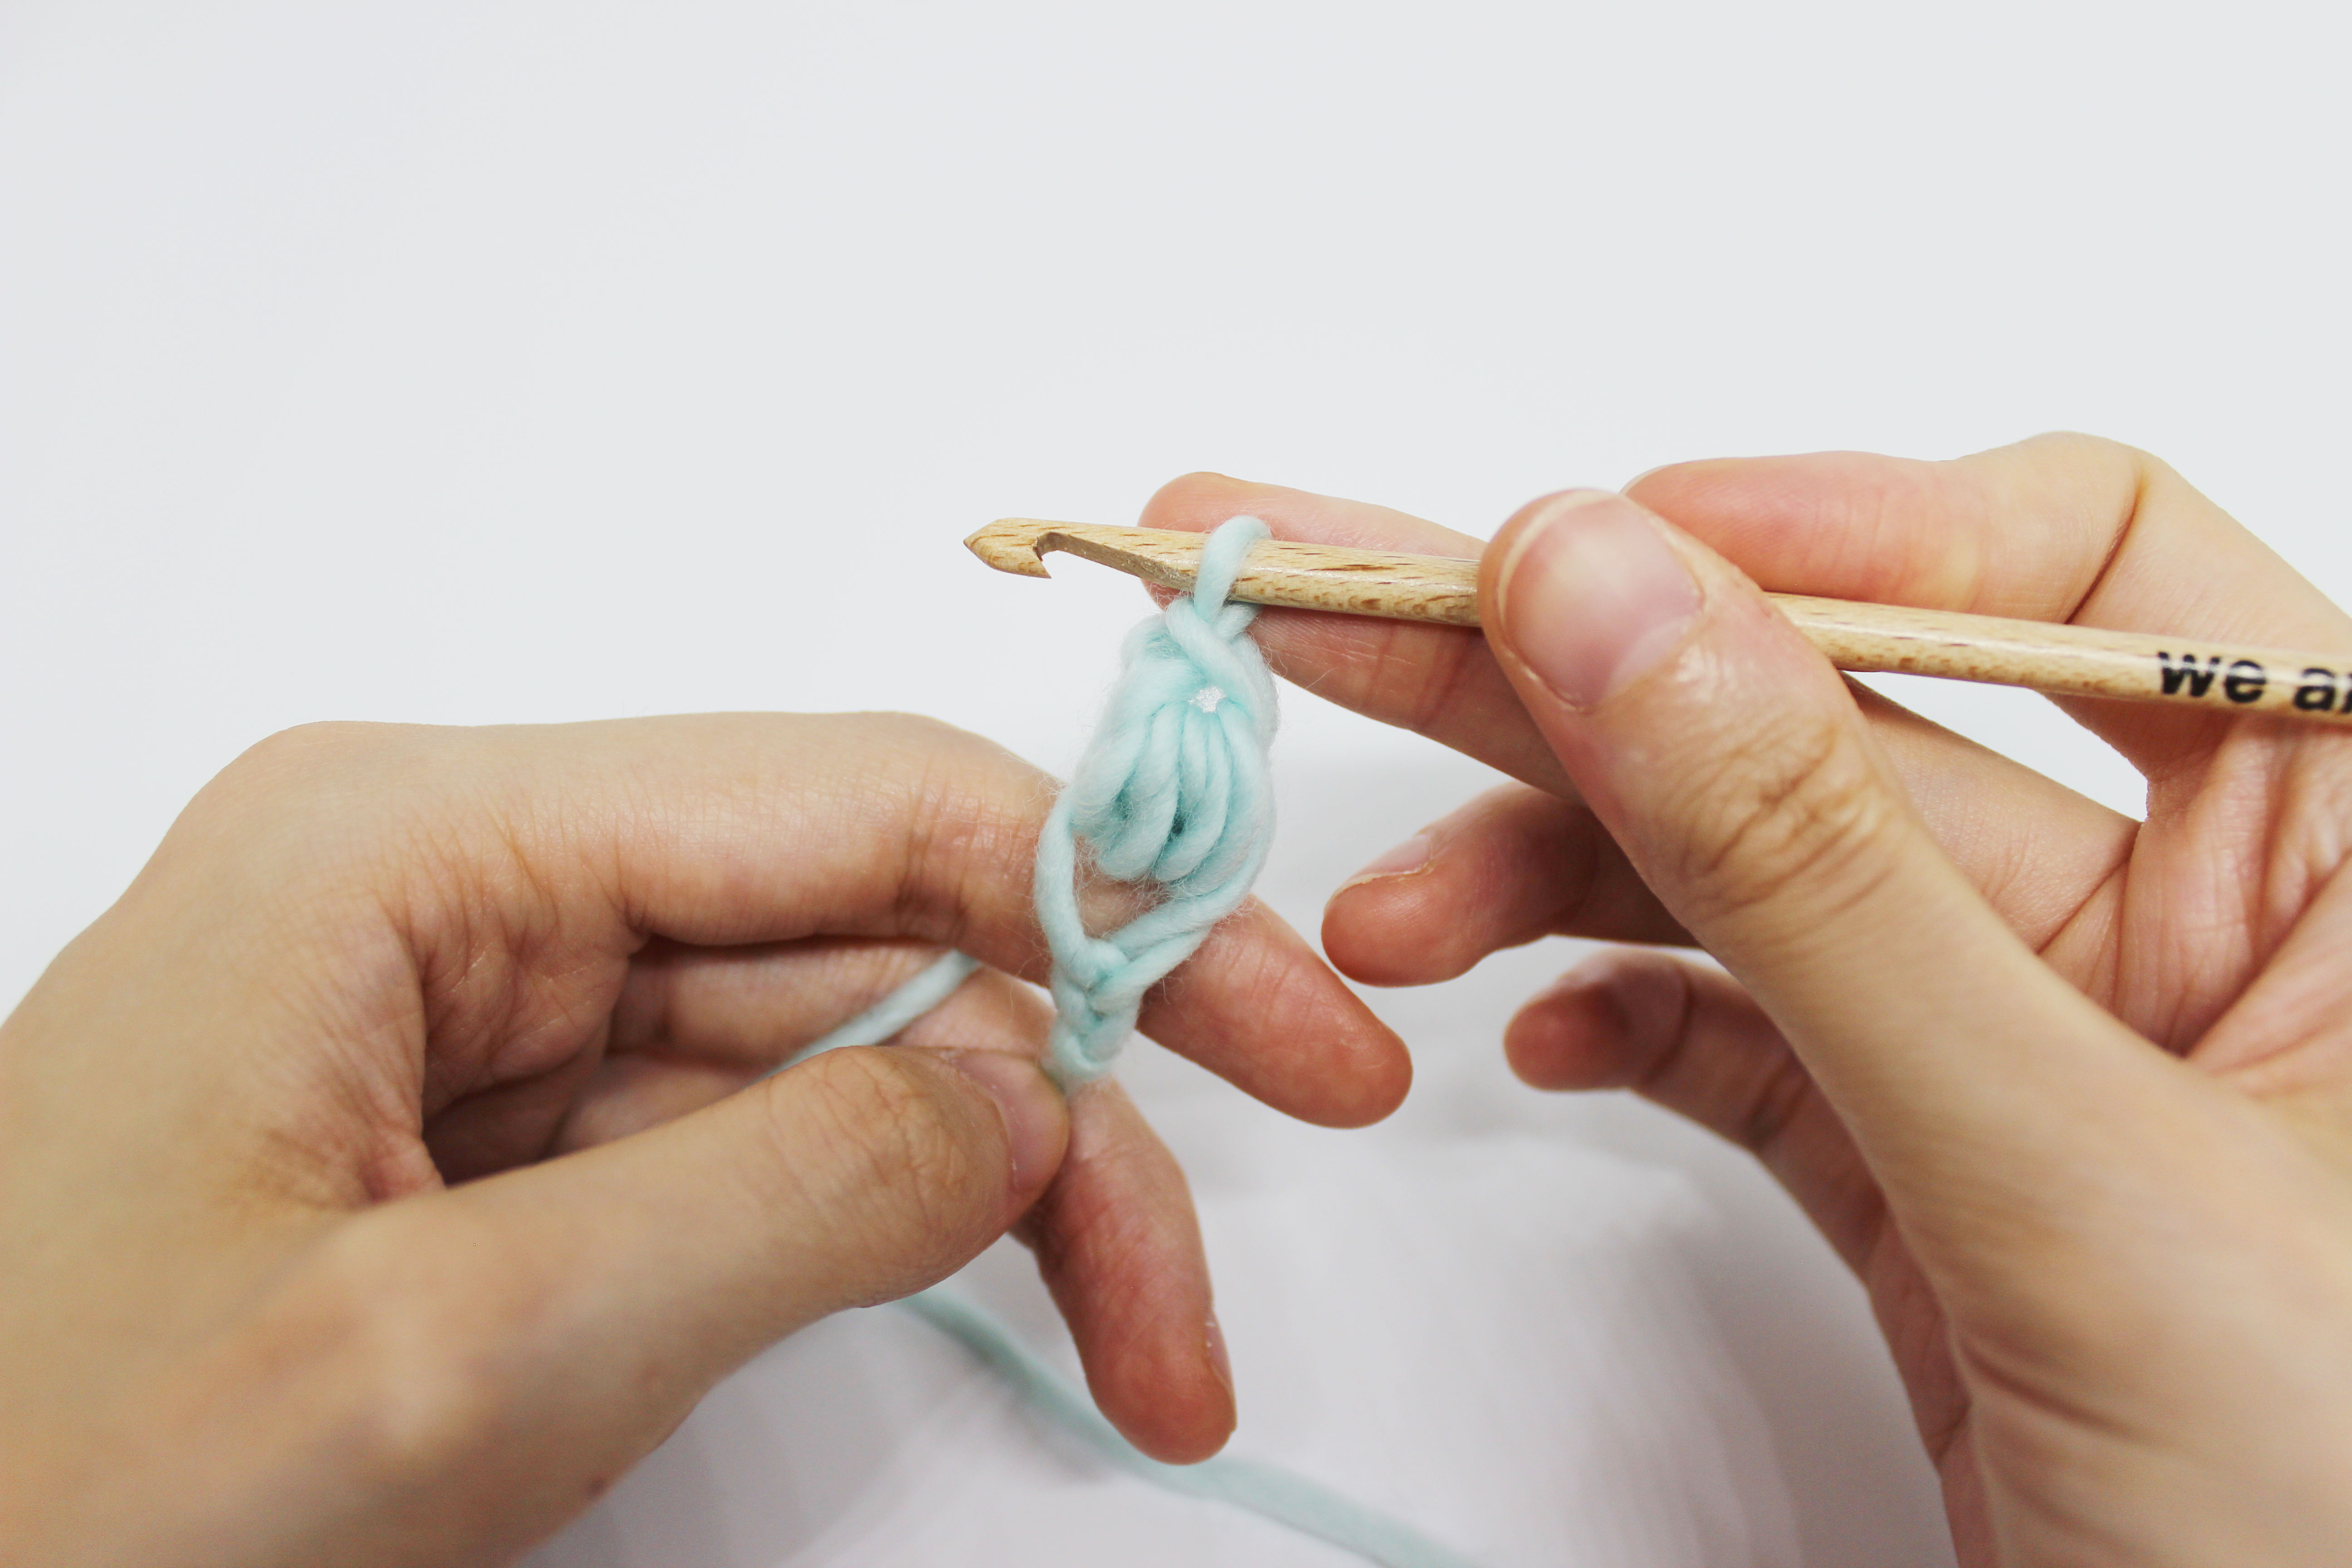
- You have now closed off the petal. To make the next one, all you have to do is make another chain stitch and repeat the process.
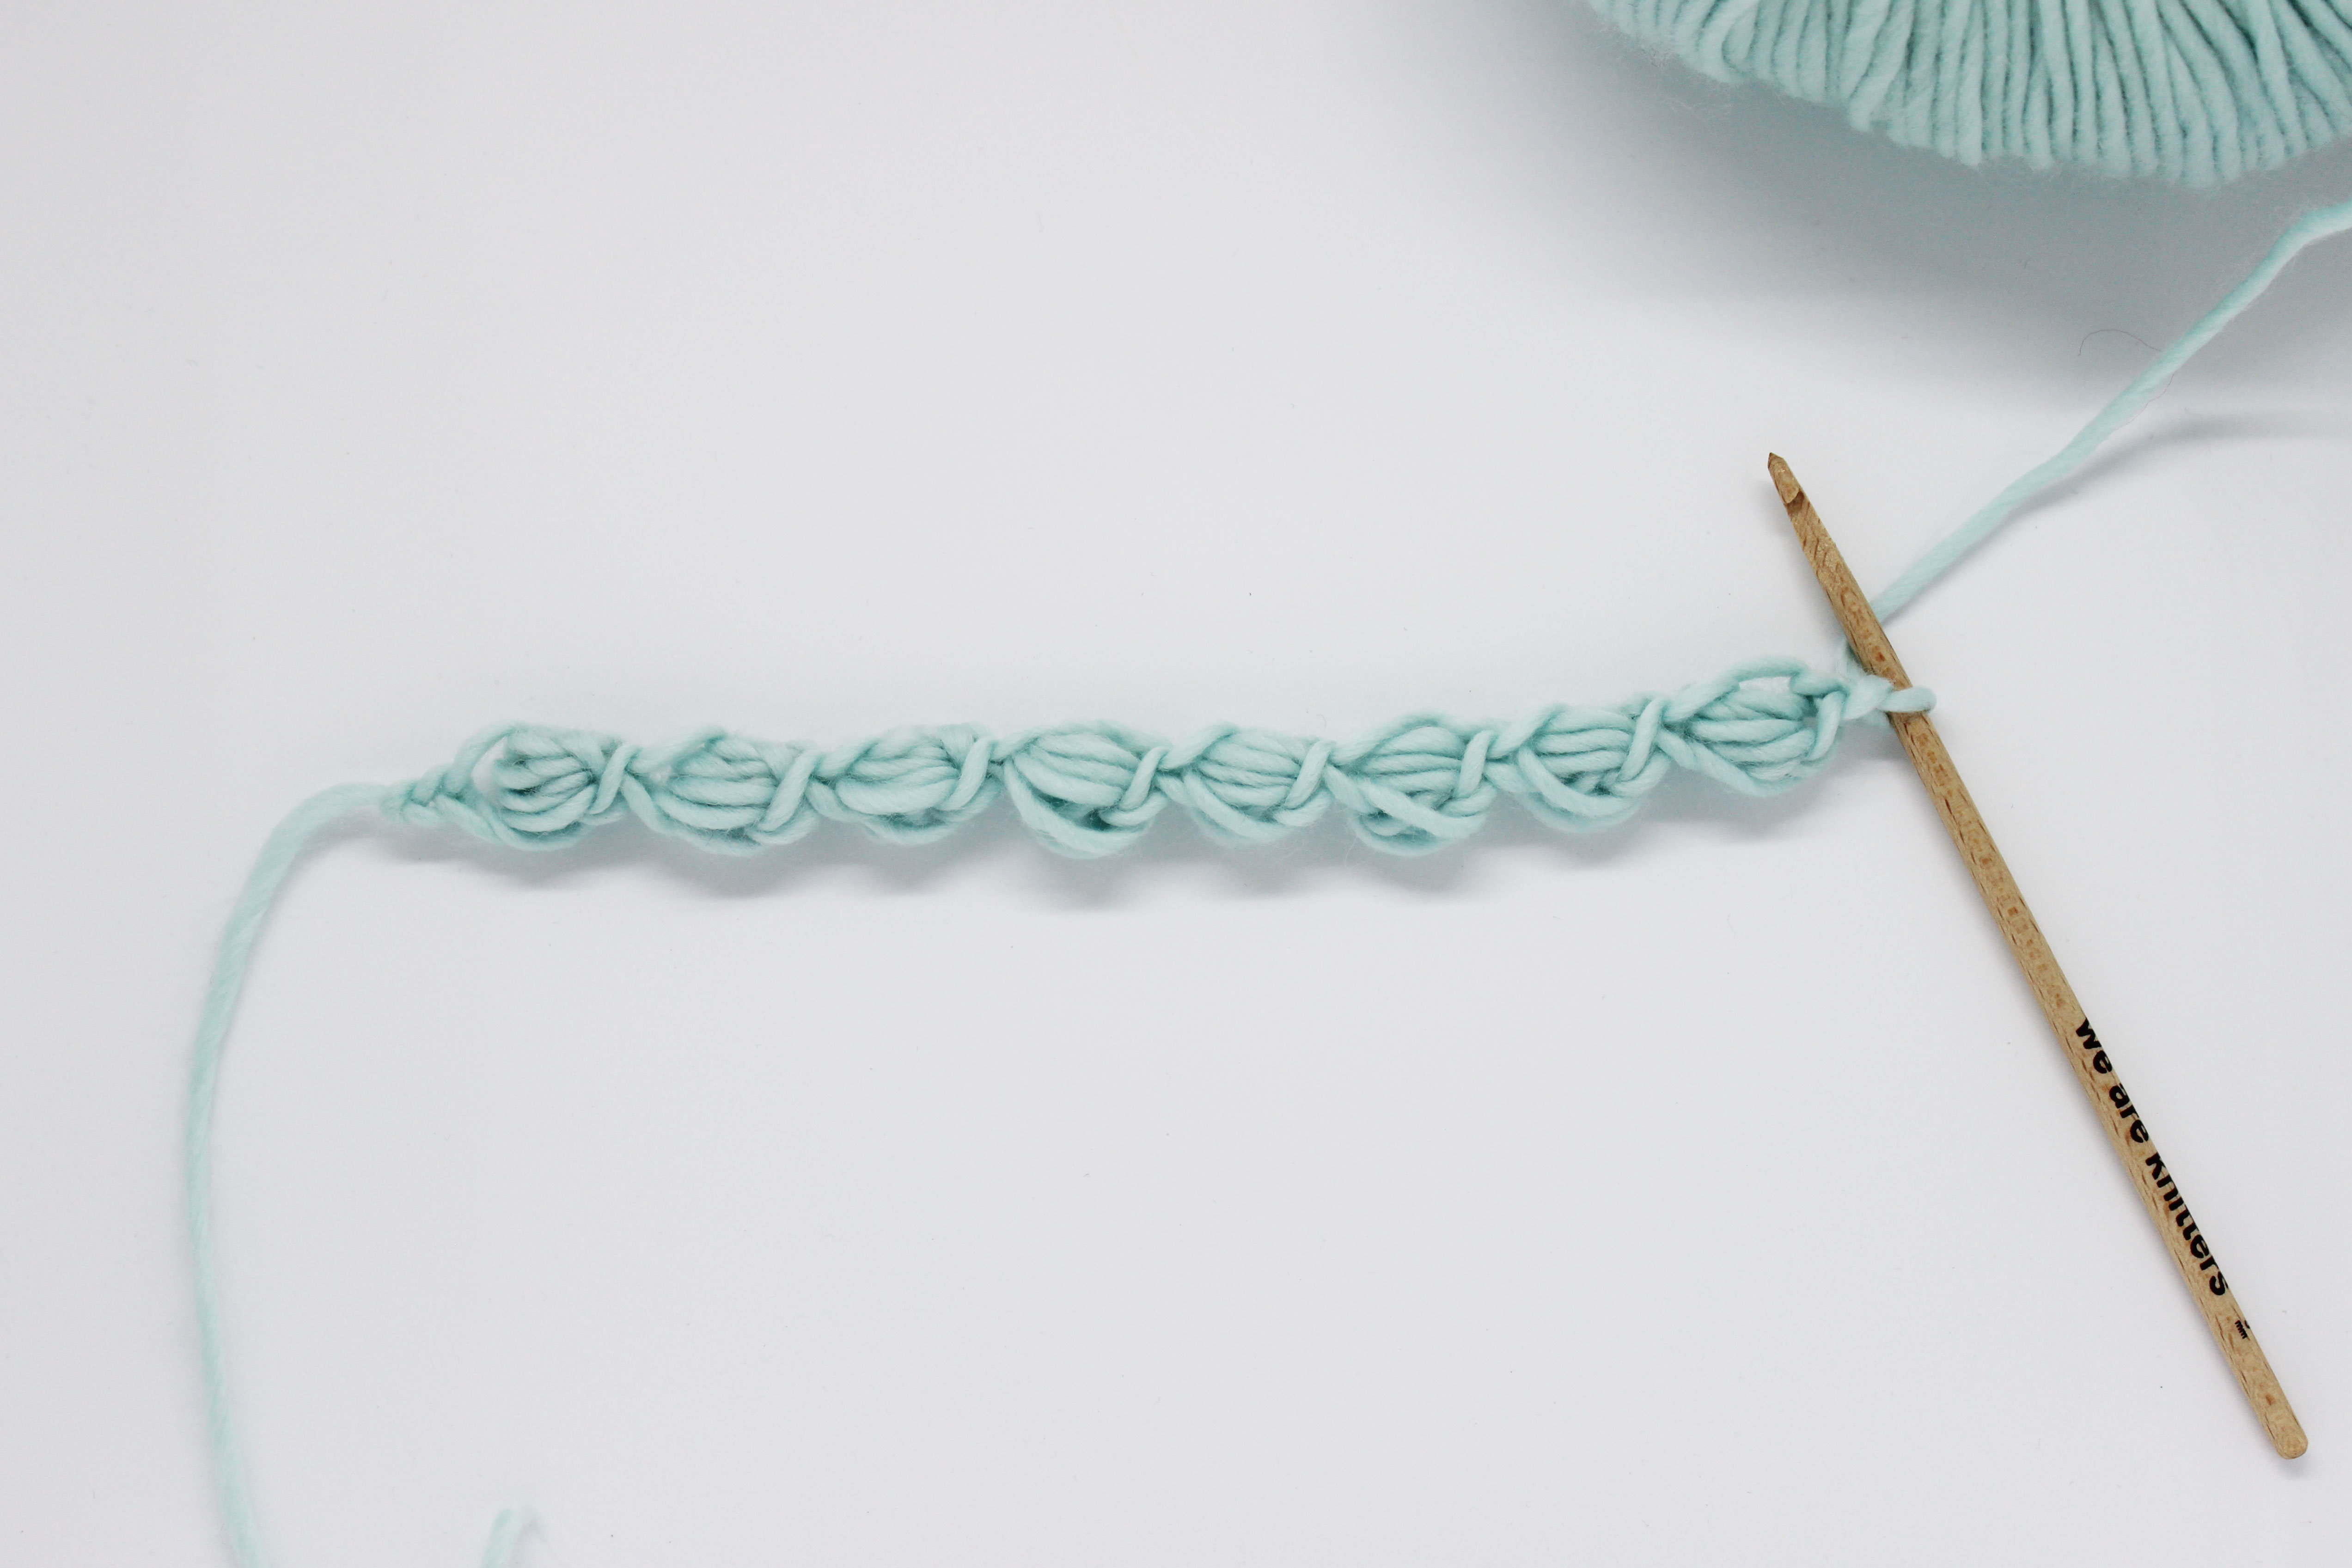
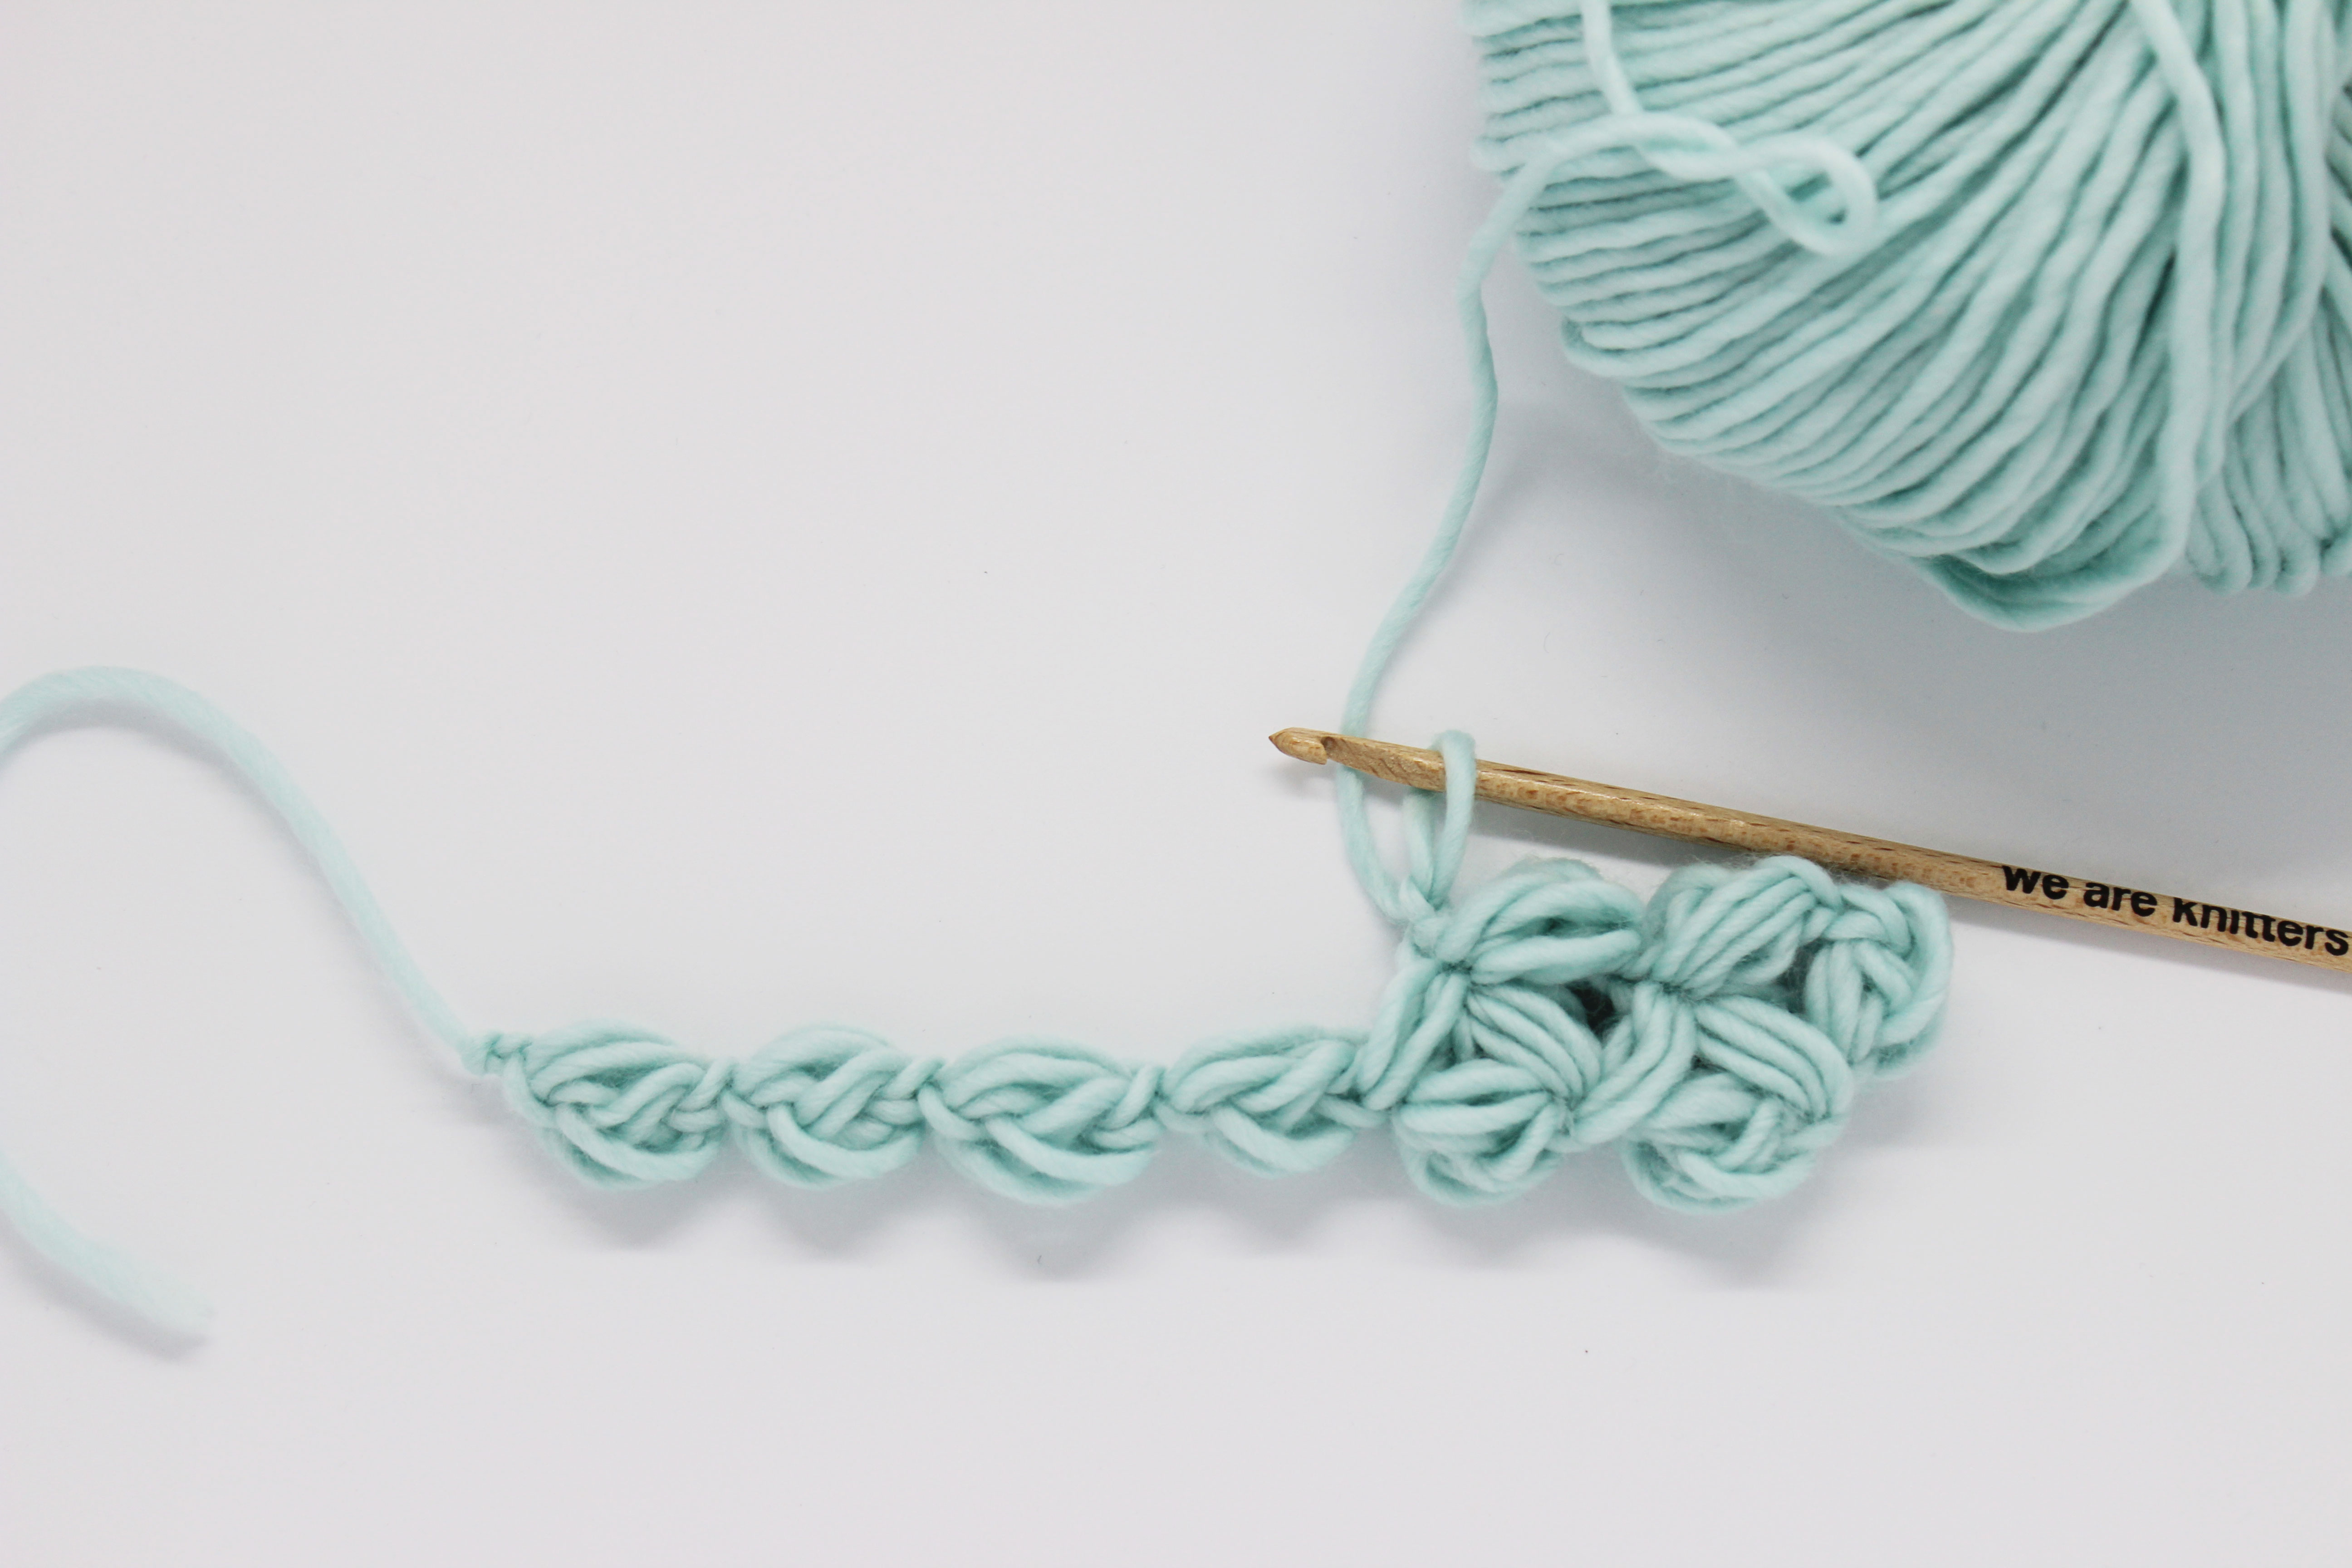
Now keep making petals, one by one, to create the base row of the jasmine stitch.
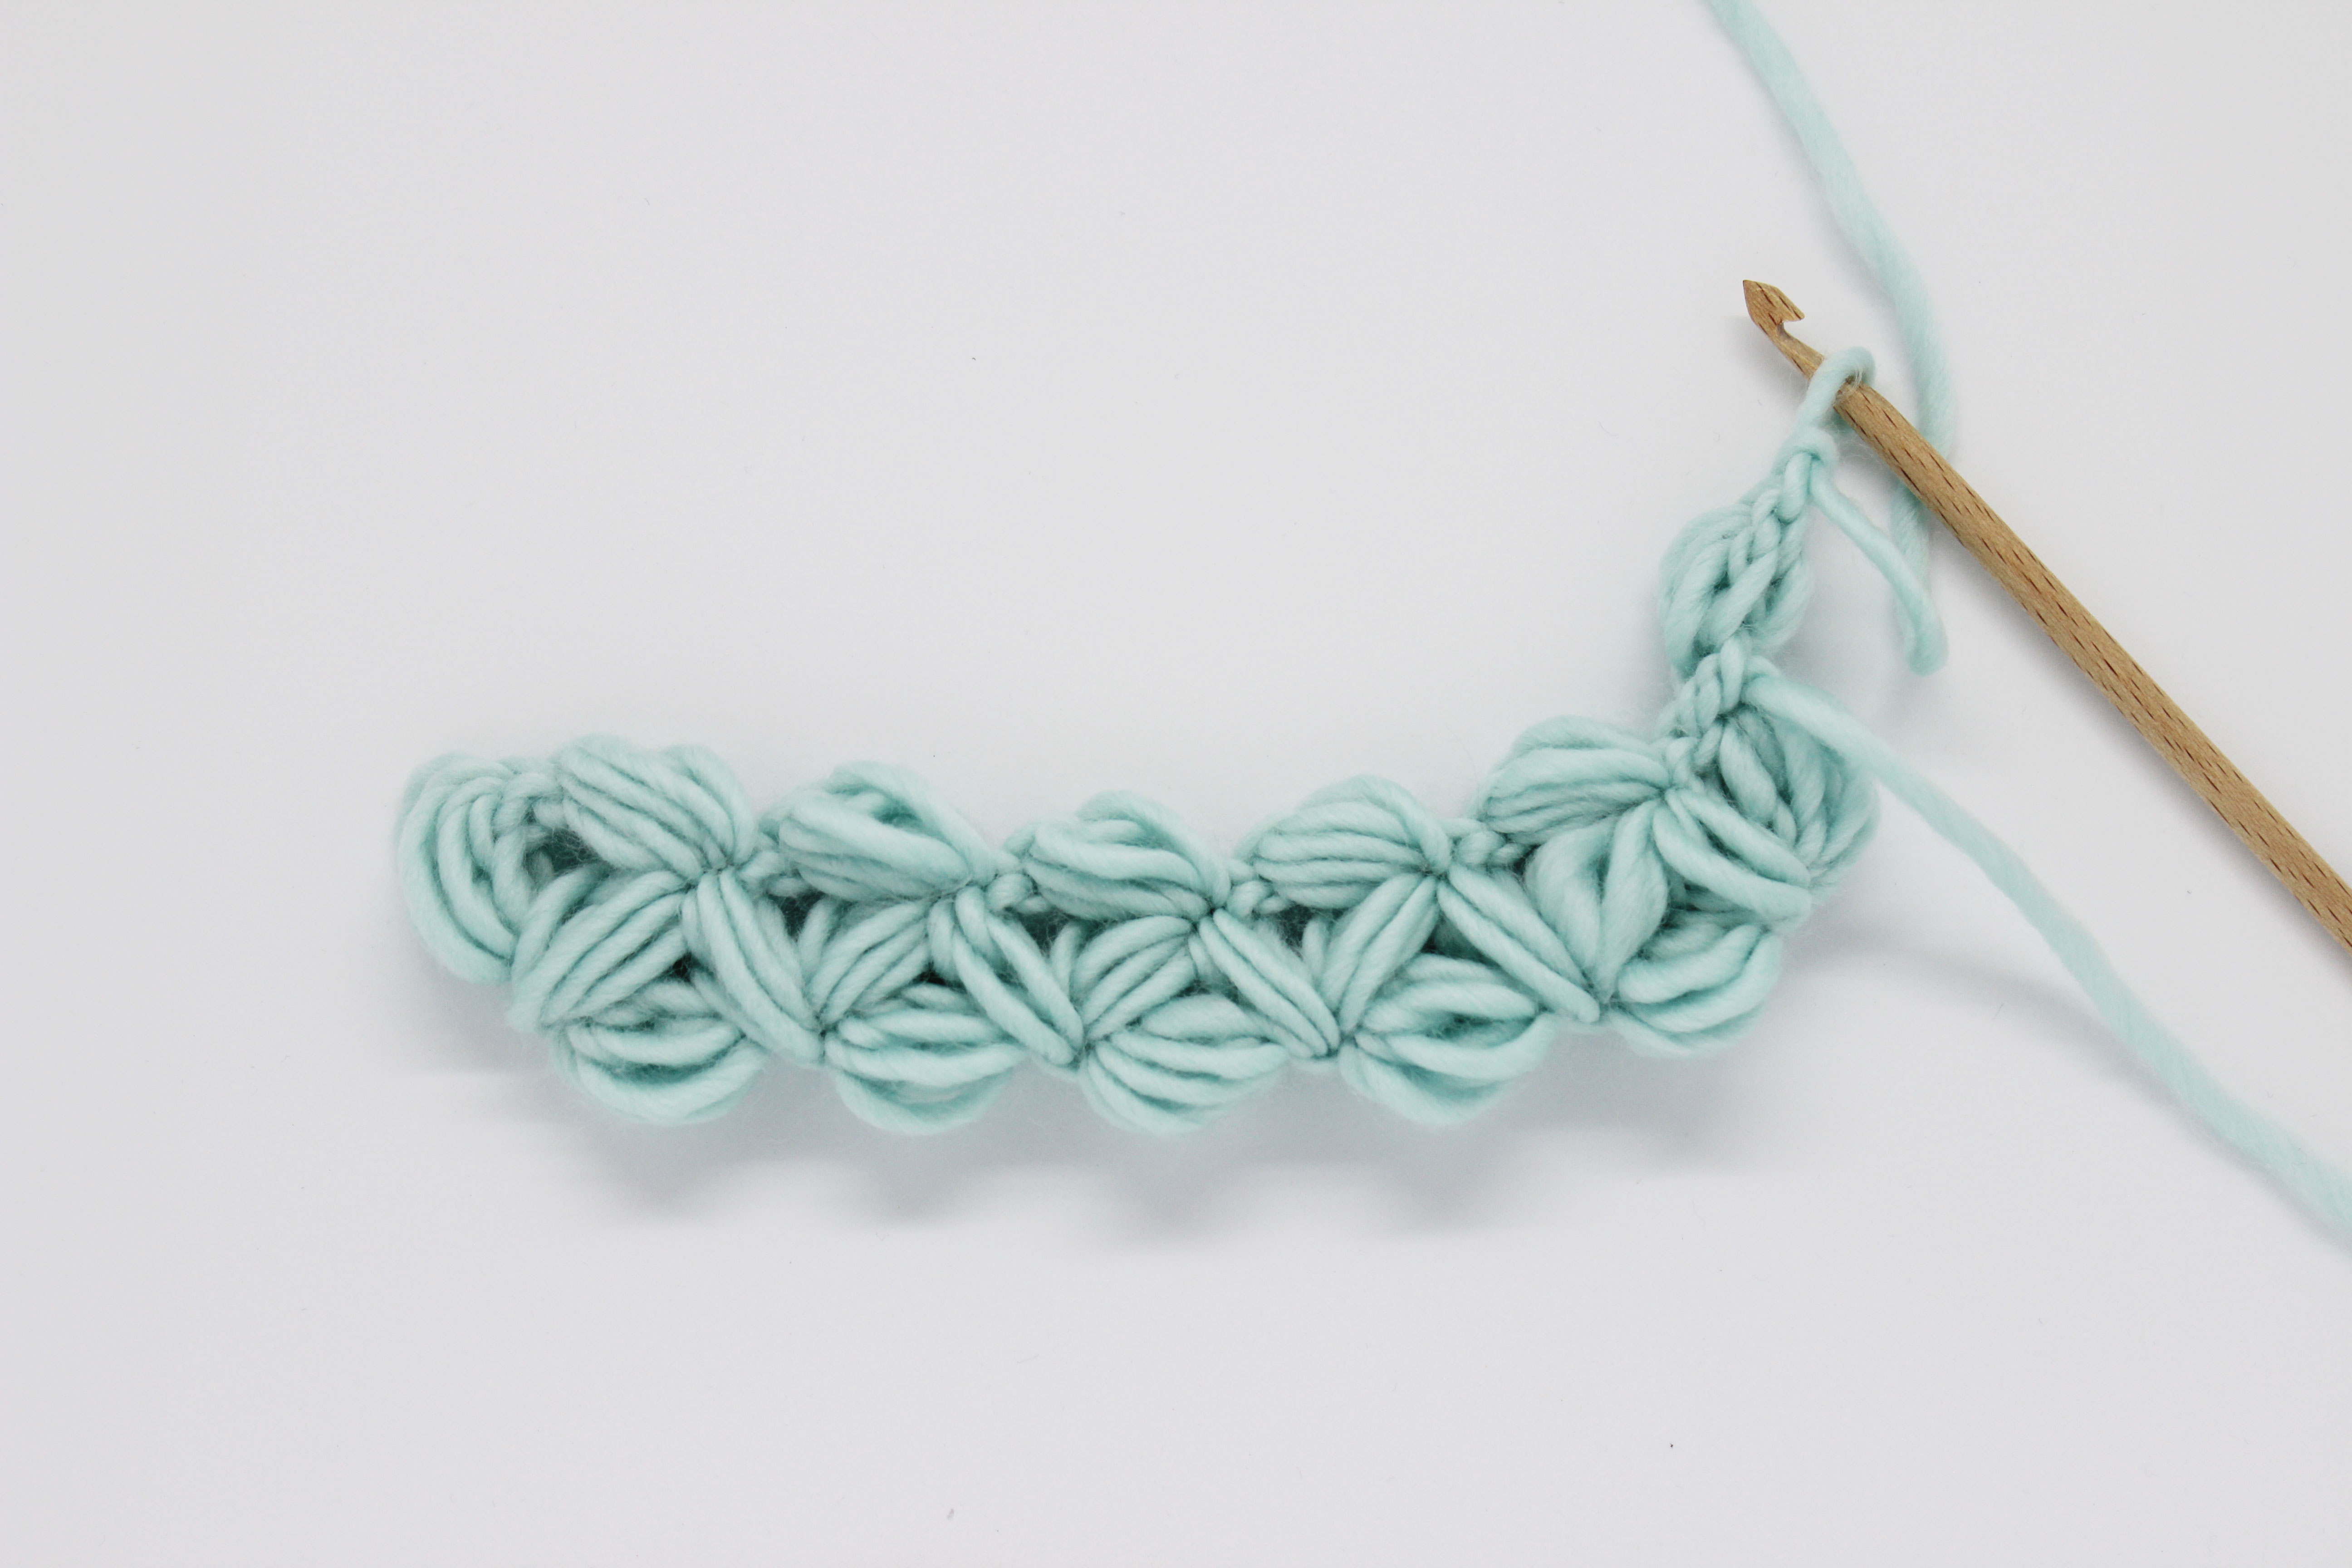
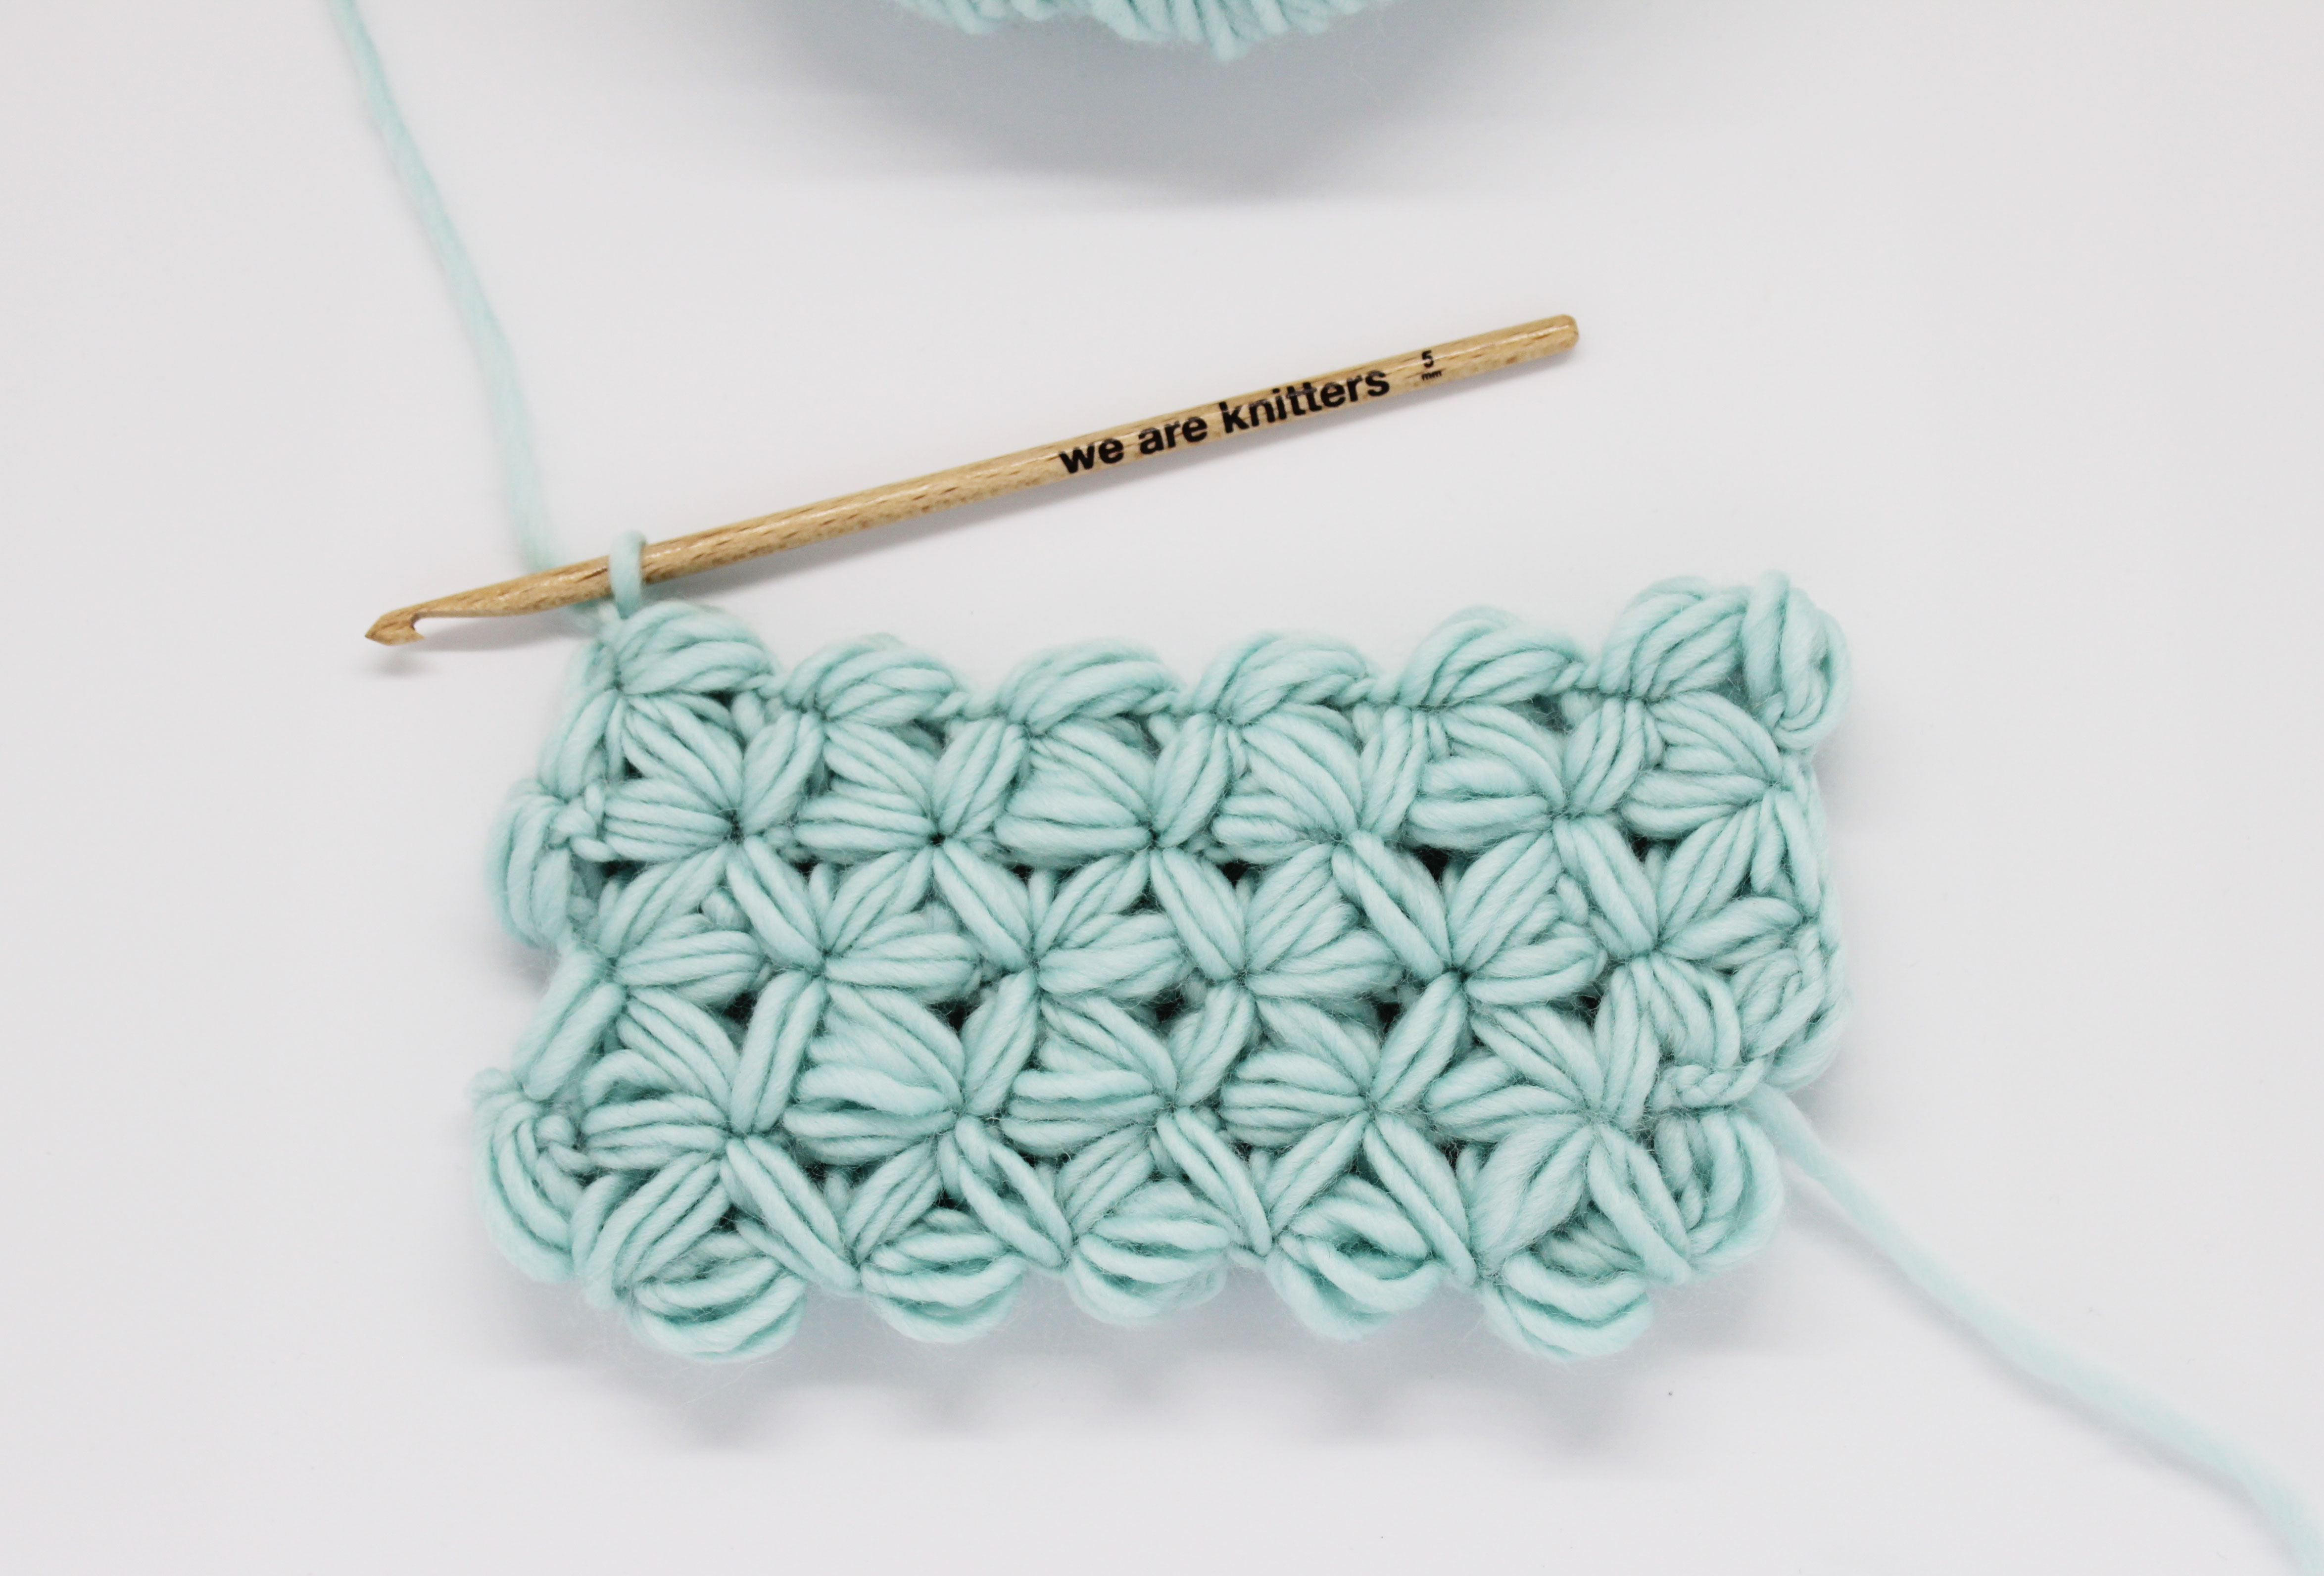
The first row, made above the base row, is composed of flowers which are composed of three petals. This is how you make them:
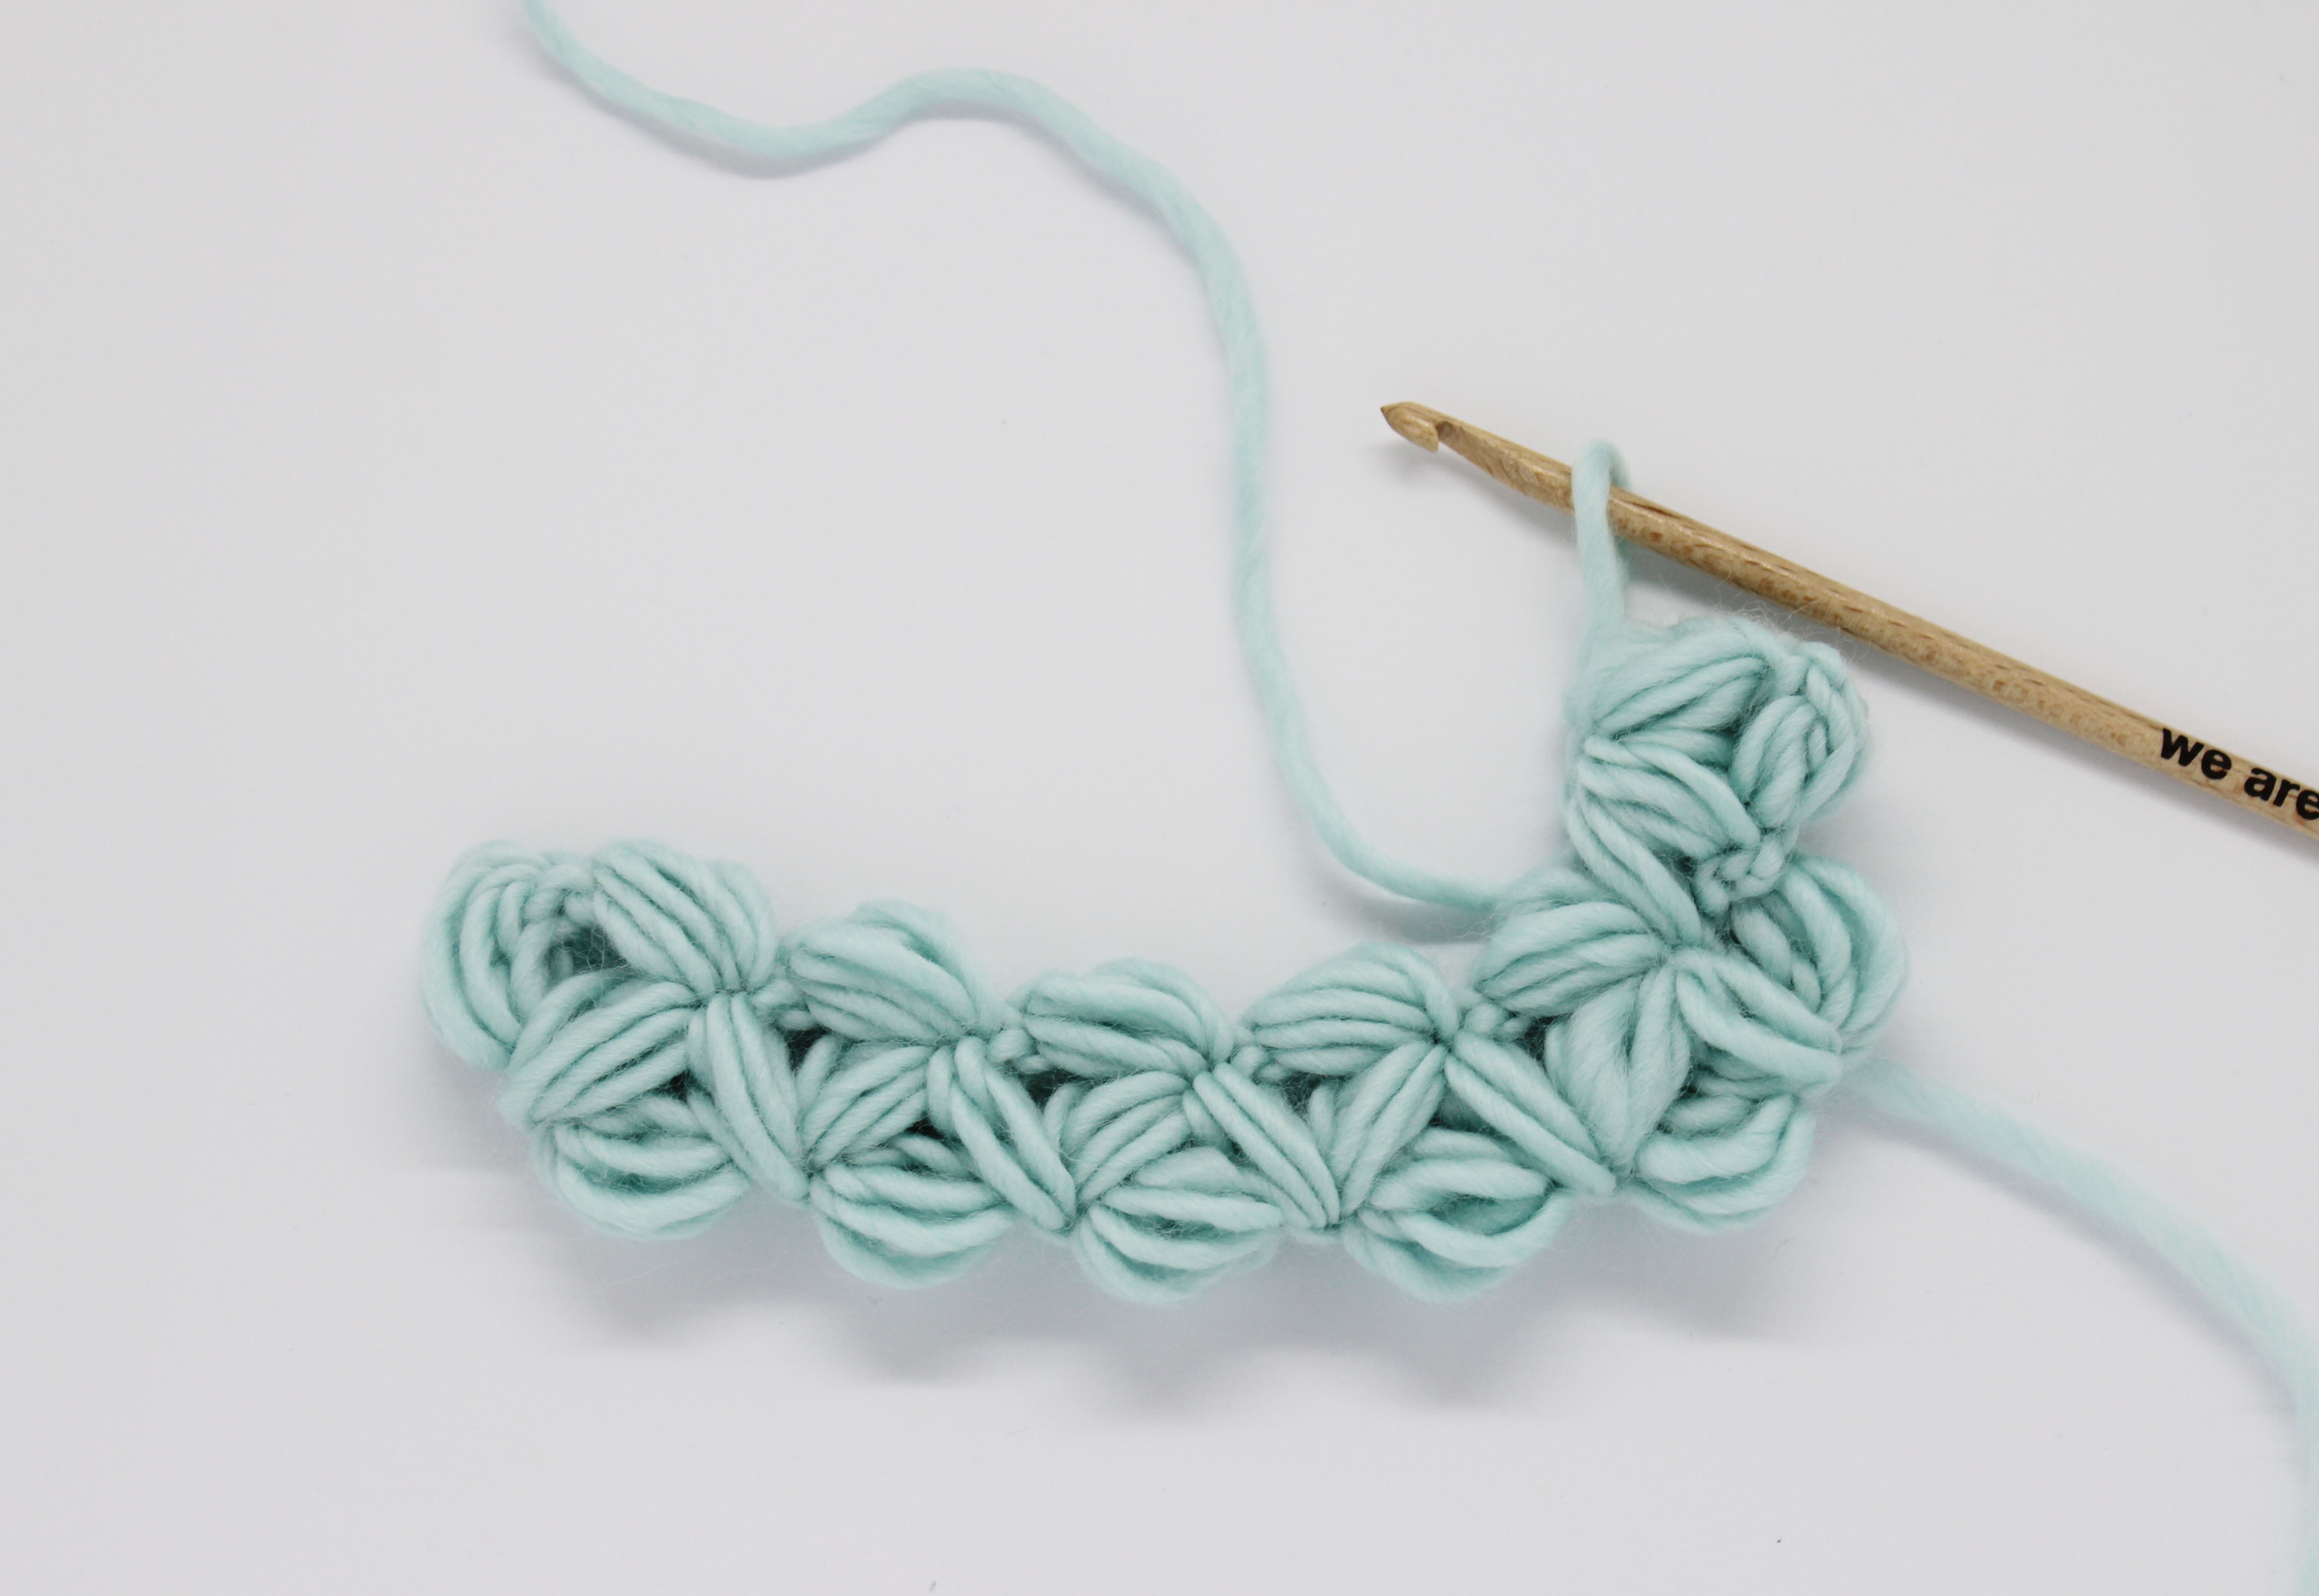
- Make one more petal, but don’t close it off. Work into the base of the previous petal and make another petal without closing it off.
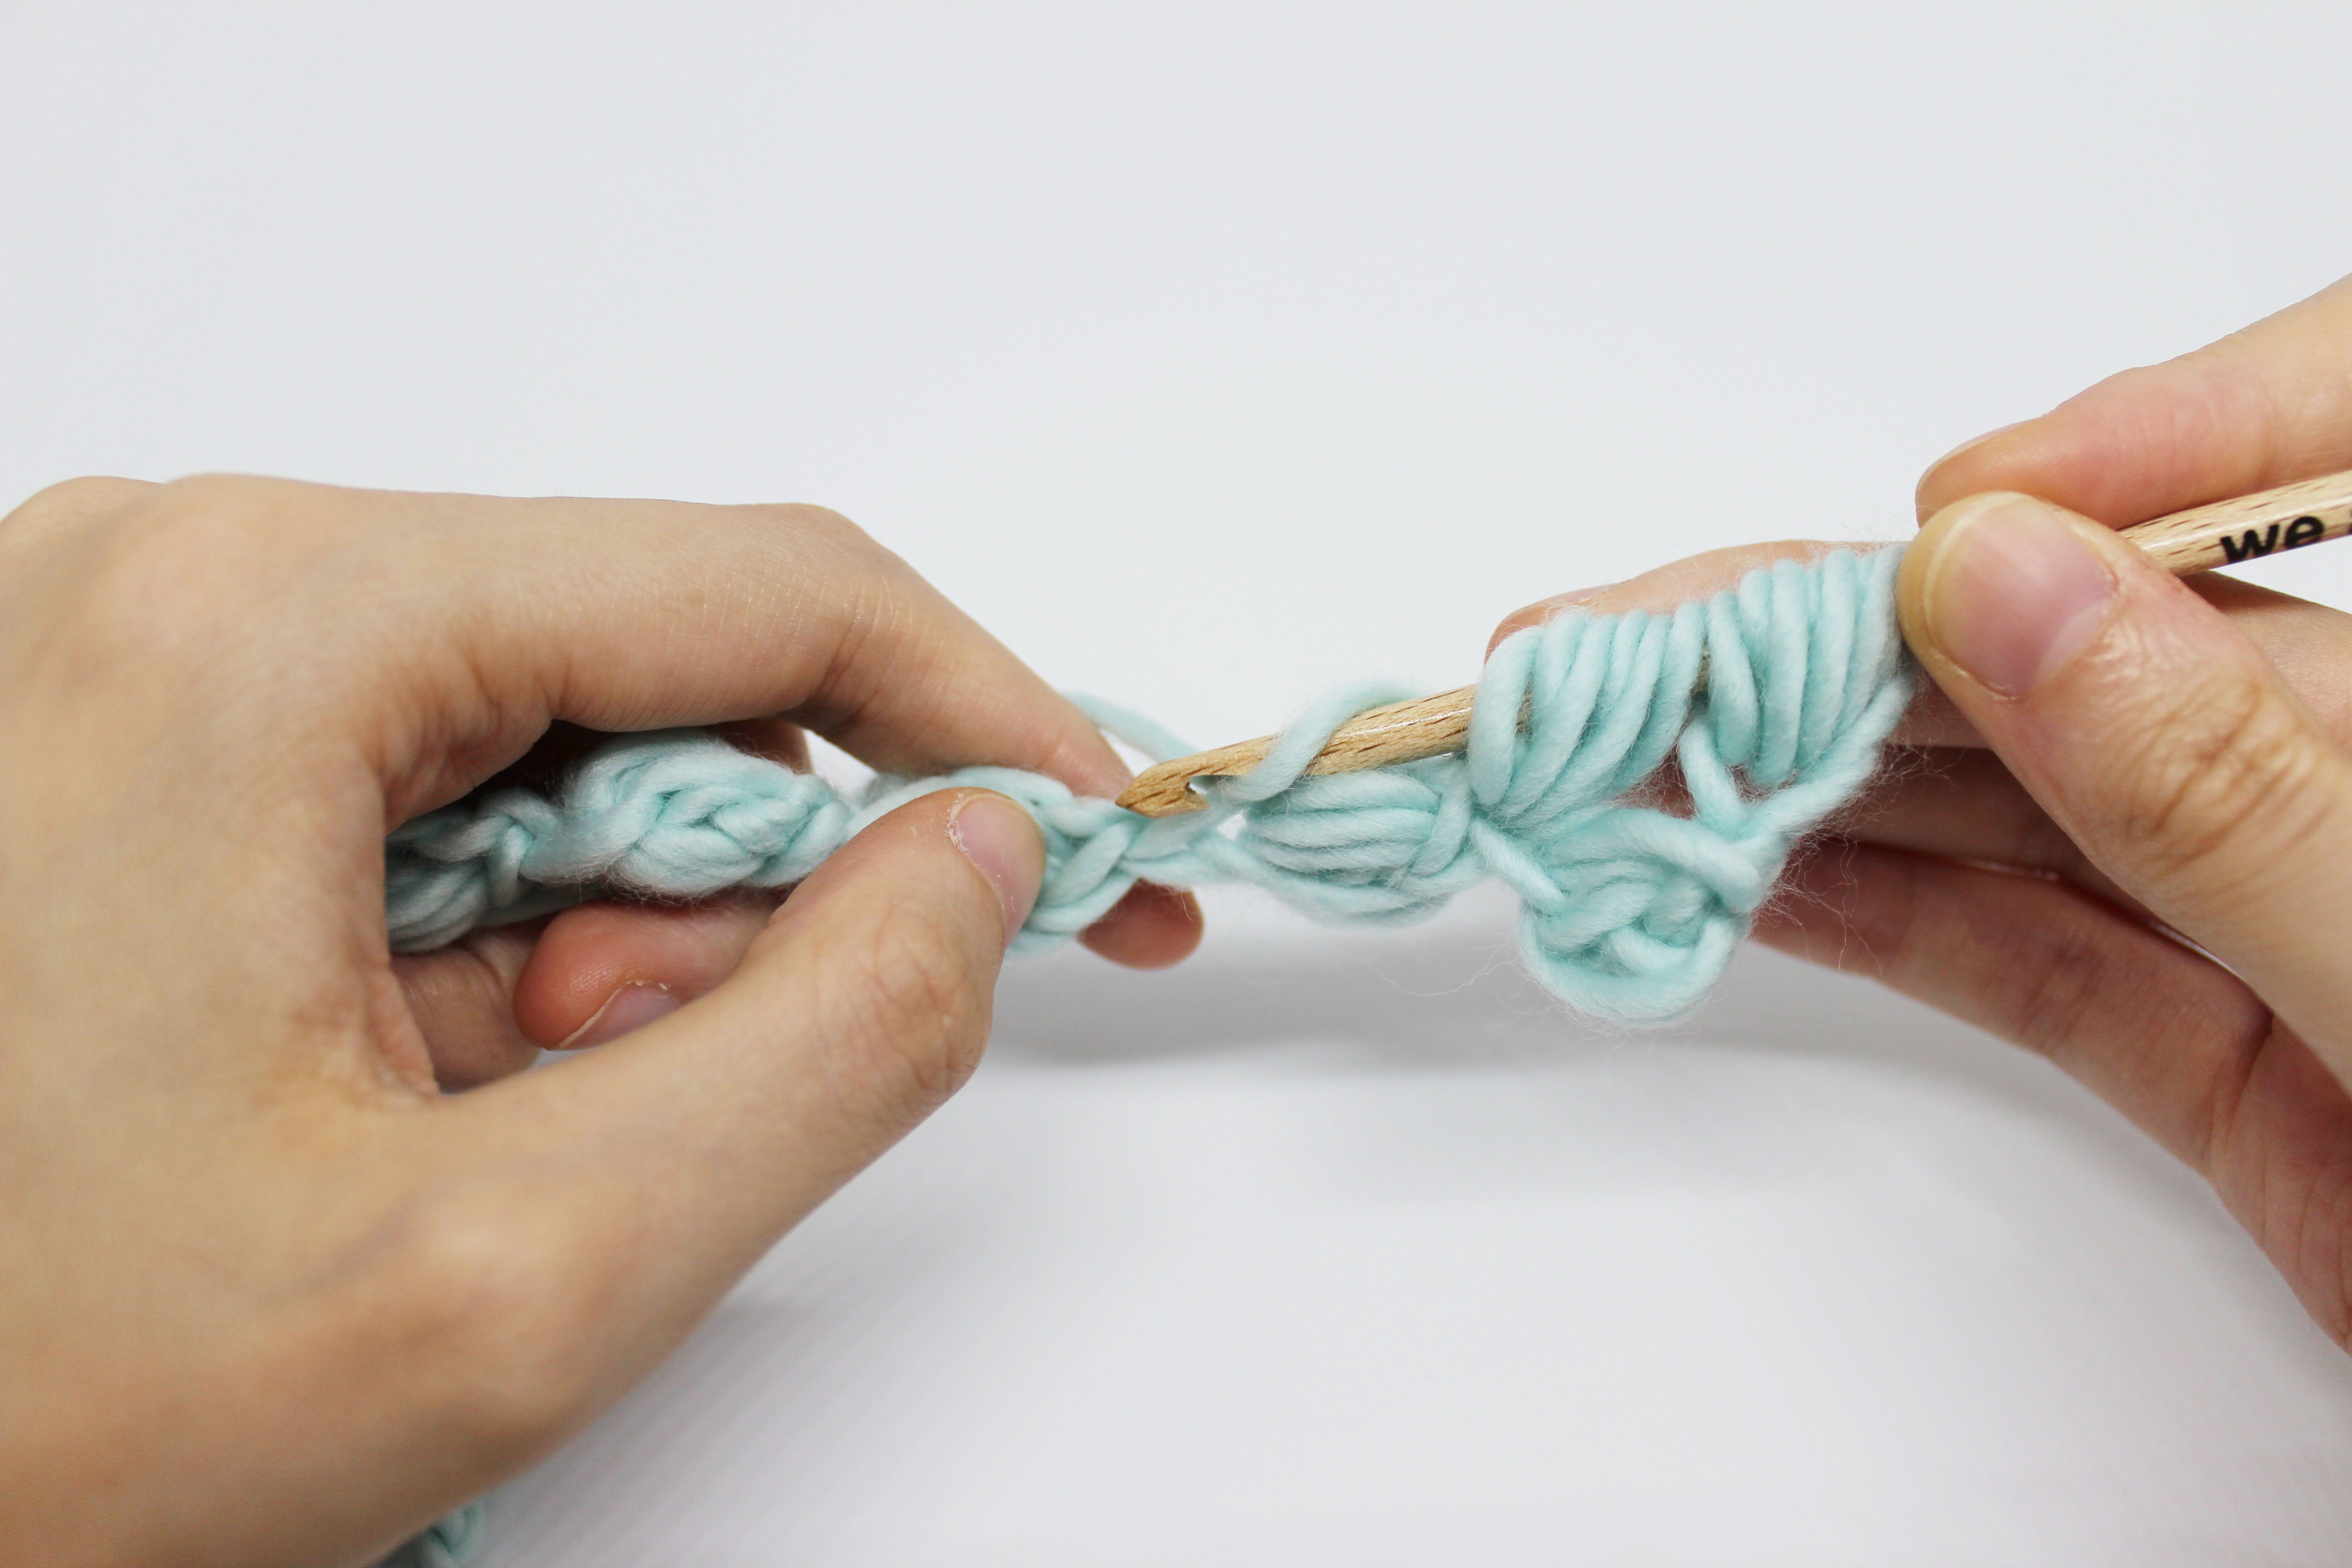
- Again work into the base of the previous petal, make another petal without closing it off.
- When you have, in total, three petals that you haven’t close off, pull a strand through all the loops on your hook to close them off. Remember to pinch the strand below with your thumb and index finger so that you can work the single crochet stitch and close it all off.

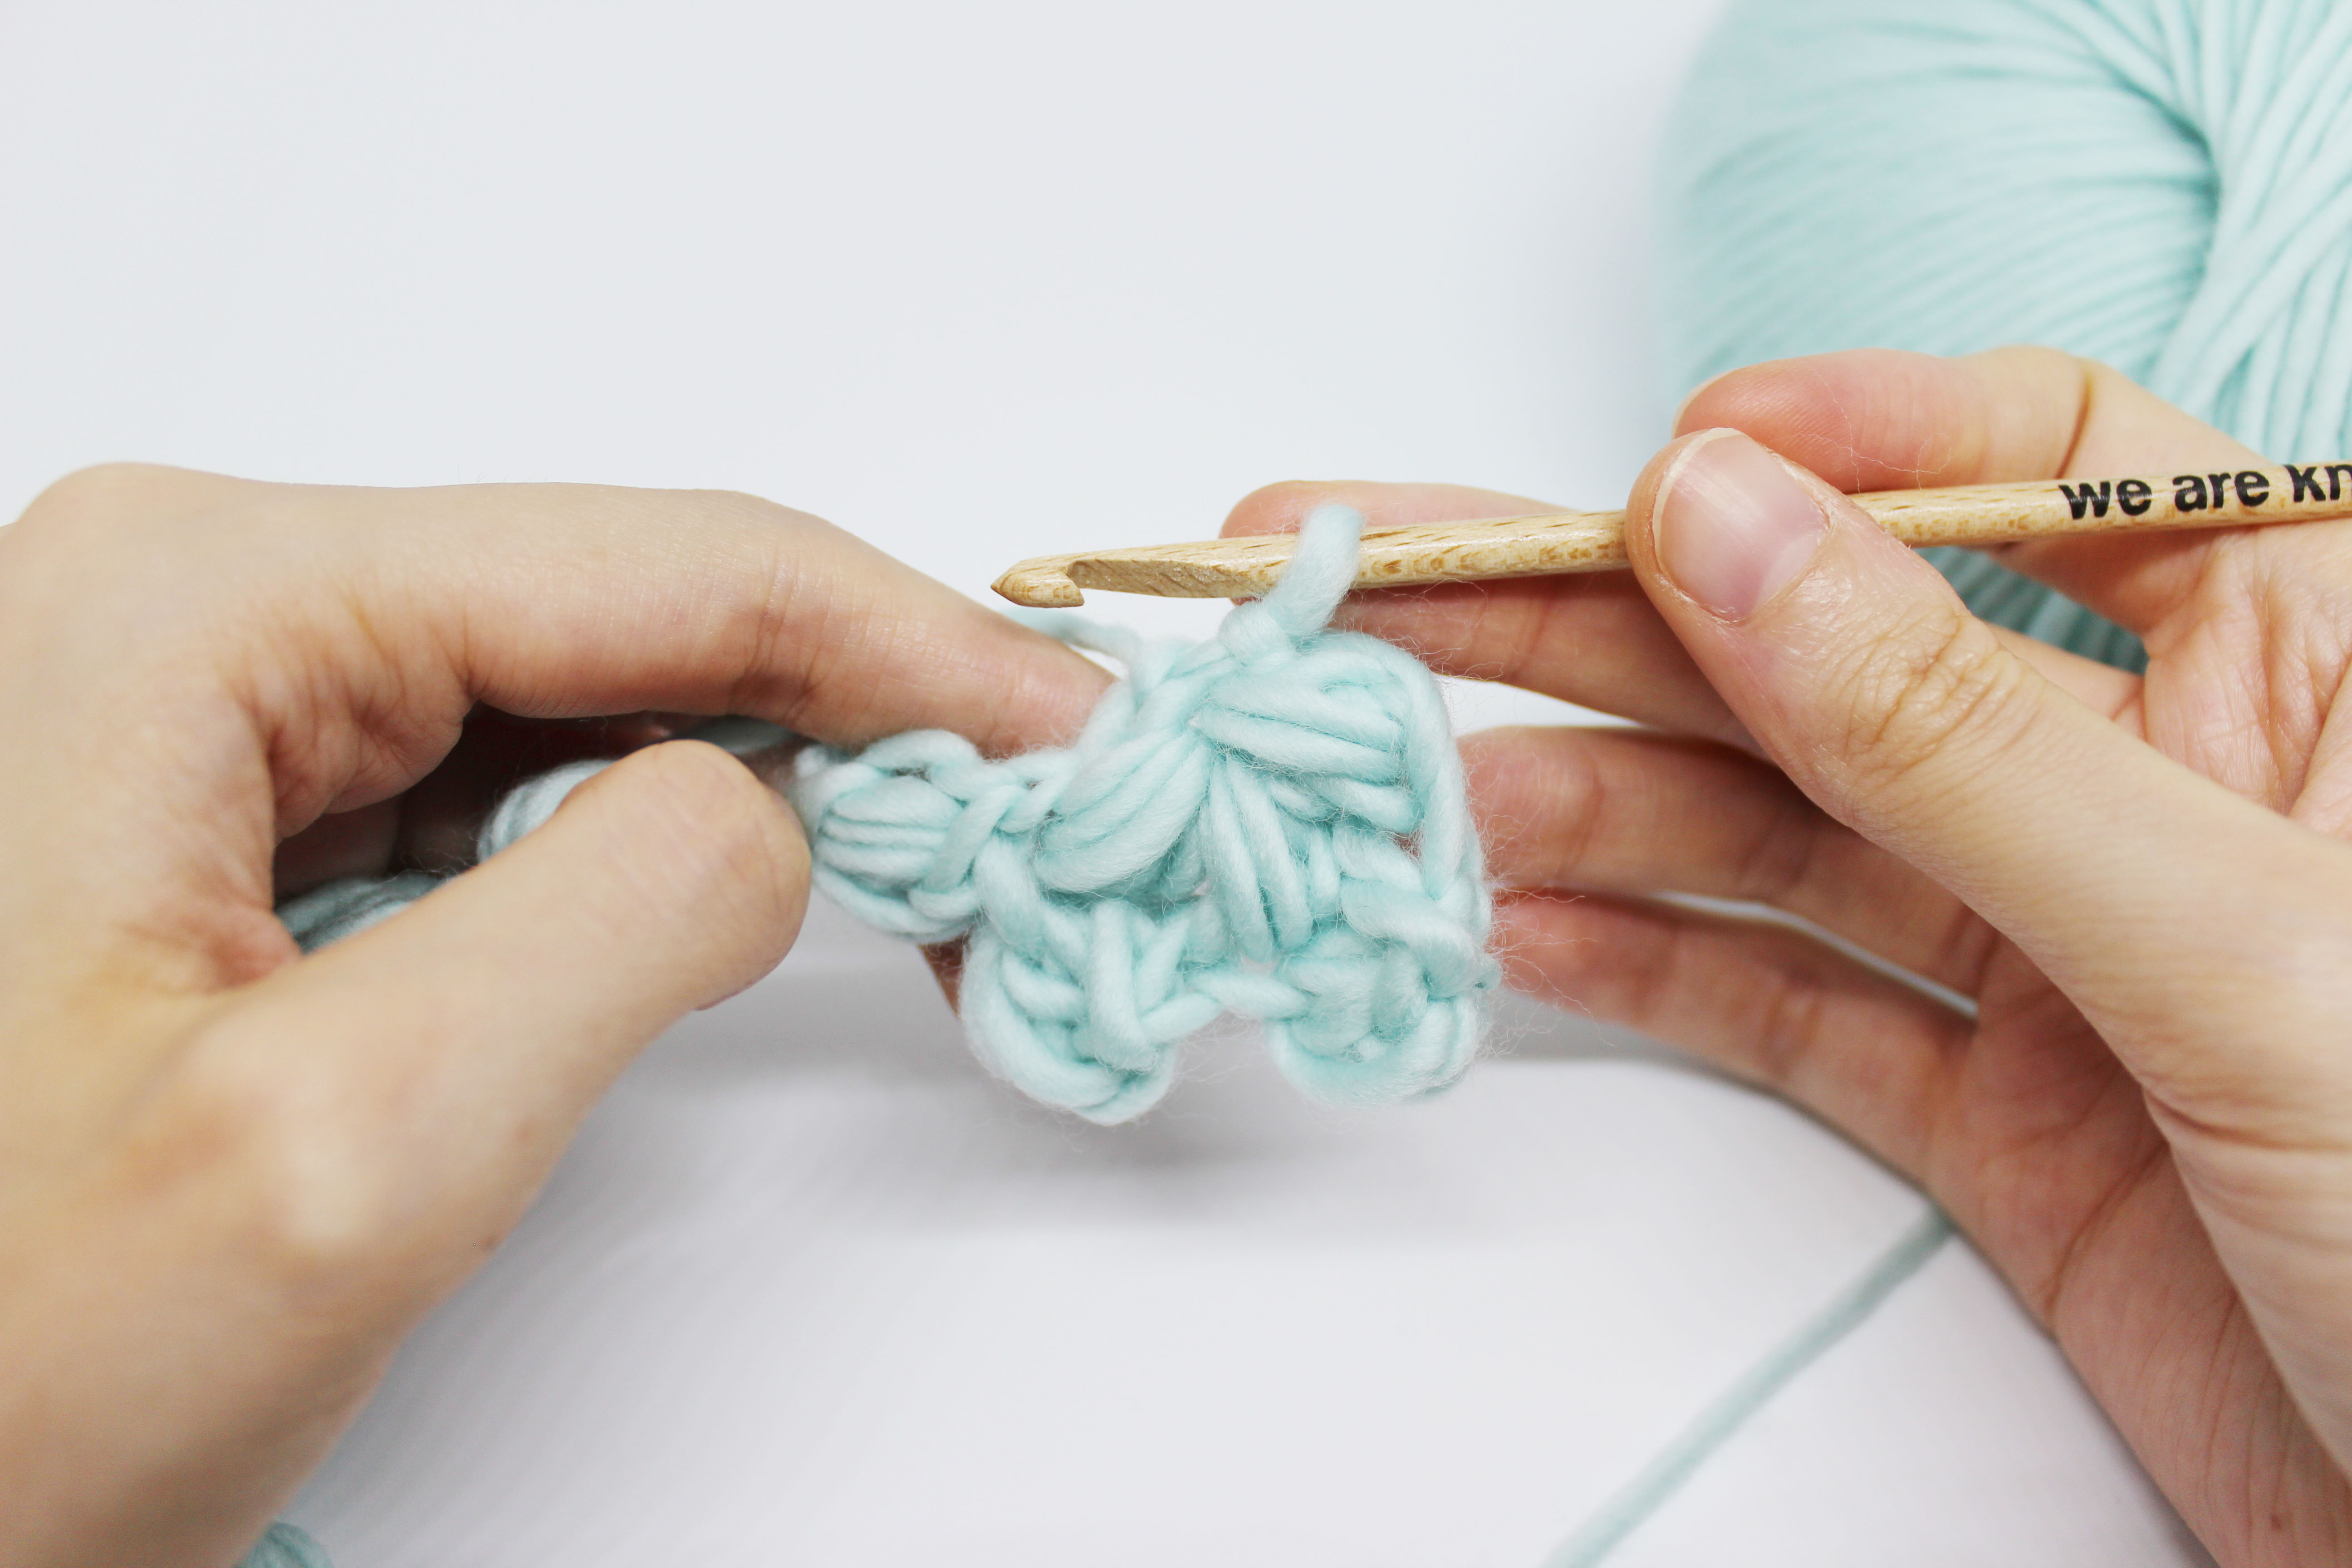
Now you’ve made your first flower.
Repeat the last three steps until the end of the row.
At the end of the row, you will have a free petal that you can’t make another flower with. This petal should be joined at its base to the single crochet stitch from the last flower. This is how you will finish the row.
Continue with the next row.
- To begin, make a new petal for the first flower, just like you did on the previous row…
- Once you’ve made the first flower, keep working until you finish the row.
On this row, you won’t have a free petal. Keep repeating these last two steps until you’ve reached the desired length.
Remember that the trick with this stitch is not to make the loops too tight. This will let you pull the yarn through without the hook getting stuck when you close off the flower or the petal at the end 🙂
Now you see that this stitch is easy. We can’t wait to see what projects you use this stitch on and we hope you’ll share your work with us on social media using #weareknitters.