Easy stitches don’t have to be boring, and today we’ll show you how. With a base worked in rib stitch, a tapestry needle, and a strand yarn, you can make these fun streamers to adorn your spring clothes. Can you imagine how they’d look on a cardigan? 🙂

For this tutorial, we’ve used three of our 8 mm knitting needles and one skein of The Petite Wool.

You will also need a tapestry needle to add a fun touch to this stitch.
Before you begin, here’s a list of the stitches you should already know:

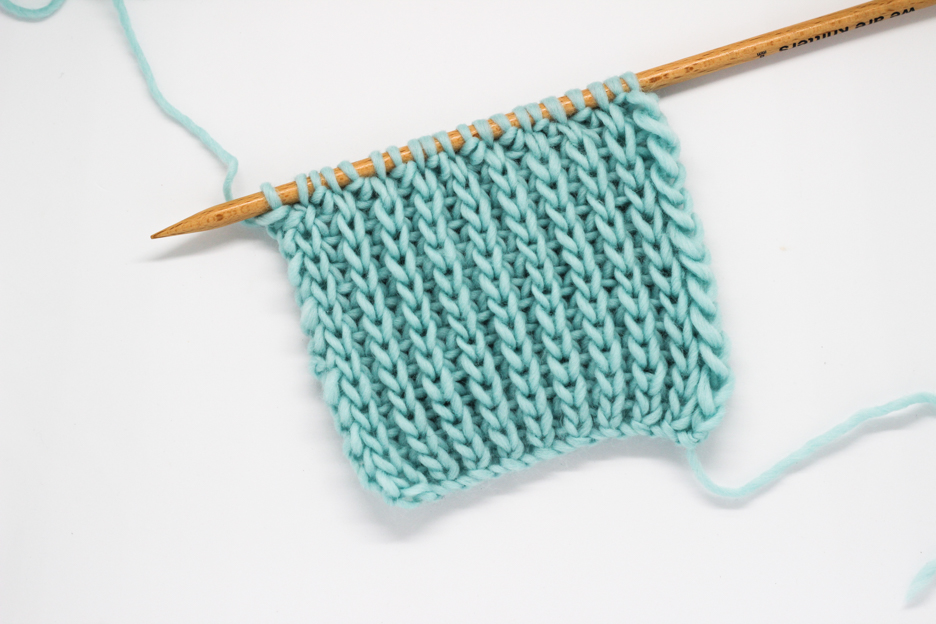
Let’s start working the base of the stitch. You should cast on a multiple of 6 stitches + 2, then work the following two rows:
Row 1 (right side): * purl 2, knit 4 *. Repeat from * to * until there are 2 stitches left on your needle and purl them.
Row 2 (wrong side): * knit 2, purl 4 *. Repeat from * to * until there are 2 stitches left on your needle and knit them.
Repeat these two rows until you reach the desired length for your page. On the next right-side row: cast off the stitches, working them as in row 1.

Now, we’ll begin making the streamers. In the image above, to the right, is the cast off edge, and on the left, is the is the base.

First, thread the tapestry needle with the same yarn you used on the base.

On the wrong side, make a small knot to attach the thread so that it cannot pull through and to allow you to comfortably make the streamers.

Pass the yarn from the wrong side of the work to the right, so that you are working on one of the sides of the group of 4 knit stitches.

This will establish the distance between the streamer loops. In our case, we’re going to leave 6 rows. This distance should always be the same.

Now insert the tip of the needle on the right side of the group of points and pull it out in a straight line at the other end.

This is how you’ll leave the loop once you’ve finished the previous step.

Repeat the last three steps as many times as necessary until you reach the lower part of the base.

Now gently pull the yarn, so that the streamer is pursed. Be careful not to pull too much and that all the sections are even.

Tie it to the back of the fabric so that it doesn’t come undone. Easy, right?
You’ve now seen that with a stitch as simple as ribbing, combined with a tapestry needle, can do real wonders. We look forward to seeing how you use this tutorial, and, as always, share them on social media with the hashtag #weareknitters