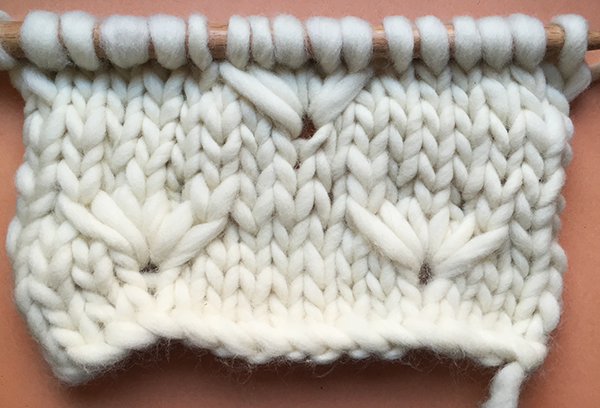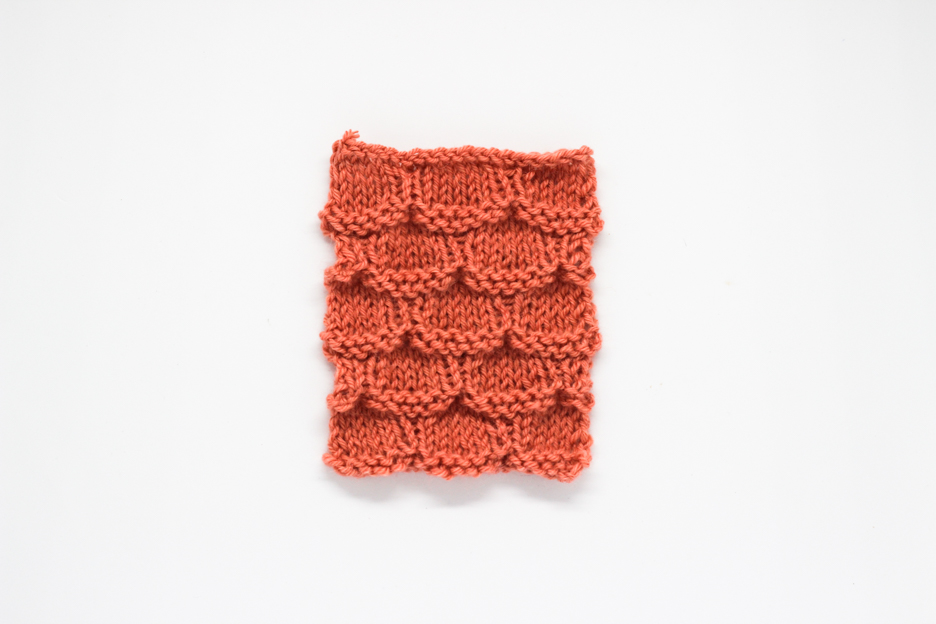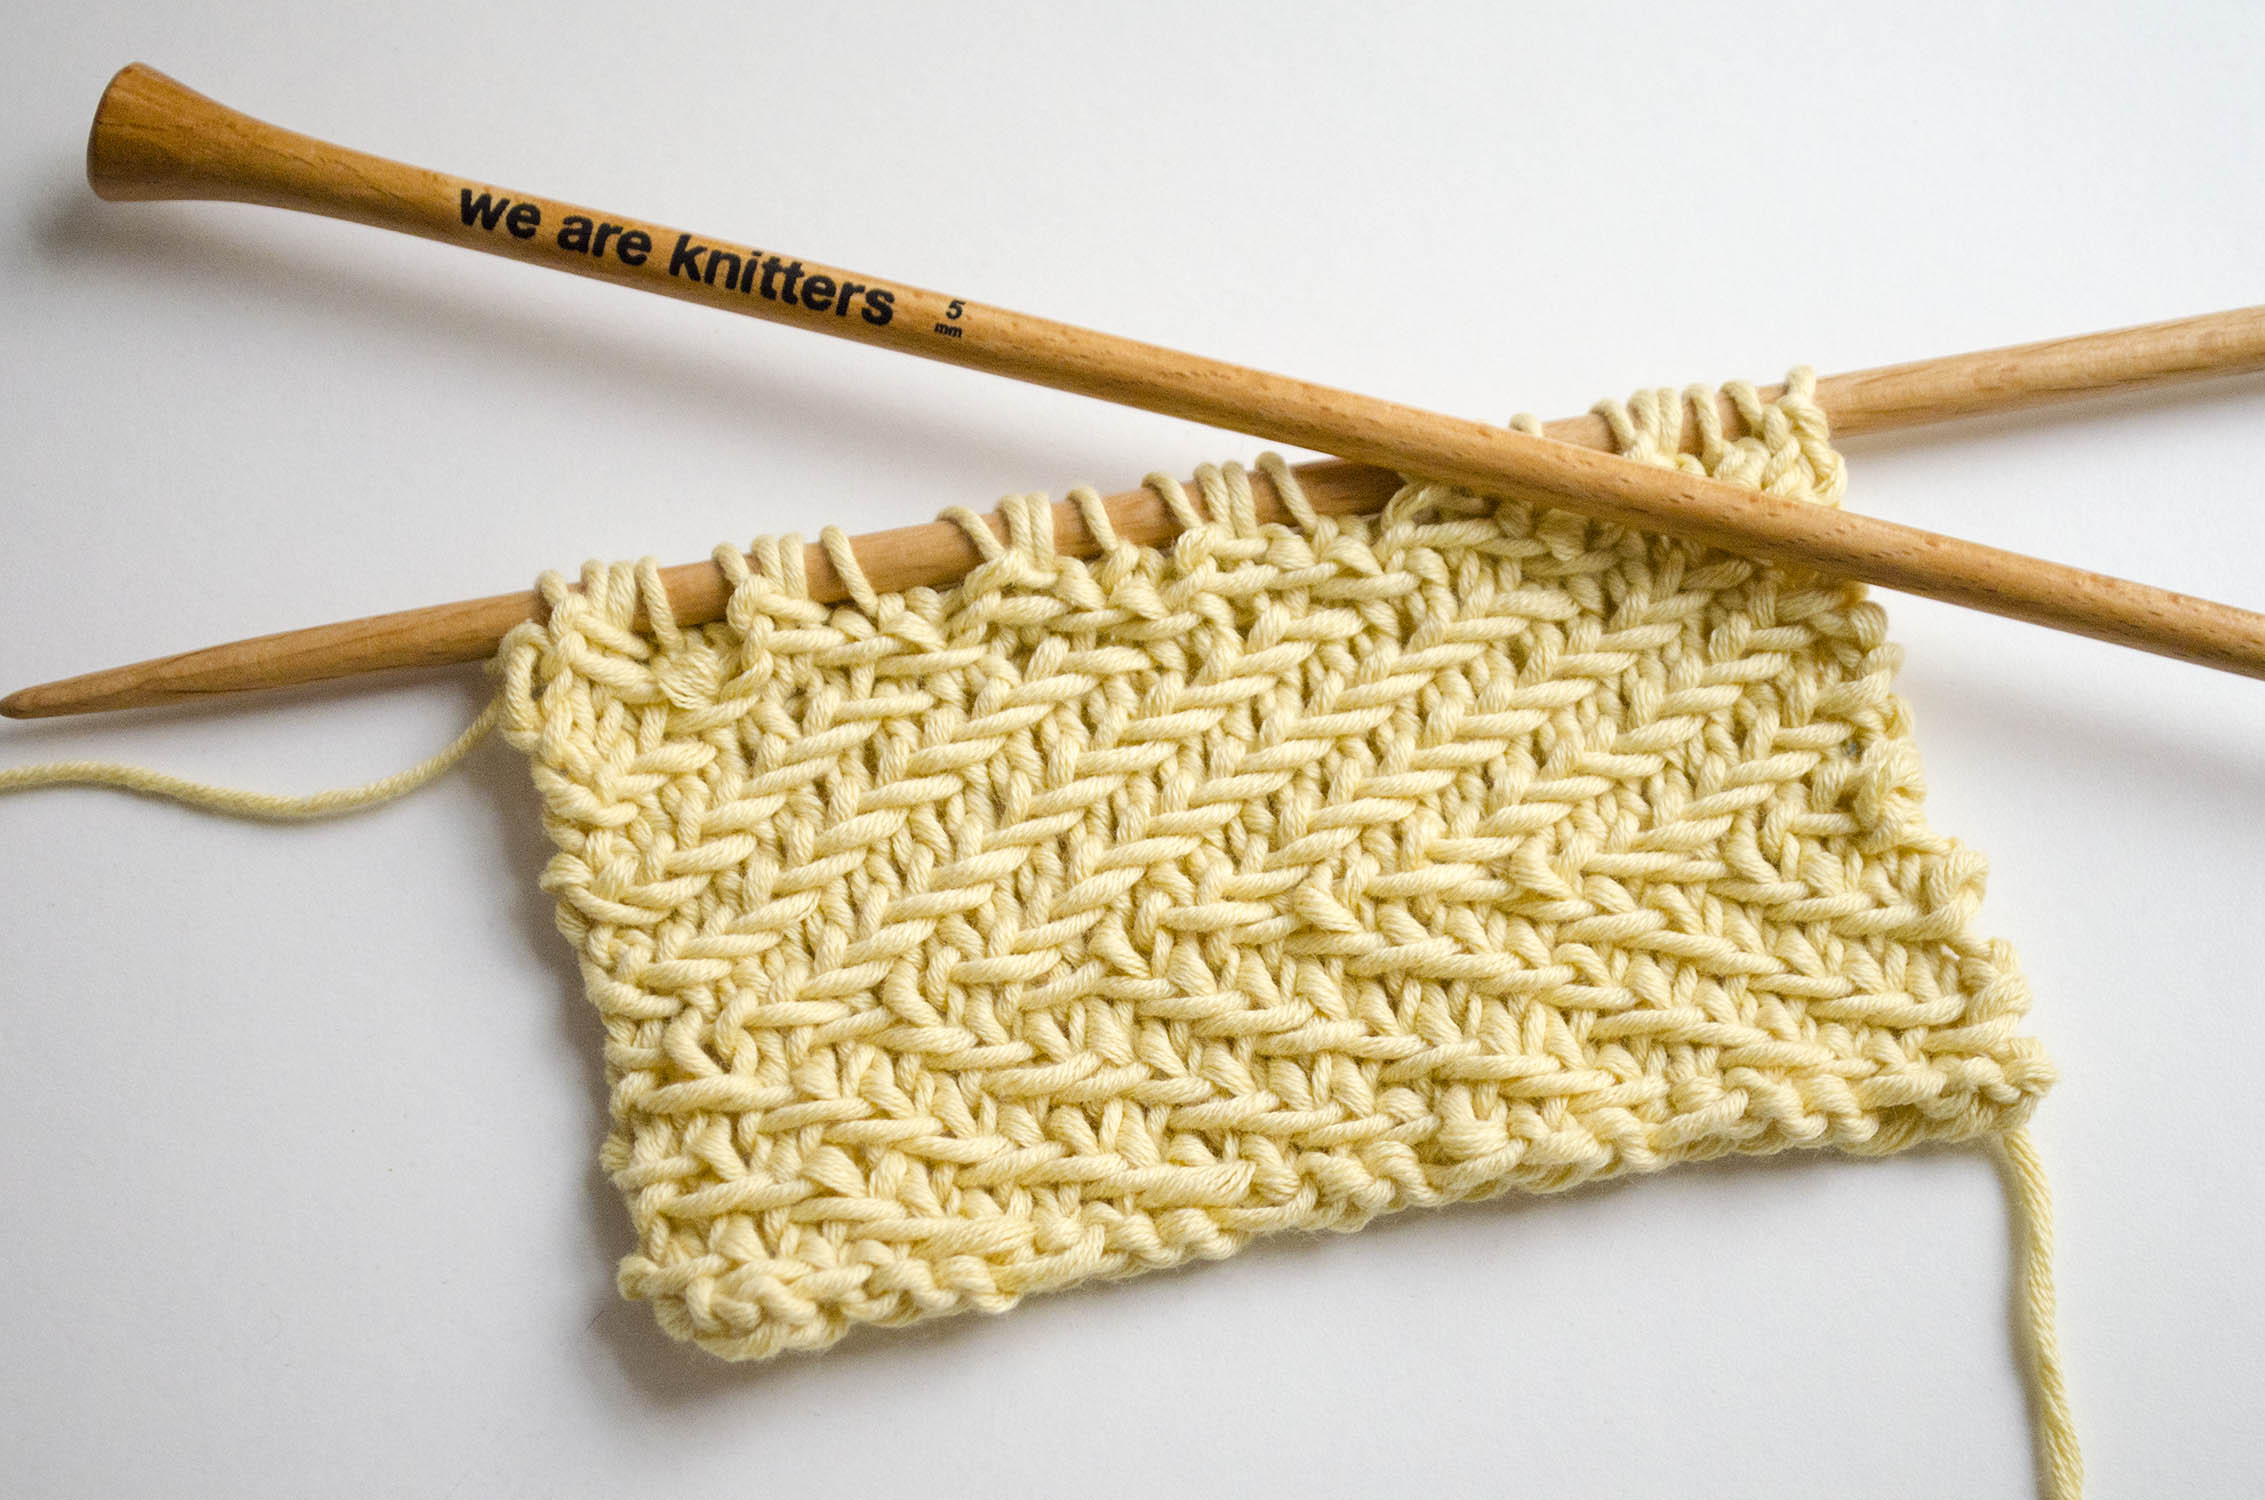
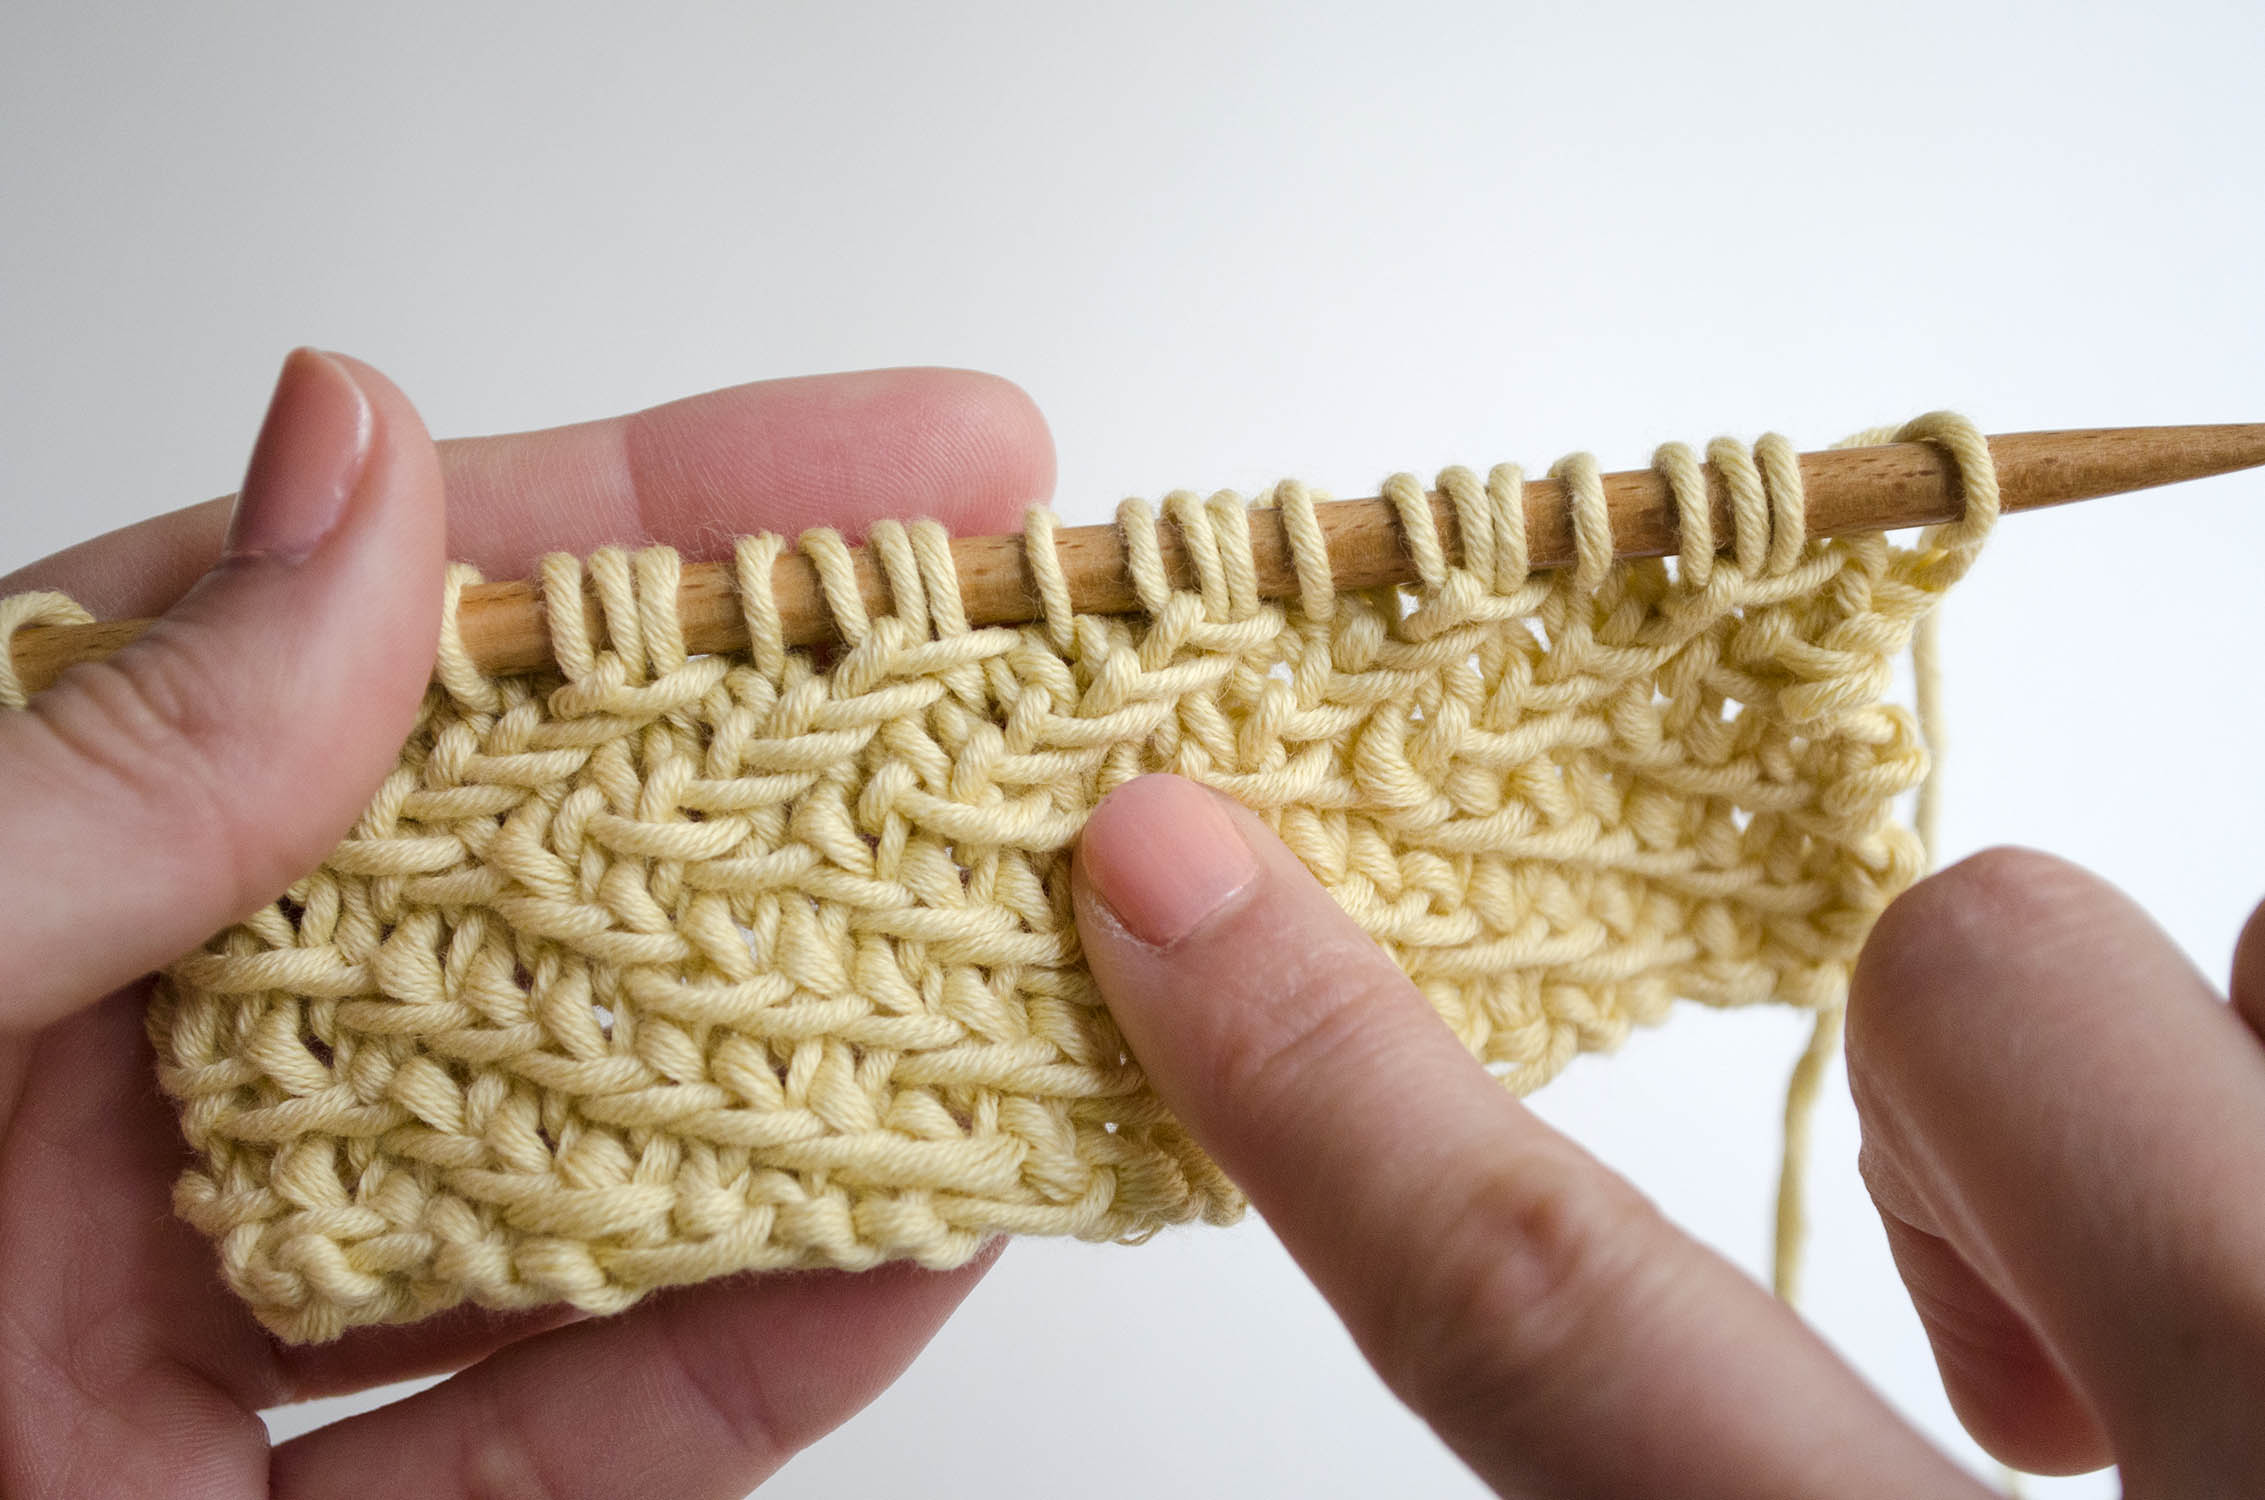
The stitch we are going to teach you today is a variation of our beloved Herringbone stitch. With this version the change in direction of the diagonal lines are much further apart and create a pattern of arrows on our work. It’s a beautiful stitch and very easy to knit!
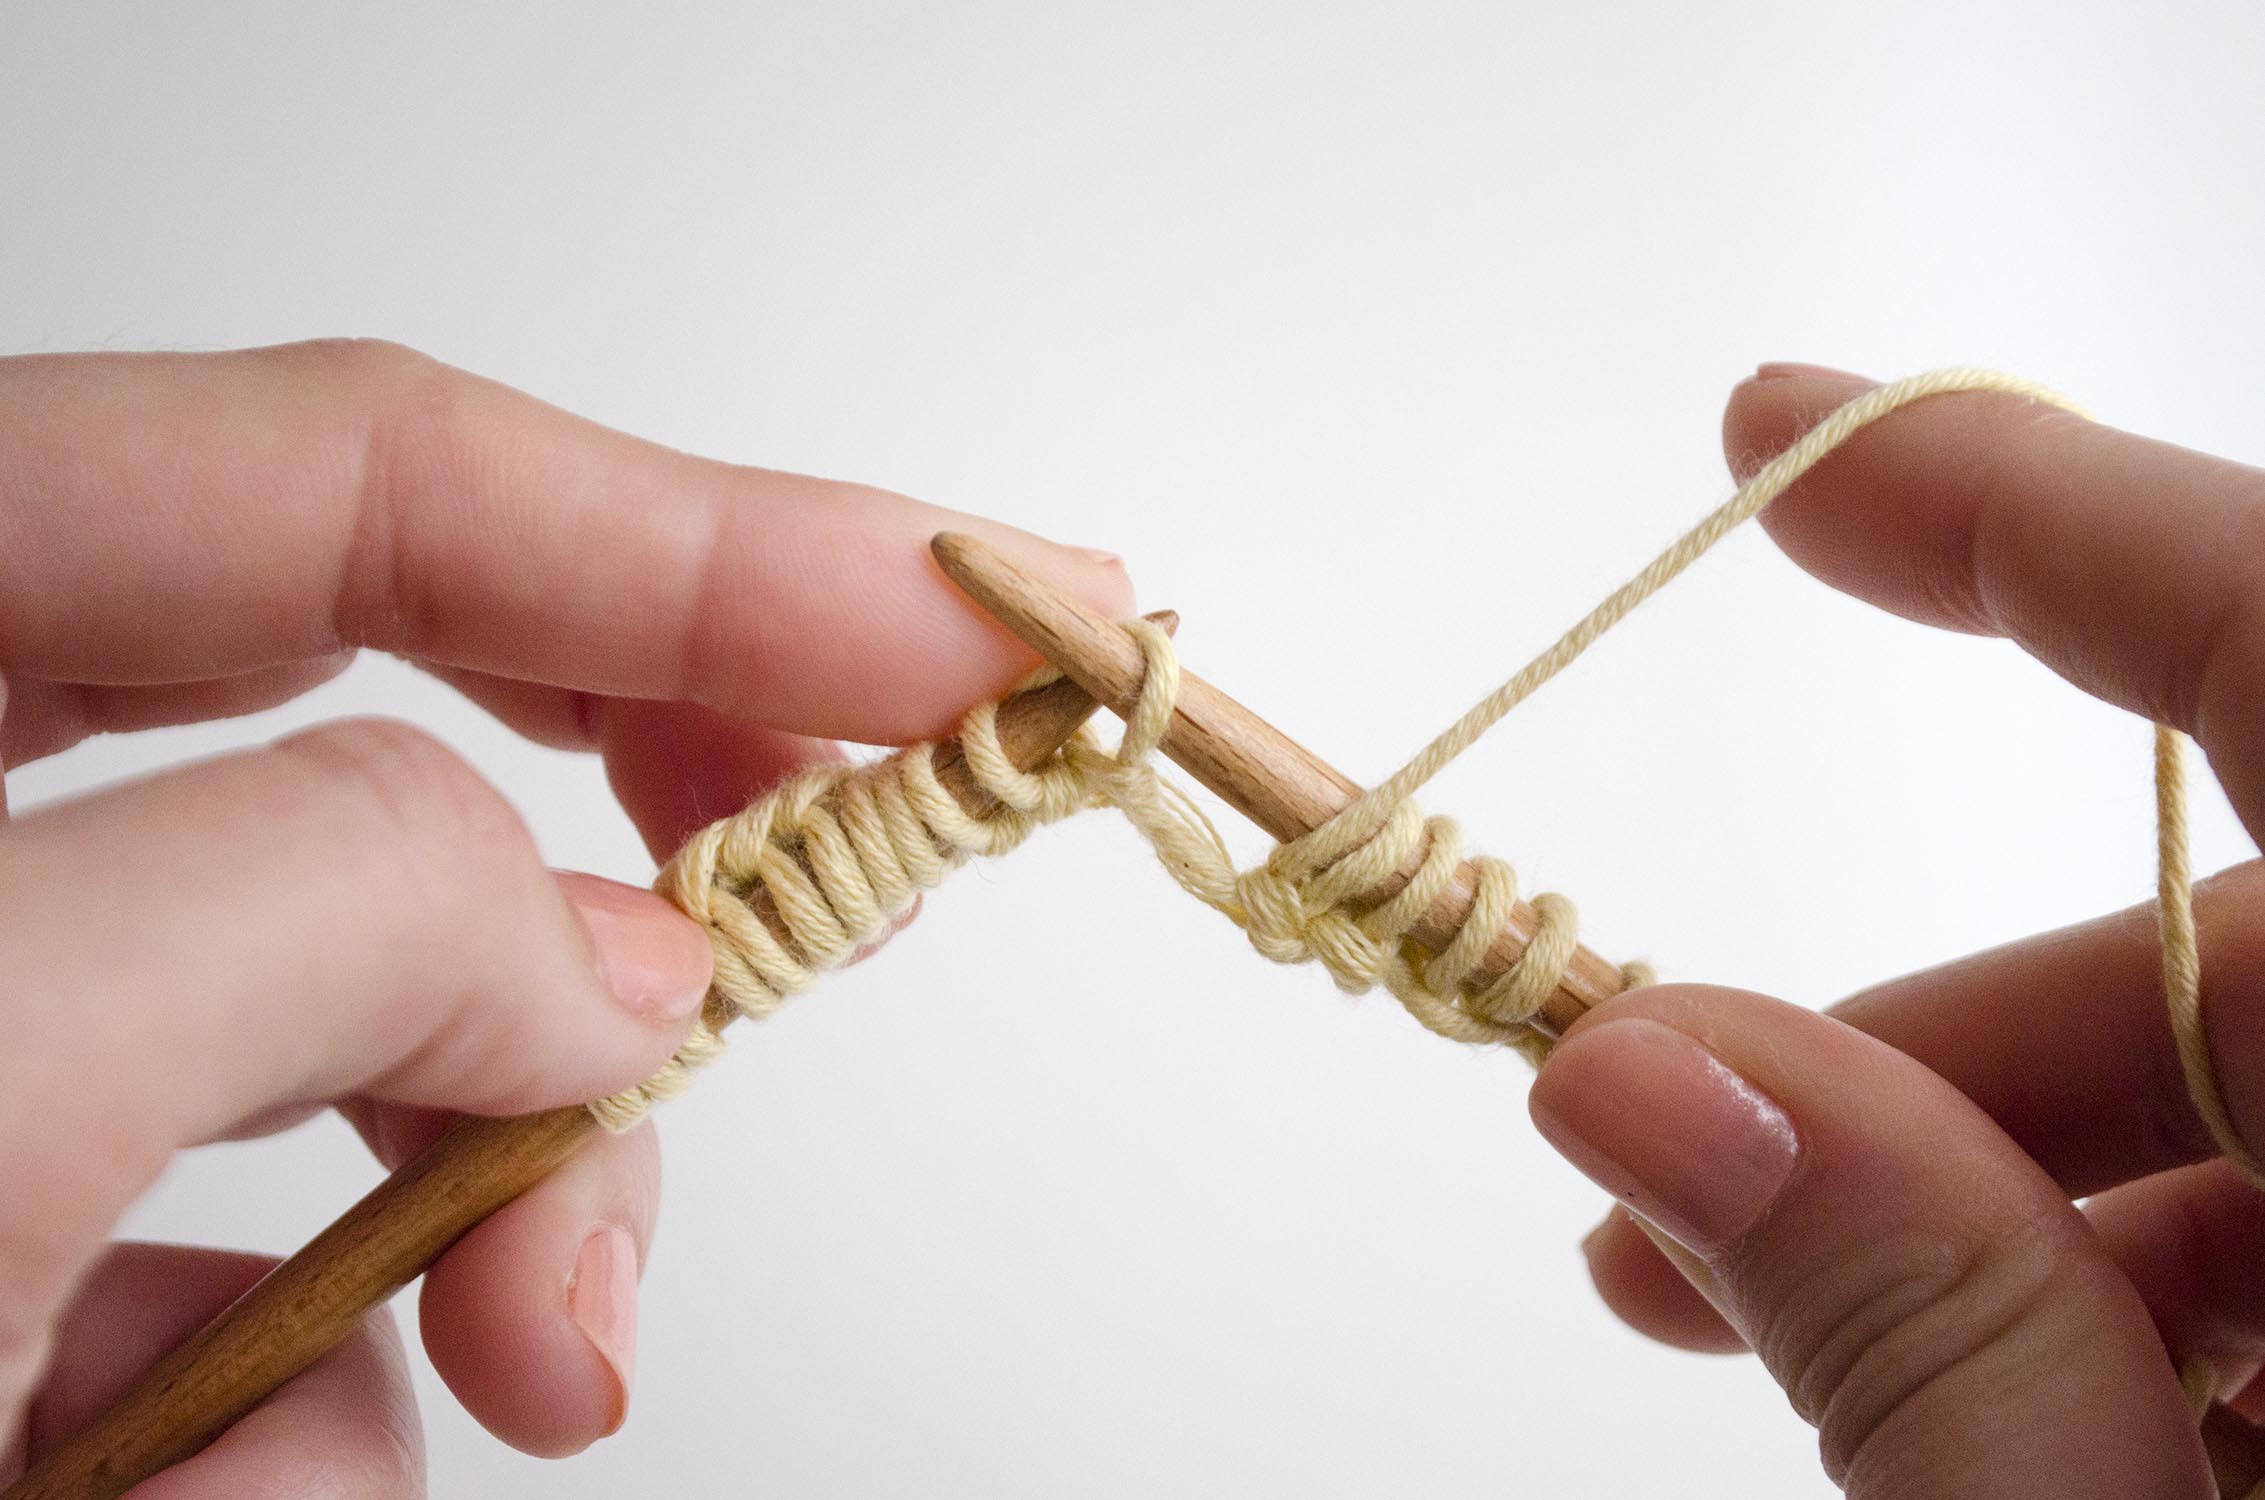
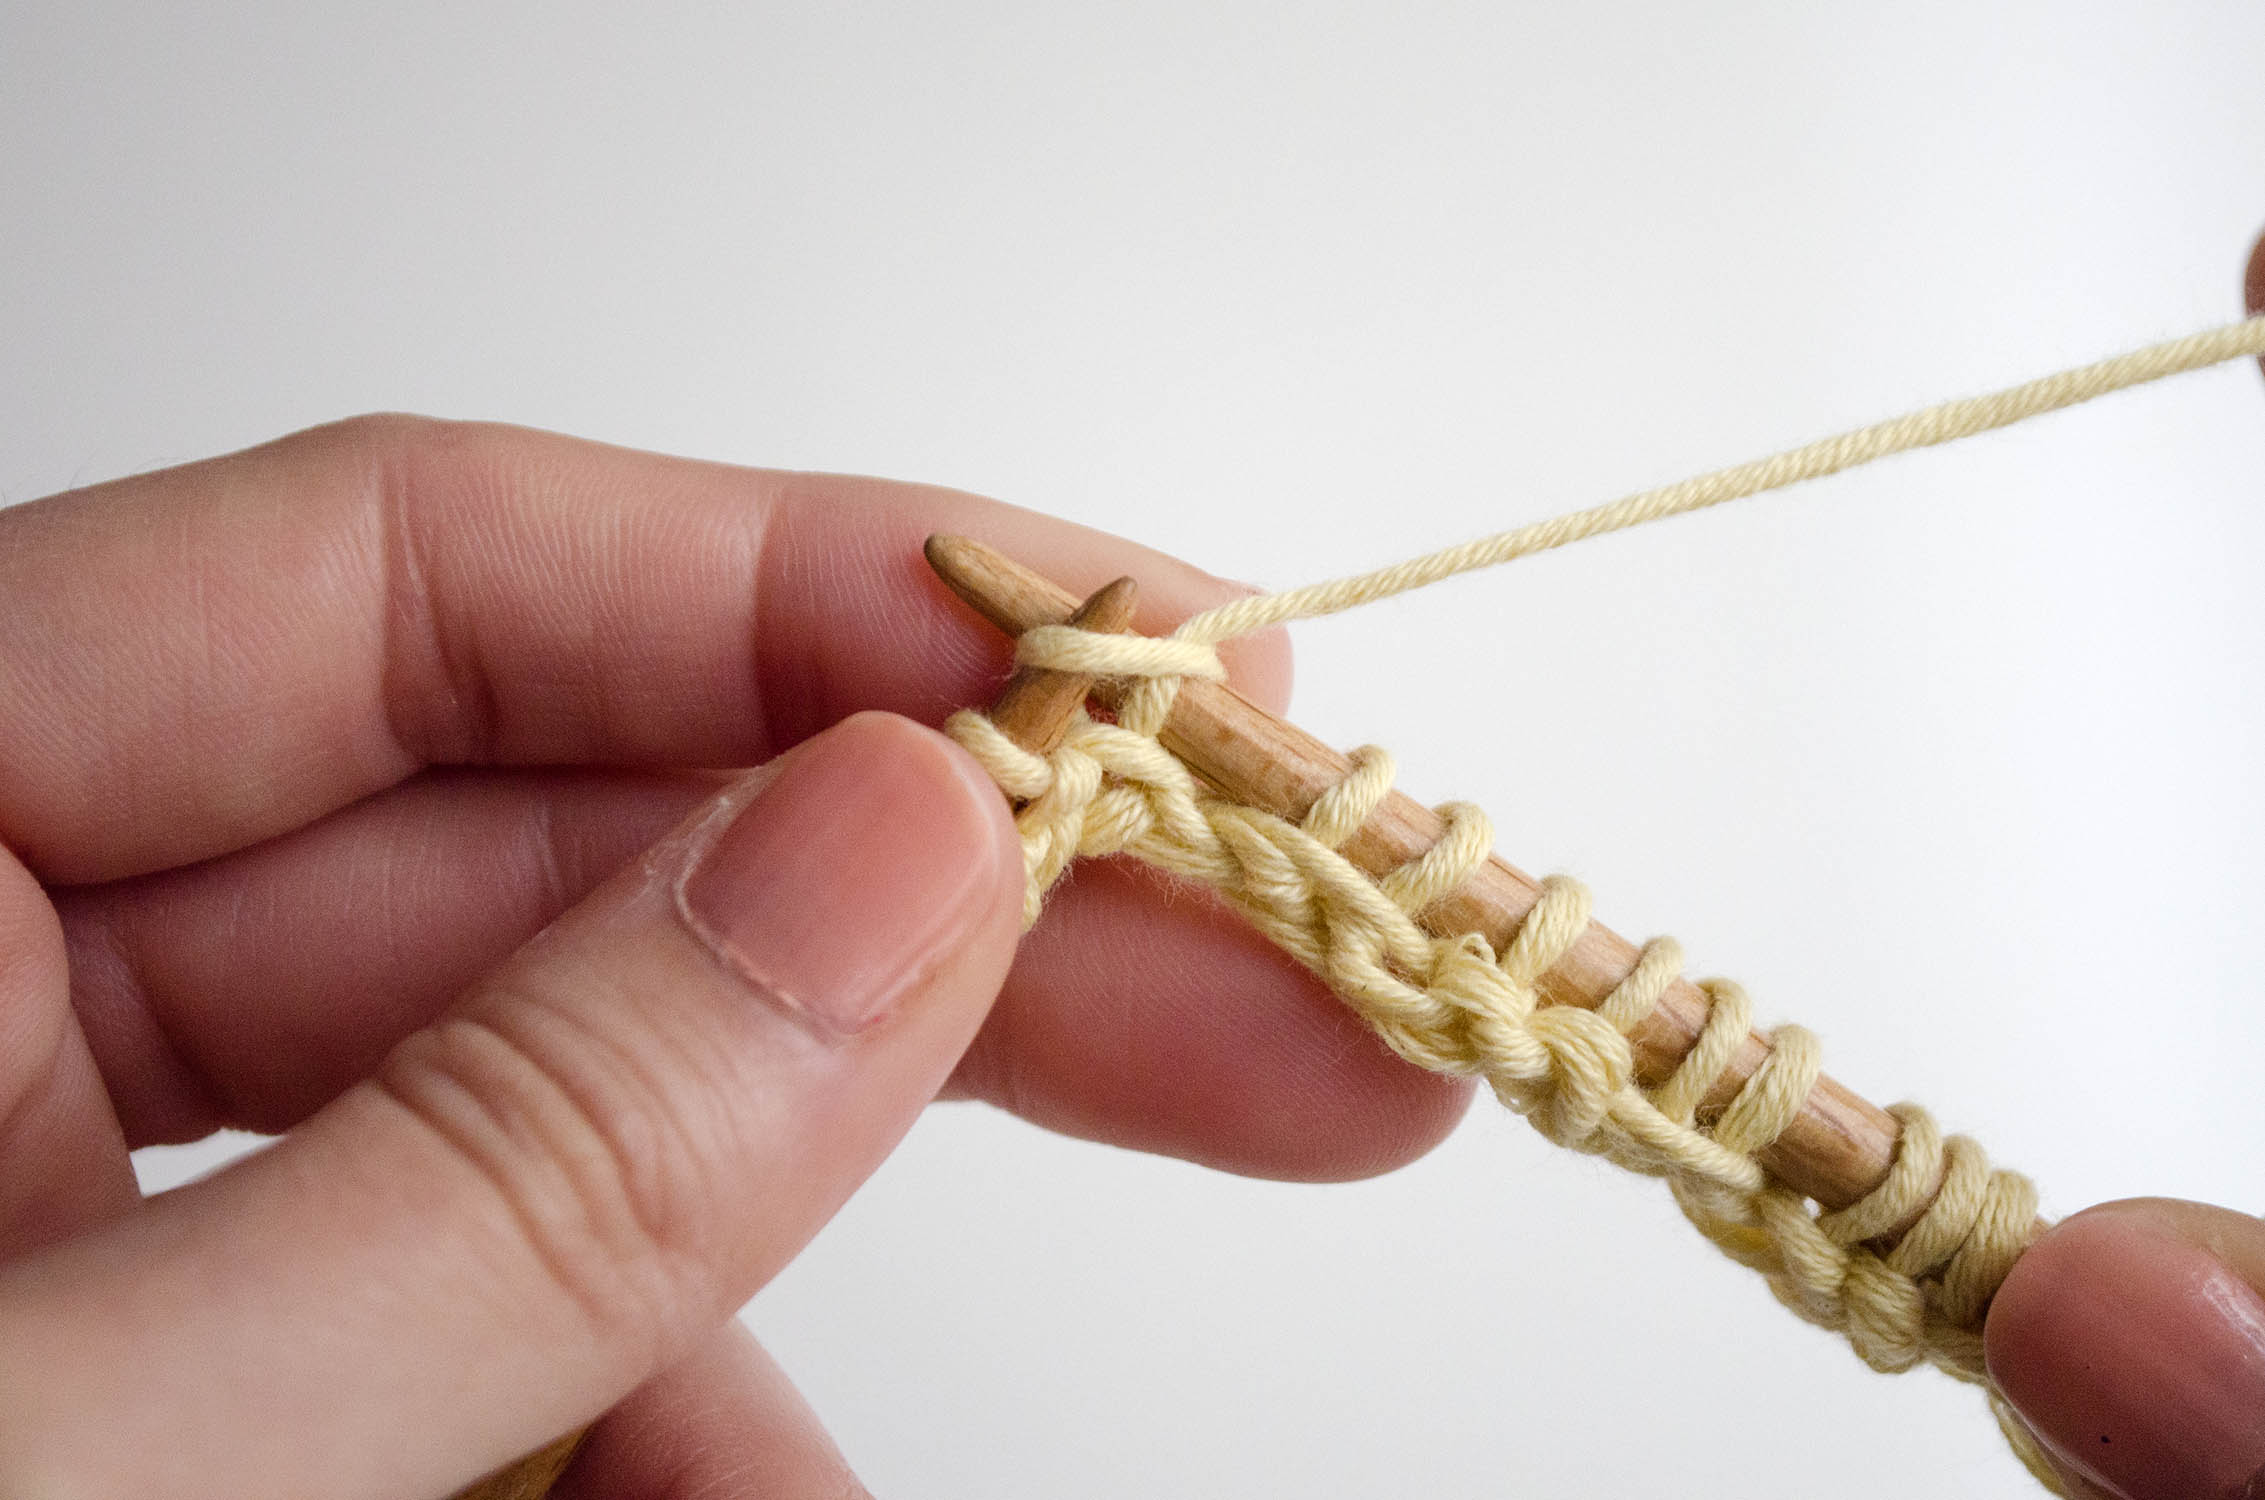
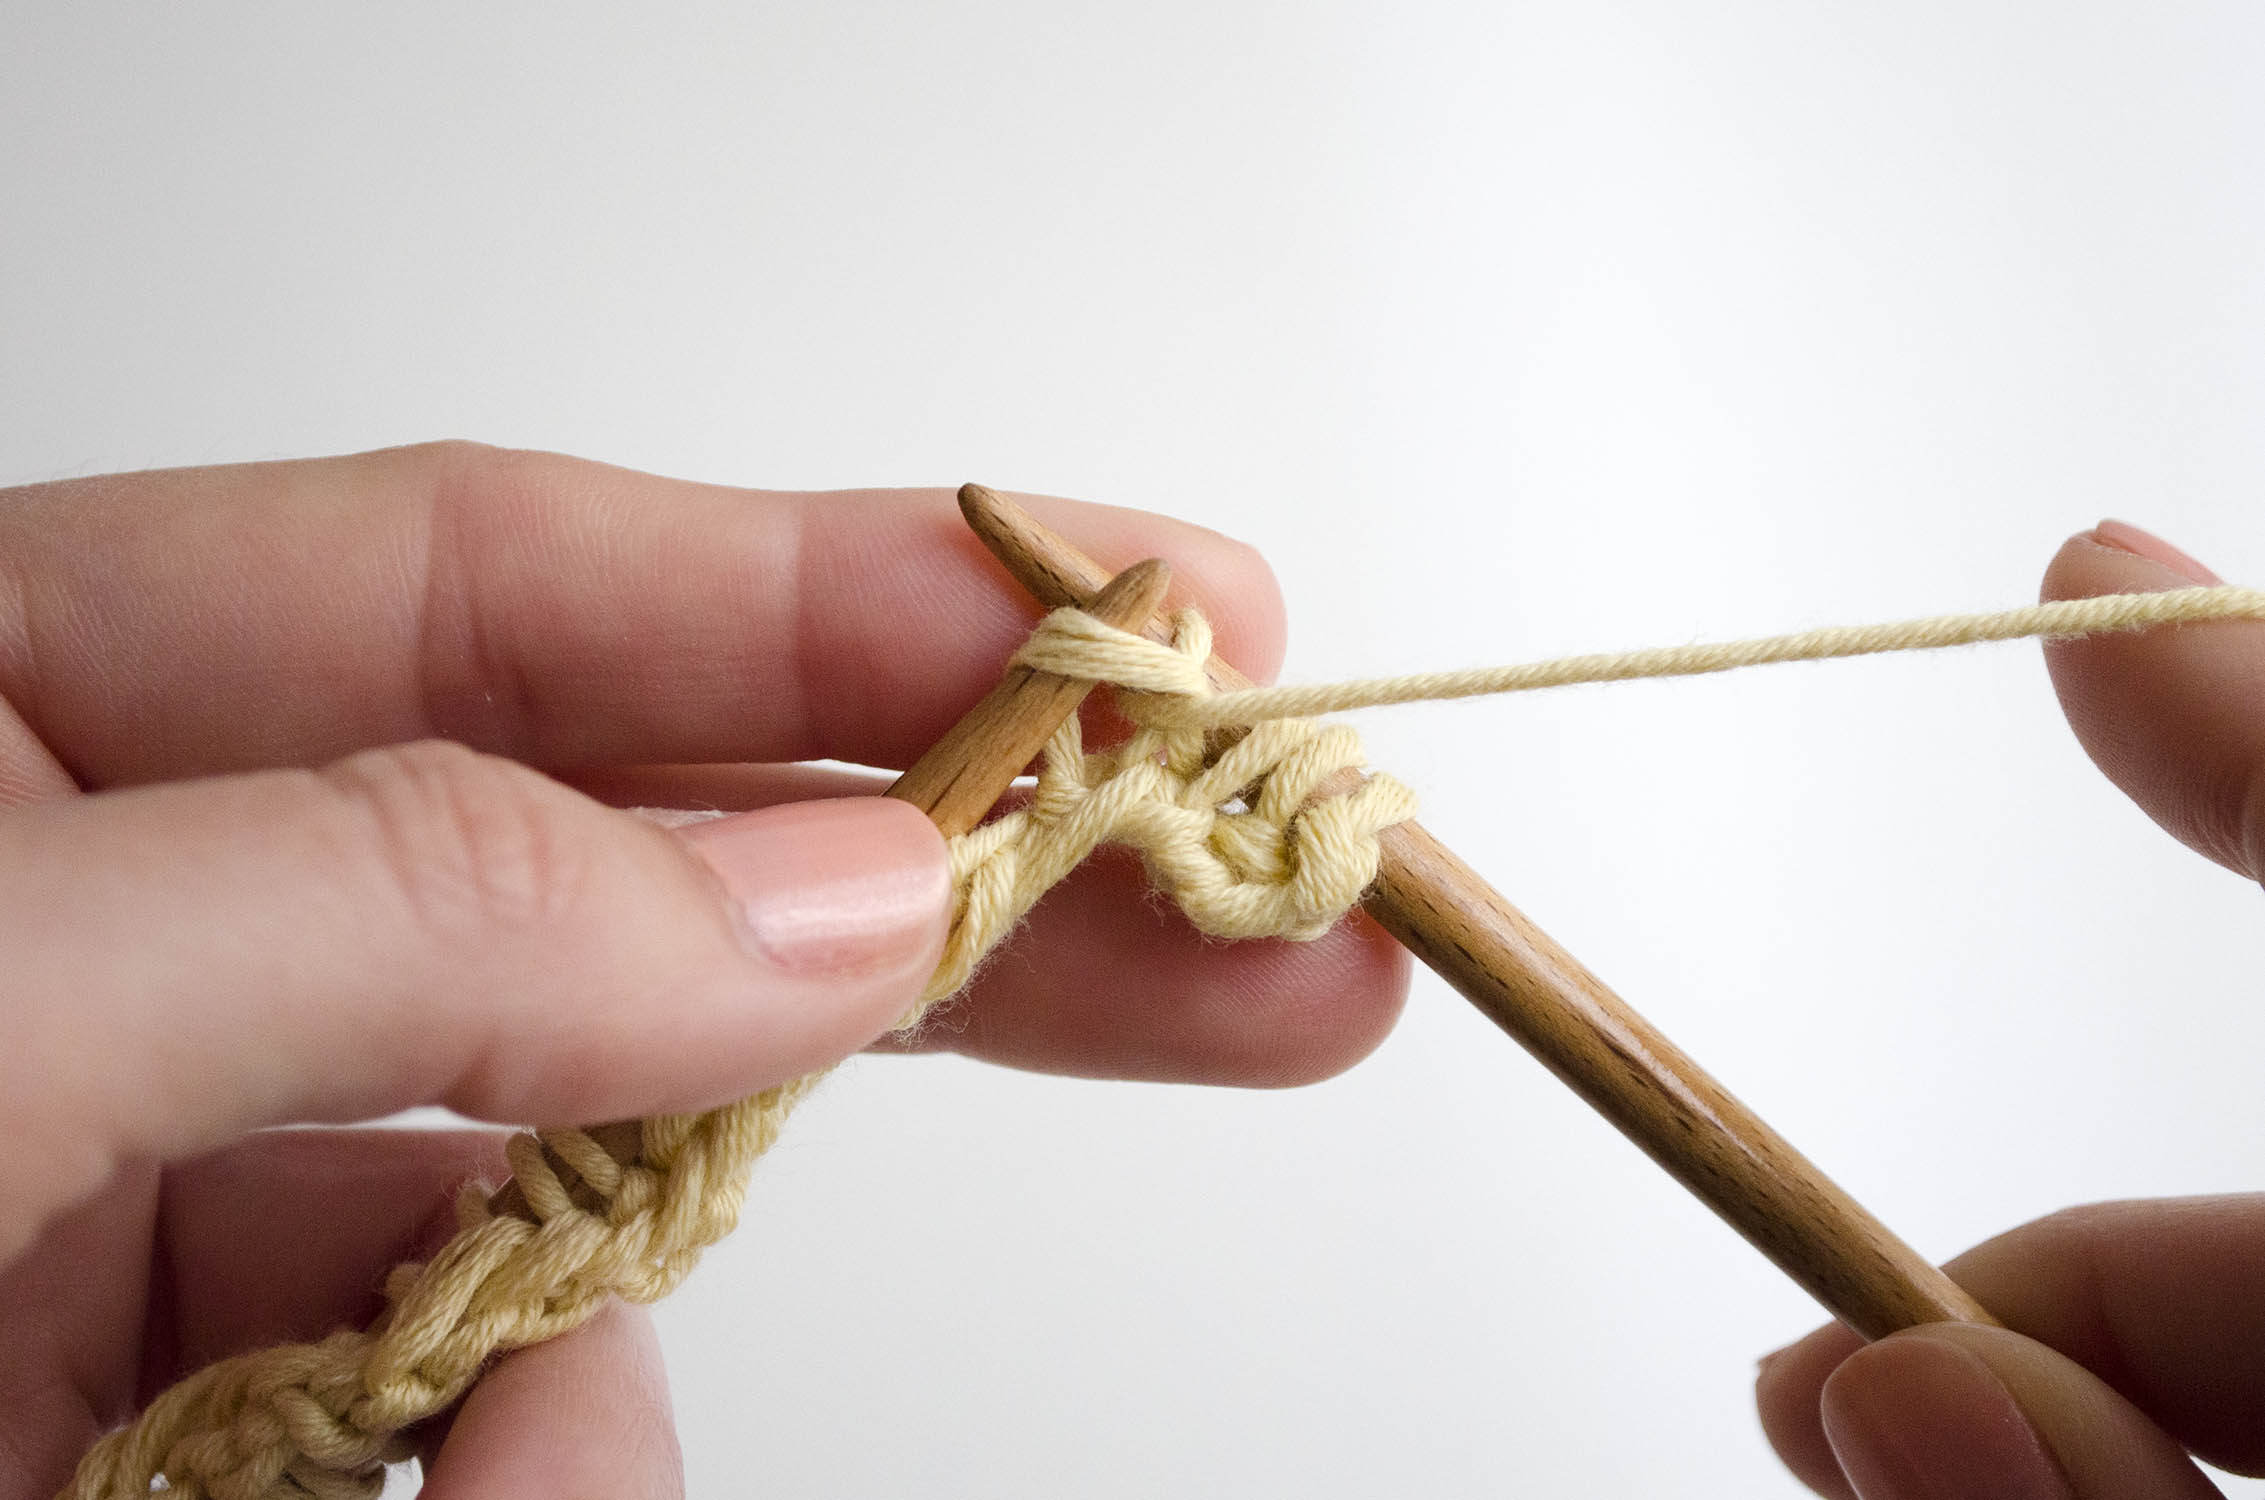
To knit this stitch correctly the most important things to keep in mind is to bring the yarn to the front or back of your work as indicated in each row, and to always slip the stitches purlwise. If you follow these two tips and the pattern you can’t go wrong.
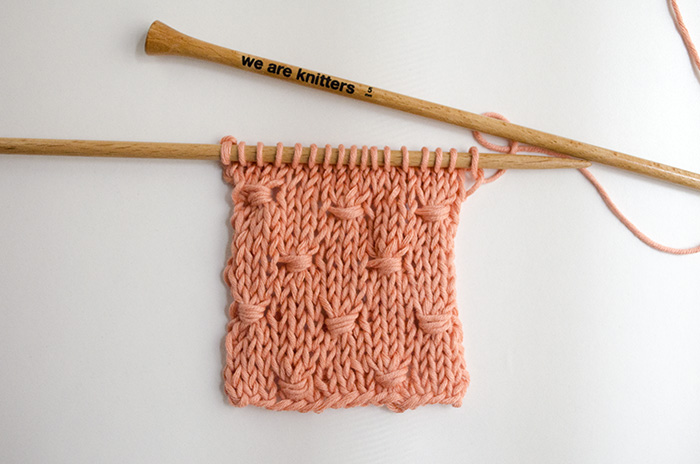
Knitted in a multiple of 4 + 2 stitches. It is not reversible.
Row 1: knit 2. *With the yarn in front slip 2 without knitting, knit 2*. Repeat from * to * until the end of the row.
Row 2: purl 1. *With the yarn in back slip 2 without knitting, purl 2*. Repeat from * to * until there is 1 stitch left, purl 1.
Row 3: with the yarn in front slip 2 without knitting. *Knit 2, with the yarn in front slip 2 without knitting*. Repeat from * to * until the end of the row.

Row 4: purl 3. *With the yarn in back slip 2 without knitting, purl 2* Repeat from * to * until there are 3 stitches left, with the yarn in back slip 2 without knitting, purl 1.
Rows 5-12: repeat rows 1 to 4 two more times.
Row 13: repeat row 3.
Row 14: repeat row 2.
Row 15: repeat row 1.
Row 16: repeat row 4.
Rows 17-24: repeat rows 13 to 16 two more times.
Repeat rows 1 to 24 until you reach the desired length.
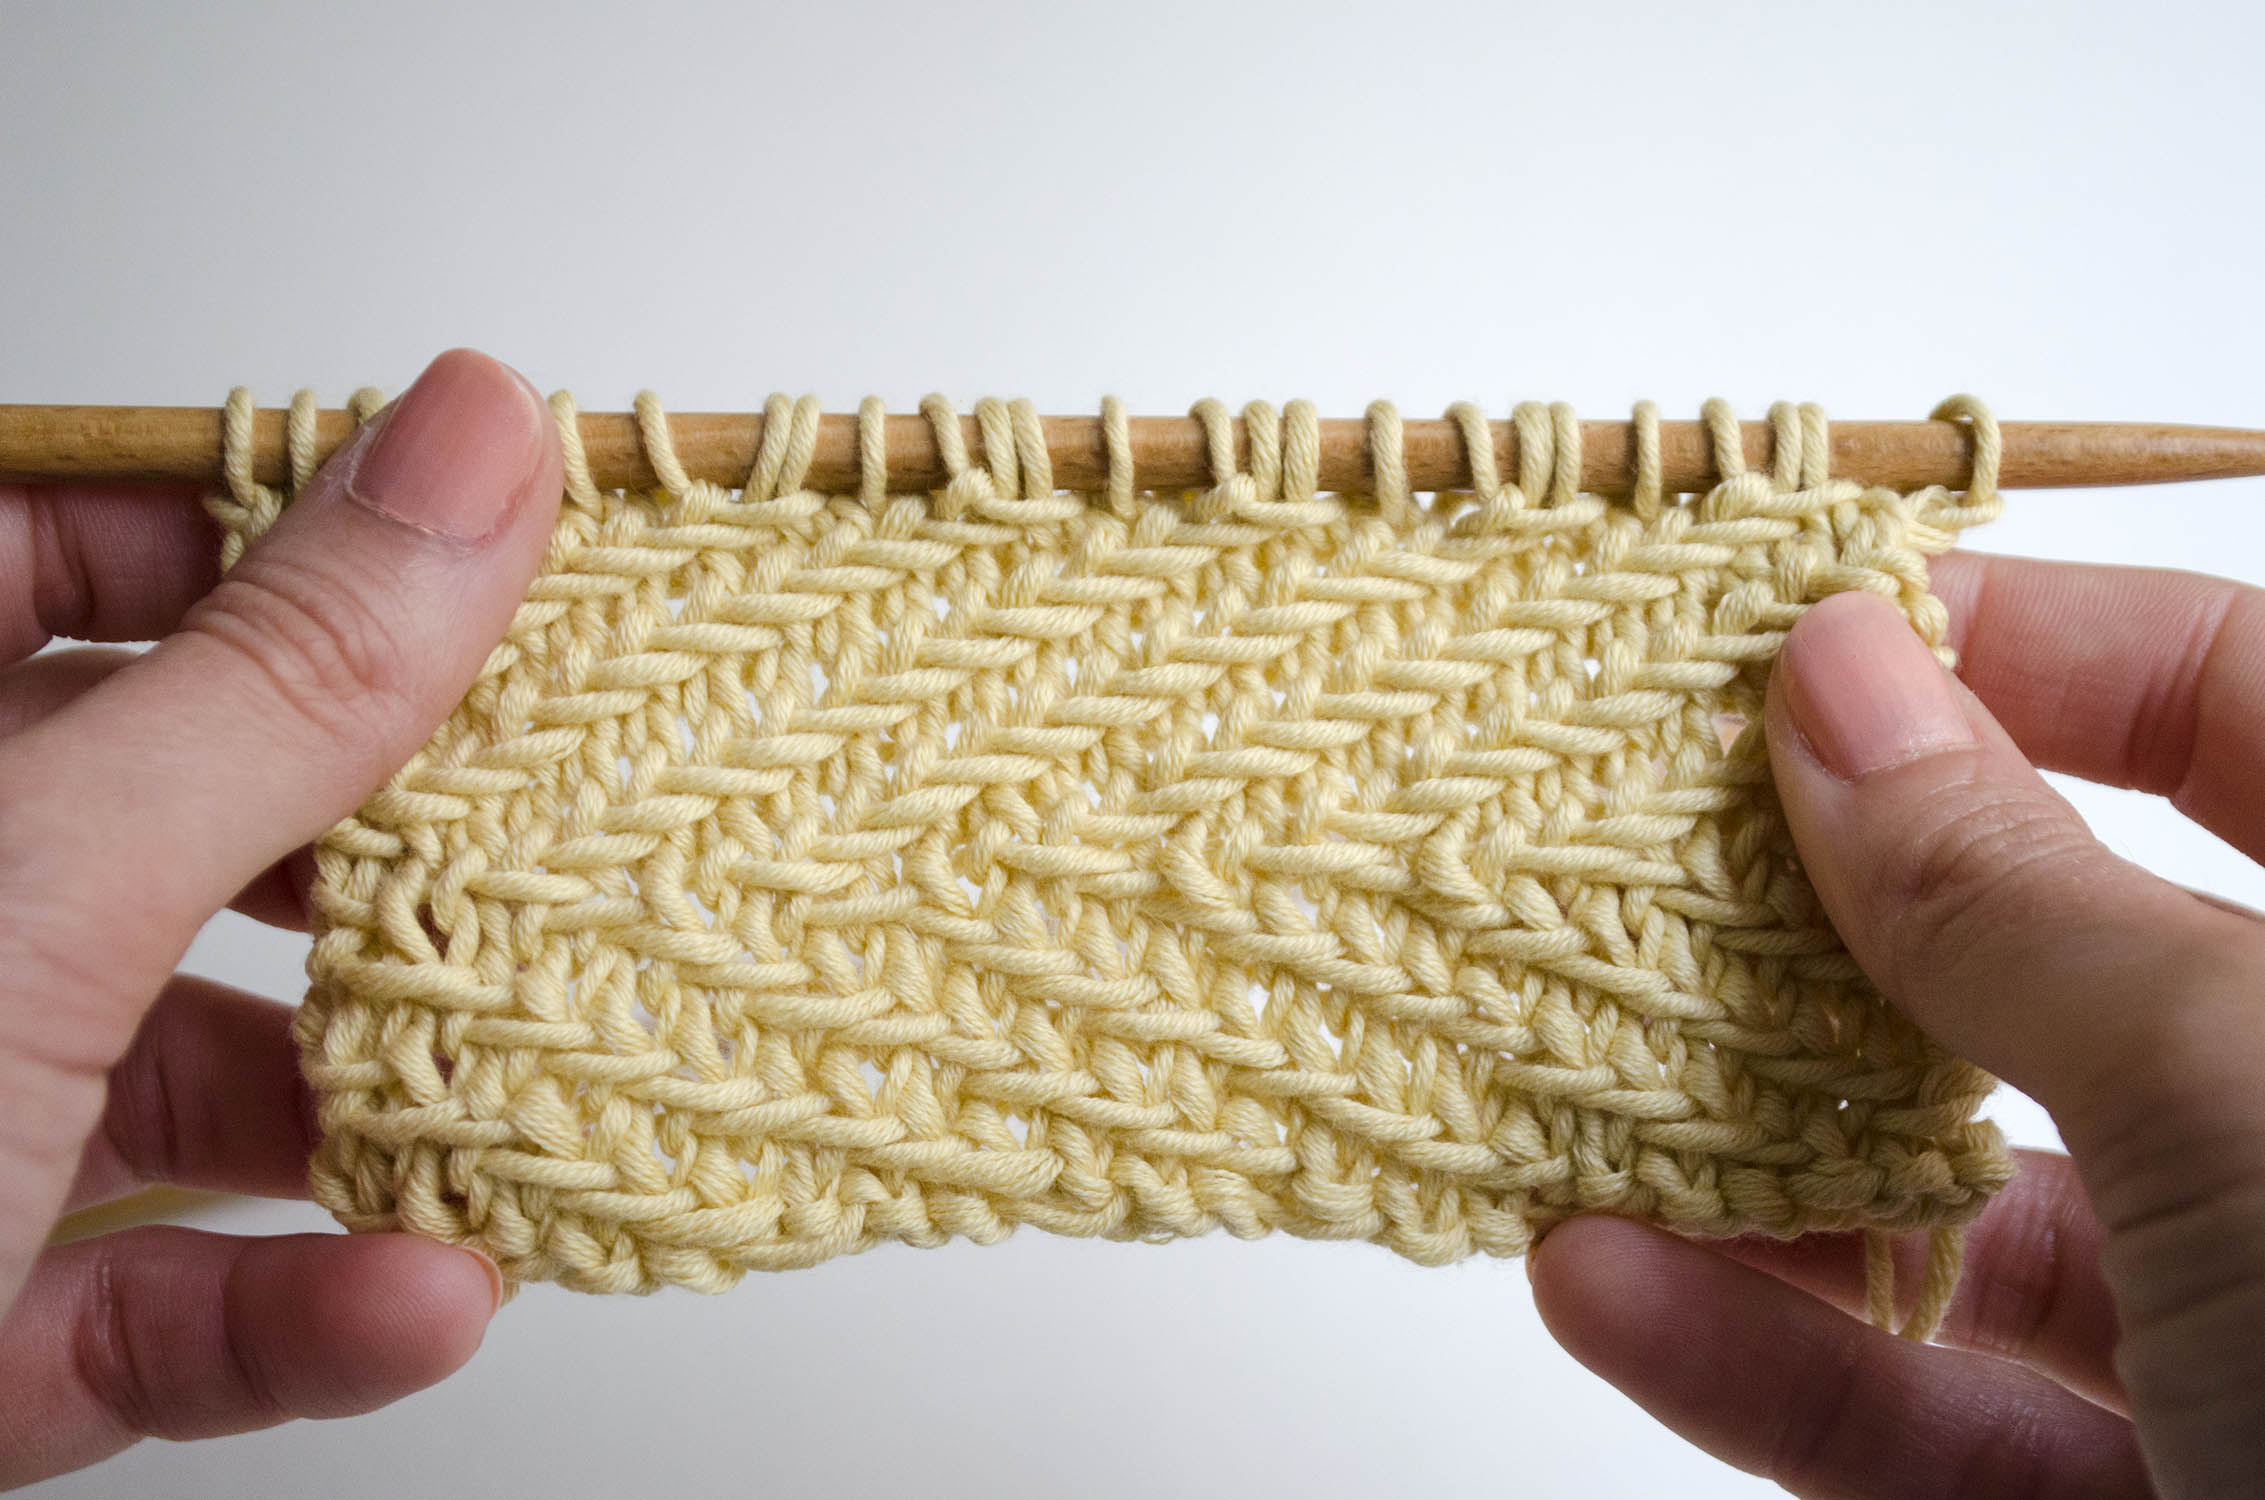
We used Pima cotton in light yellow for this stitch, and of course its best friends: the US size 8 (5 mm) beechwood knitting needles, but this stitch can be worked in wool if you prefer. Experiment!