To work short rows is a basic skill every knitter should have. This technique is good for a multitude of projects and is one that is good to know by heart because of its uses. Although you already know some ways to work them, we don’t want to leave out other new ways, who knows; maybe the Japanese way will become your favorite way 😉
What are the advantages of this method? It´s quick, you barely have to count stitches because visually it’s easy to know where you are at all times, and so, it’s hard to make a mistake because you can easily see what you have to knit. We will teach you how on the following video:
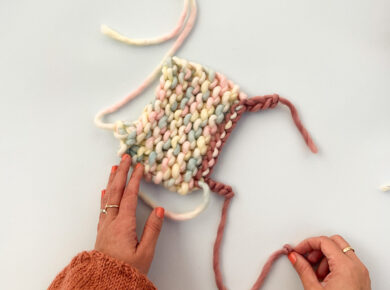
Use this method to create a narrower area in your project, sock heels, and in general, for a better fit of garments to the body. You will need to use a couple stitch markers you can open (you can use stitch markers or a couple safety pins, for example).
- Knit until you reach the place you want the first short row to end. Turn around the project.
- Pass the first stitch without working it as if to purl. Now, place a stitch marker on the yarn strand from the yarn ball. DO NOT place it on the stitch, but on the strand. Check it out on the video. Now purl until you reach the end of the short row (about the same stitches where you started the knitted row on the right side, so it’s symmetric). Turn around the project.
- Pass the first stitch without working it as if to purl. Place the other stitch marker on the yarn strand from the yarn ball. Knit until you reach the point where we place the stitch marker on the last row (you will know this point by the hole formed between the stitches).
Now we are going to pick up the stitch where the stitch marker is. Grab the strand without twisting it and place is on the left needle, removing the marker later. Knit the strand on the left needle and the next stitch together. Knit one more stitch and turn the project around. - Pass the first stitch as if to purl- Place the marker on the strand from the yarn ball. Purl until you reach the point where we place the stitch marker on the last row (here you will also see the hole).
This time, slip the next stitch from the left needle to the right needle and then place the strand where the marker is on the left needle. Remove the marker. Place the stitch we just slipped in the left needle again. Finally, purl the yarn strand and the first stitch together. Purl one more stitch and turn the project around.
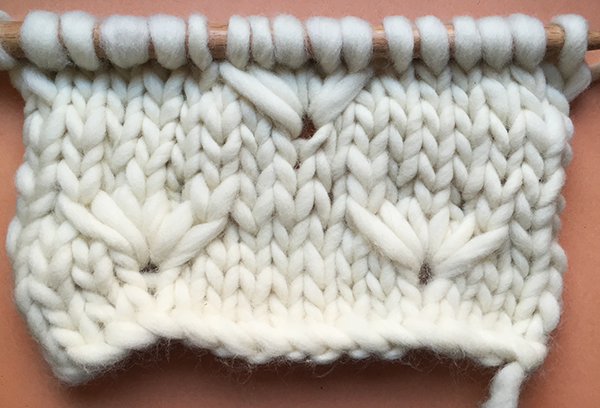
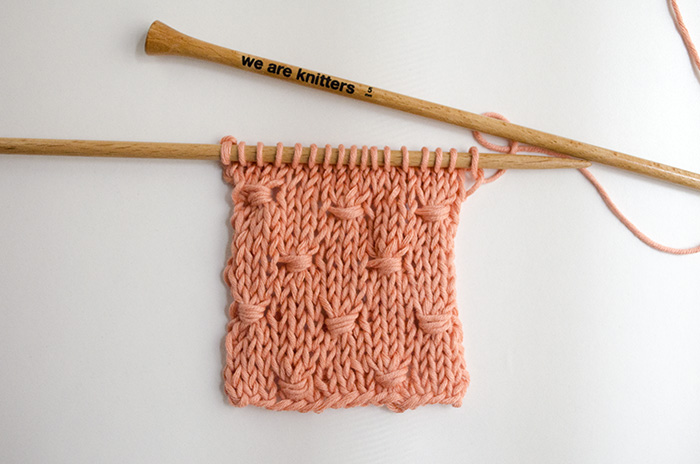
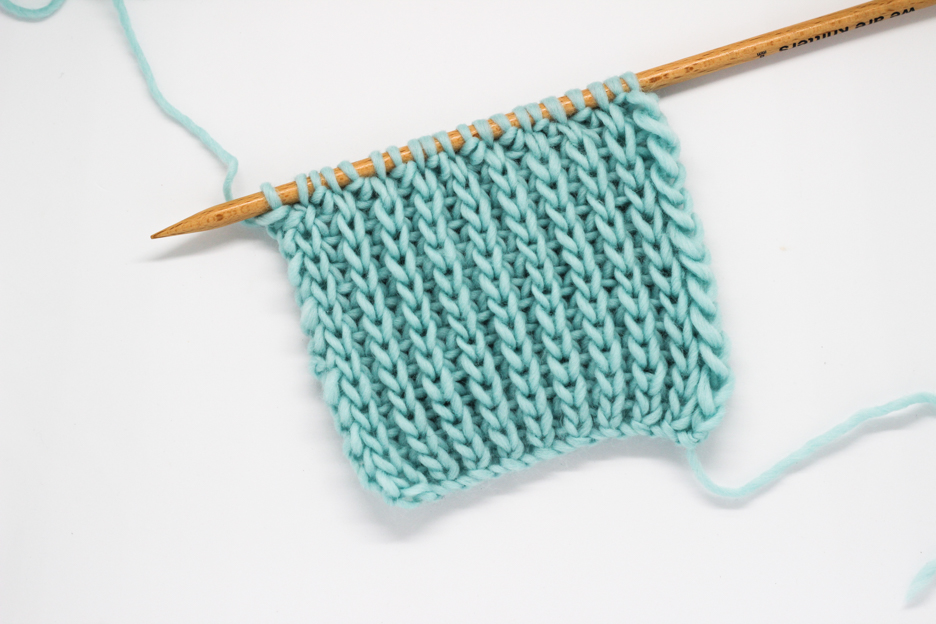
- Continue repeating these steps until you have worked all short rows you need, or are indicated on the pattern. You’ll be able to see how the extra fabric is created in that area.
Have you liked this technique? Did you know it? Tell us what you think about it and what would you use it for in the comment section. And if you think you can use some practice on other easier knitting or crochet techniques, we have a bunch of videos waiting for you.