Surely, more than once, you’ve had to undo a row, or you’ve found that you dropped a stitch and you have to quickly save it before it unravels down the fabric. There are times that we quickly pick up those stitches and re-knit them and … hey, they don’t look like the others! What have I done wrong to make the stitch weird, twisted? In this post, we will explain how to avoid twisted stitches so that your knitting is perfect.
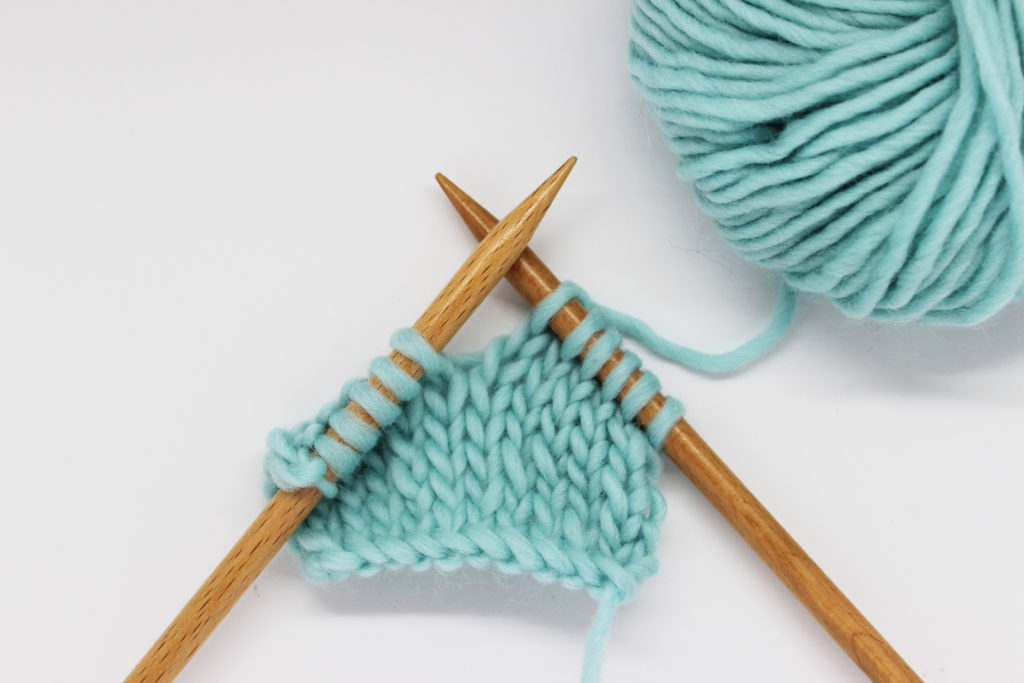
For this tutorial, we’ve used a pair of 8 mm knitting needles and a skein of Petite Wool in aquamarine.
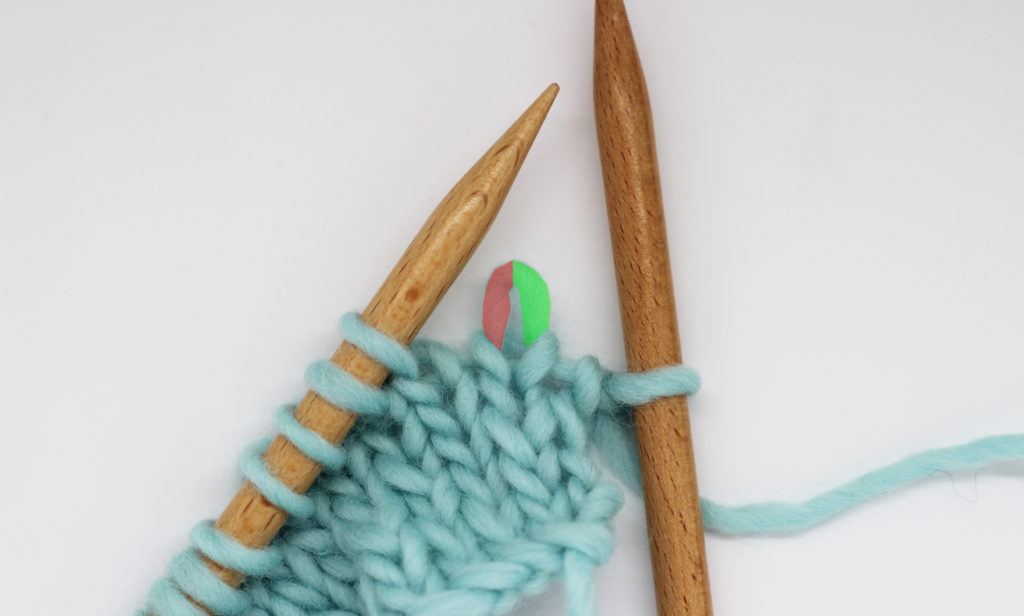
Before beginning, it’s important that you know the parts of a stitch. In this image, you’ll have to differentiate the right leg (in green) and the left leg (in red). Remember these two colors and parts because they will be referenced throughout the post.
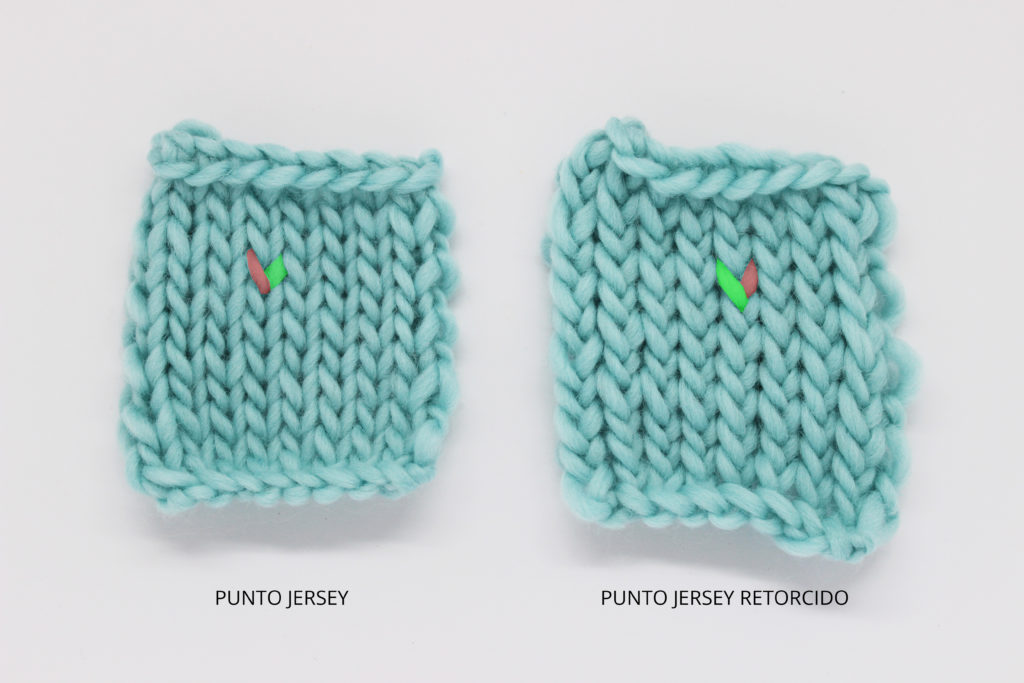
When we’re knitting regular stockinette stitch, as in the example on the left: the right leg is on the right side of the stitch and the left leg is on the left. But what if it’s twisted? Look at the example on the right: the right leg is on the left of the stitch, and the left leg is on the right side, one over the other.
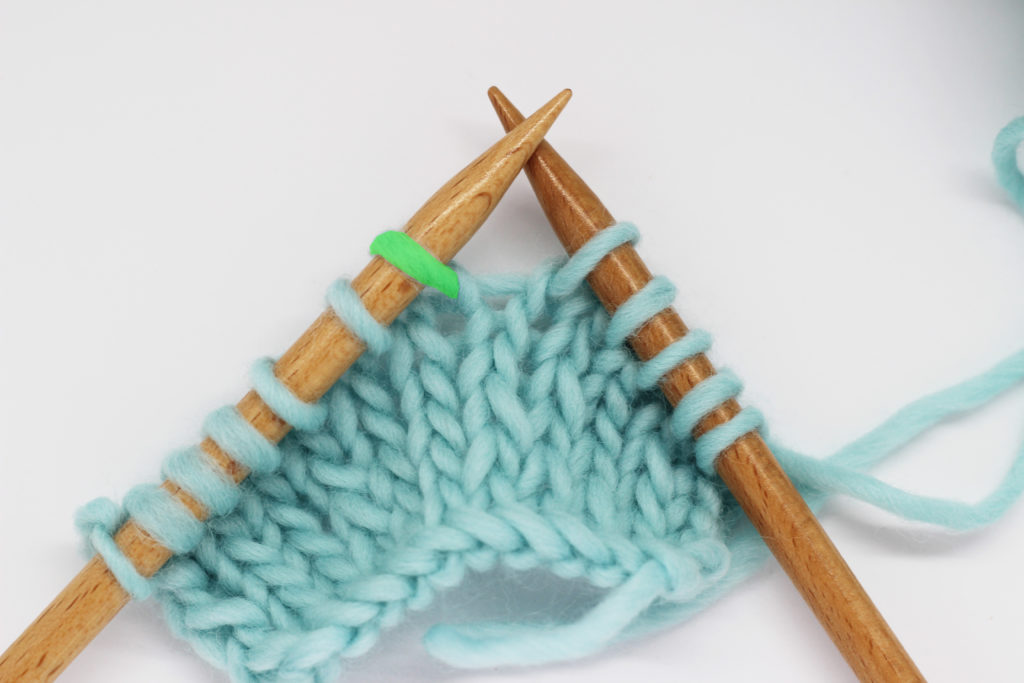
How to avoid a twisted stitch? Notice that when you knit, the right leg always has to be in the front on the needle, while the left leg has to be in the back.
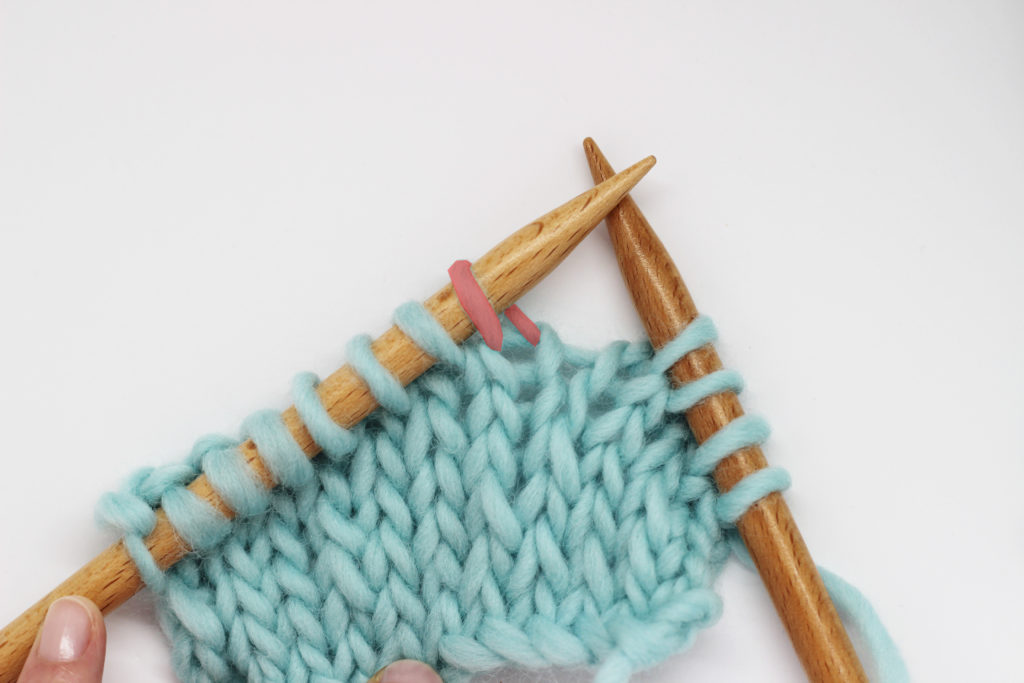
In the photo above you can see what a twisted stitch looks like, the left leg is on the front of the needle and when you go to knit it, it will be twisted, as in the sample we saw before.
Now that we’re clear on how to detect a twisted stitch on the needle, let’s watch short video of how to turn it to knit it and make it perfect:
As you can see it is a very simple step, and you can do it in two ways:
- Use your fingers to take the stitch off the left needle, turn it over, and put it back on the needle,
- – Or, slip the stitch to the right needle and then back to the left, if you are worried about dropping the stitch 🙂
We hope you find this step by step useful and done once and for all with those stitches that make our project not look quite right. We would love to share your opinions and projects on social media with the hashtag #weareknitters. Until next time!