Now that autumn has come, it’s time to plan which garments you’ll wear in the coldest months, where our warm wool yarn will be our protagonists. In this tutorial, we’ll show you how to sew the American neckline that will give your new sweaters a different style.
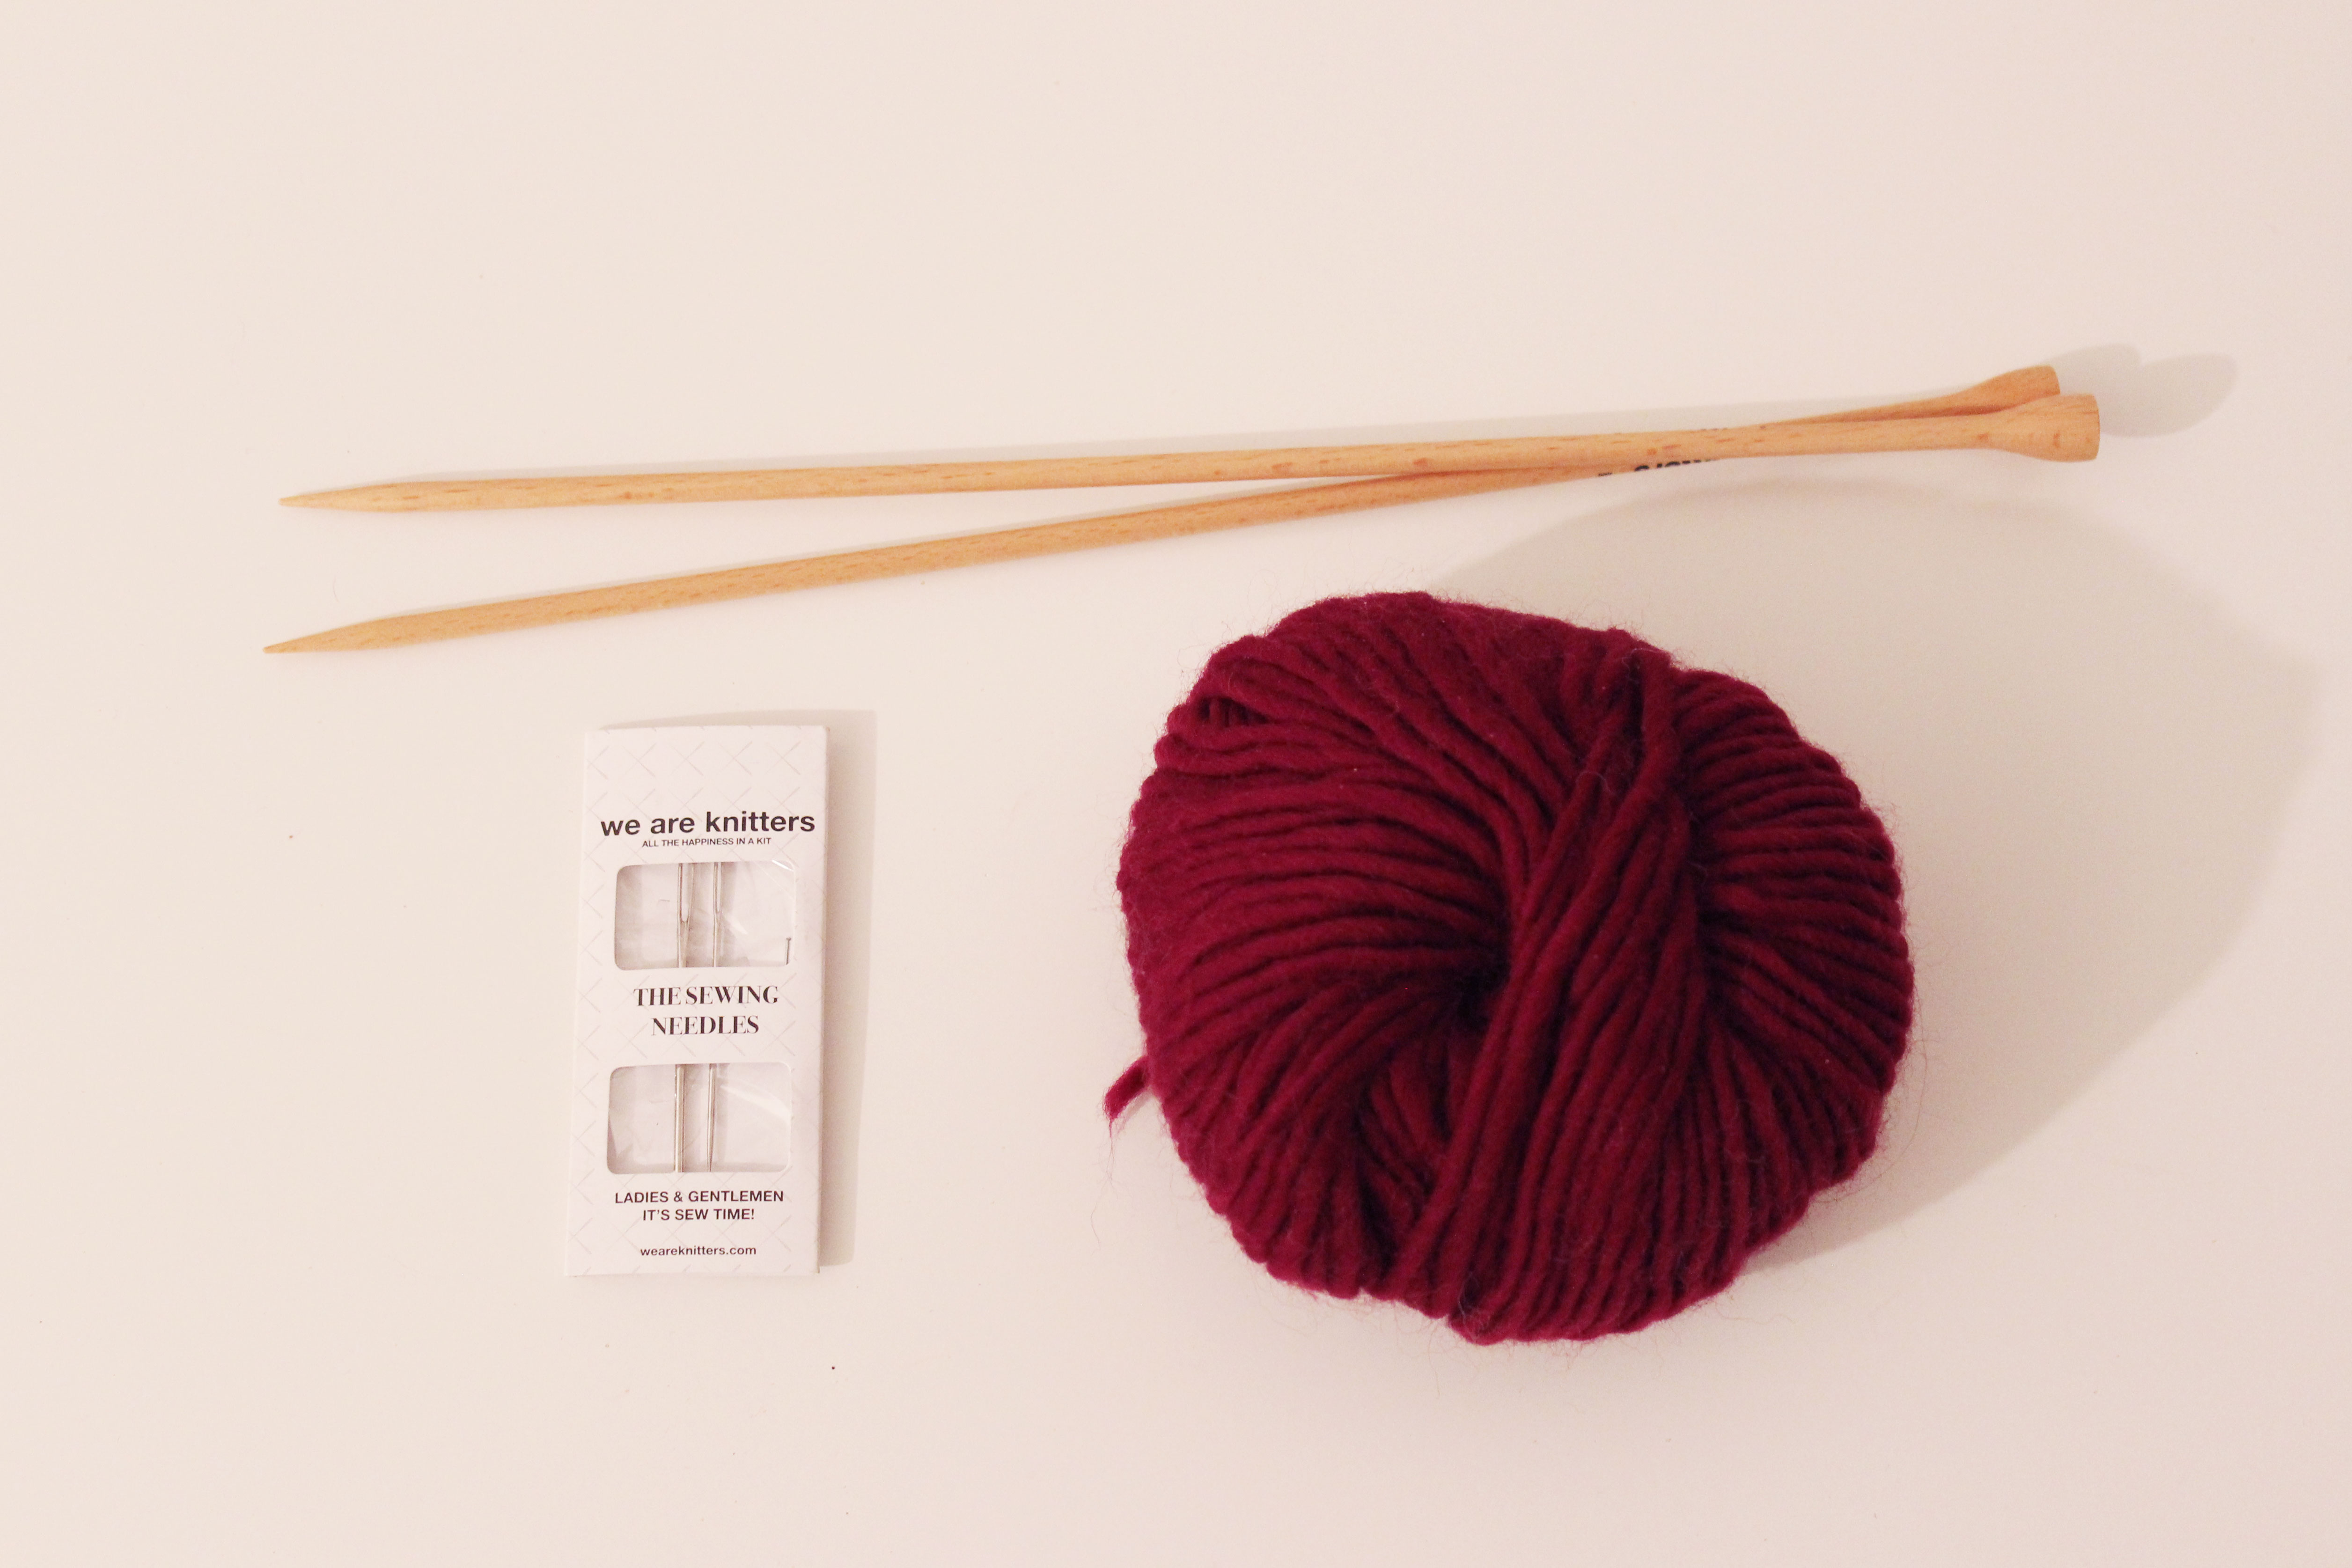
Materials
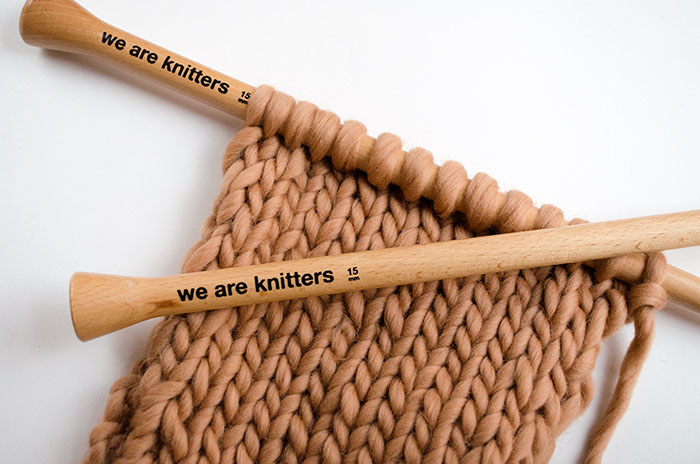
For this tutorial, we’ve used our Meriwool yarn (you can find it in many different colors), 5mm knitting needles, and a tapestry needle.
Before beginning, the only thing you should know how to do is pick up stitches to make sleeves and necks for sweaters.
Let’s begin!

Once you have the front and the back of the knitted sweater, as in the picture above, you only have to follow these steps to form the American neckline:

- With the wrong side of the front facing, pick up stitches along the edge from one side to the other. Make sure that the stitches are picked up evenly so that the fabric won’t stretch or pucker when you knit it.
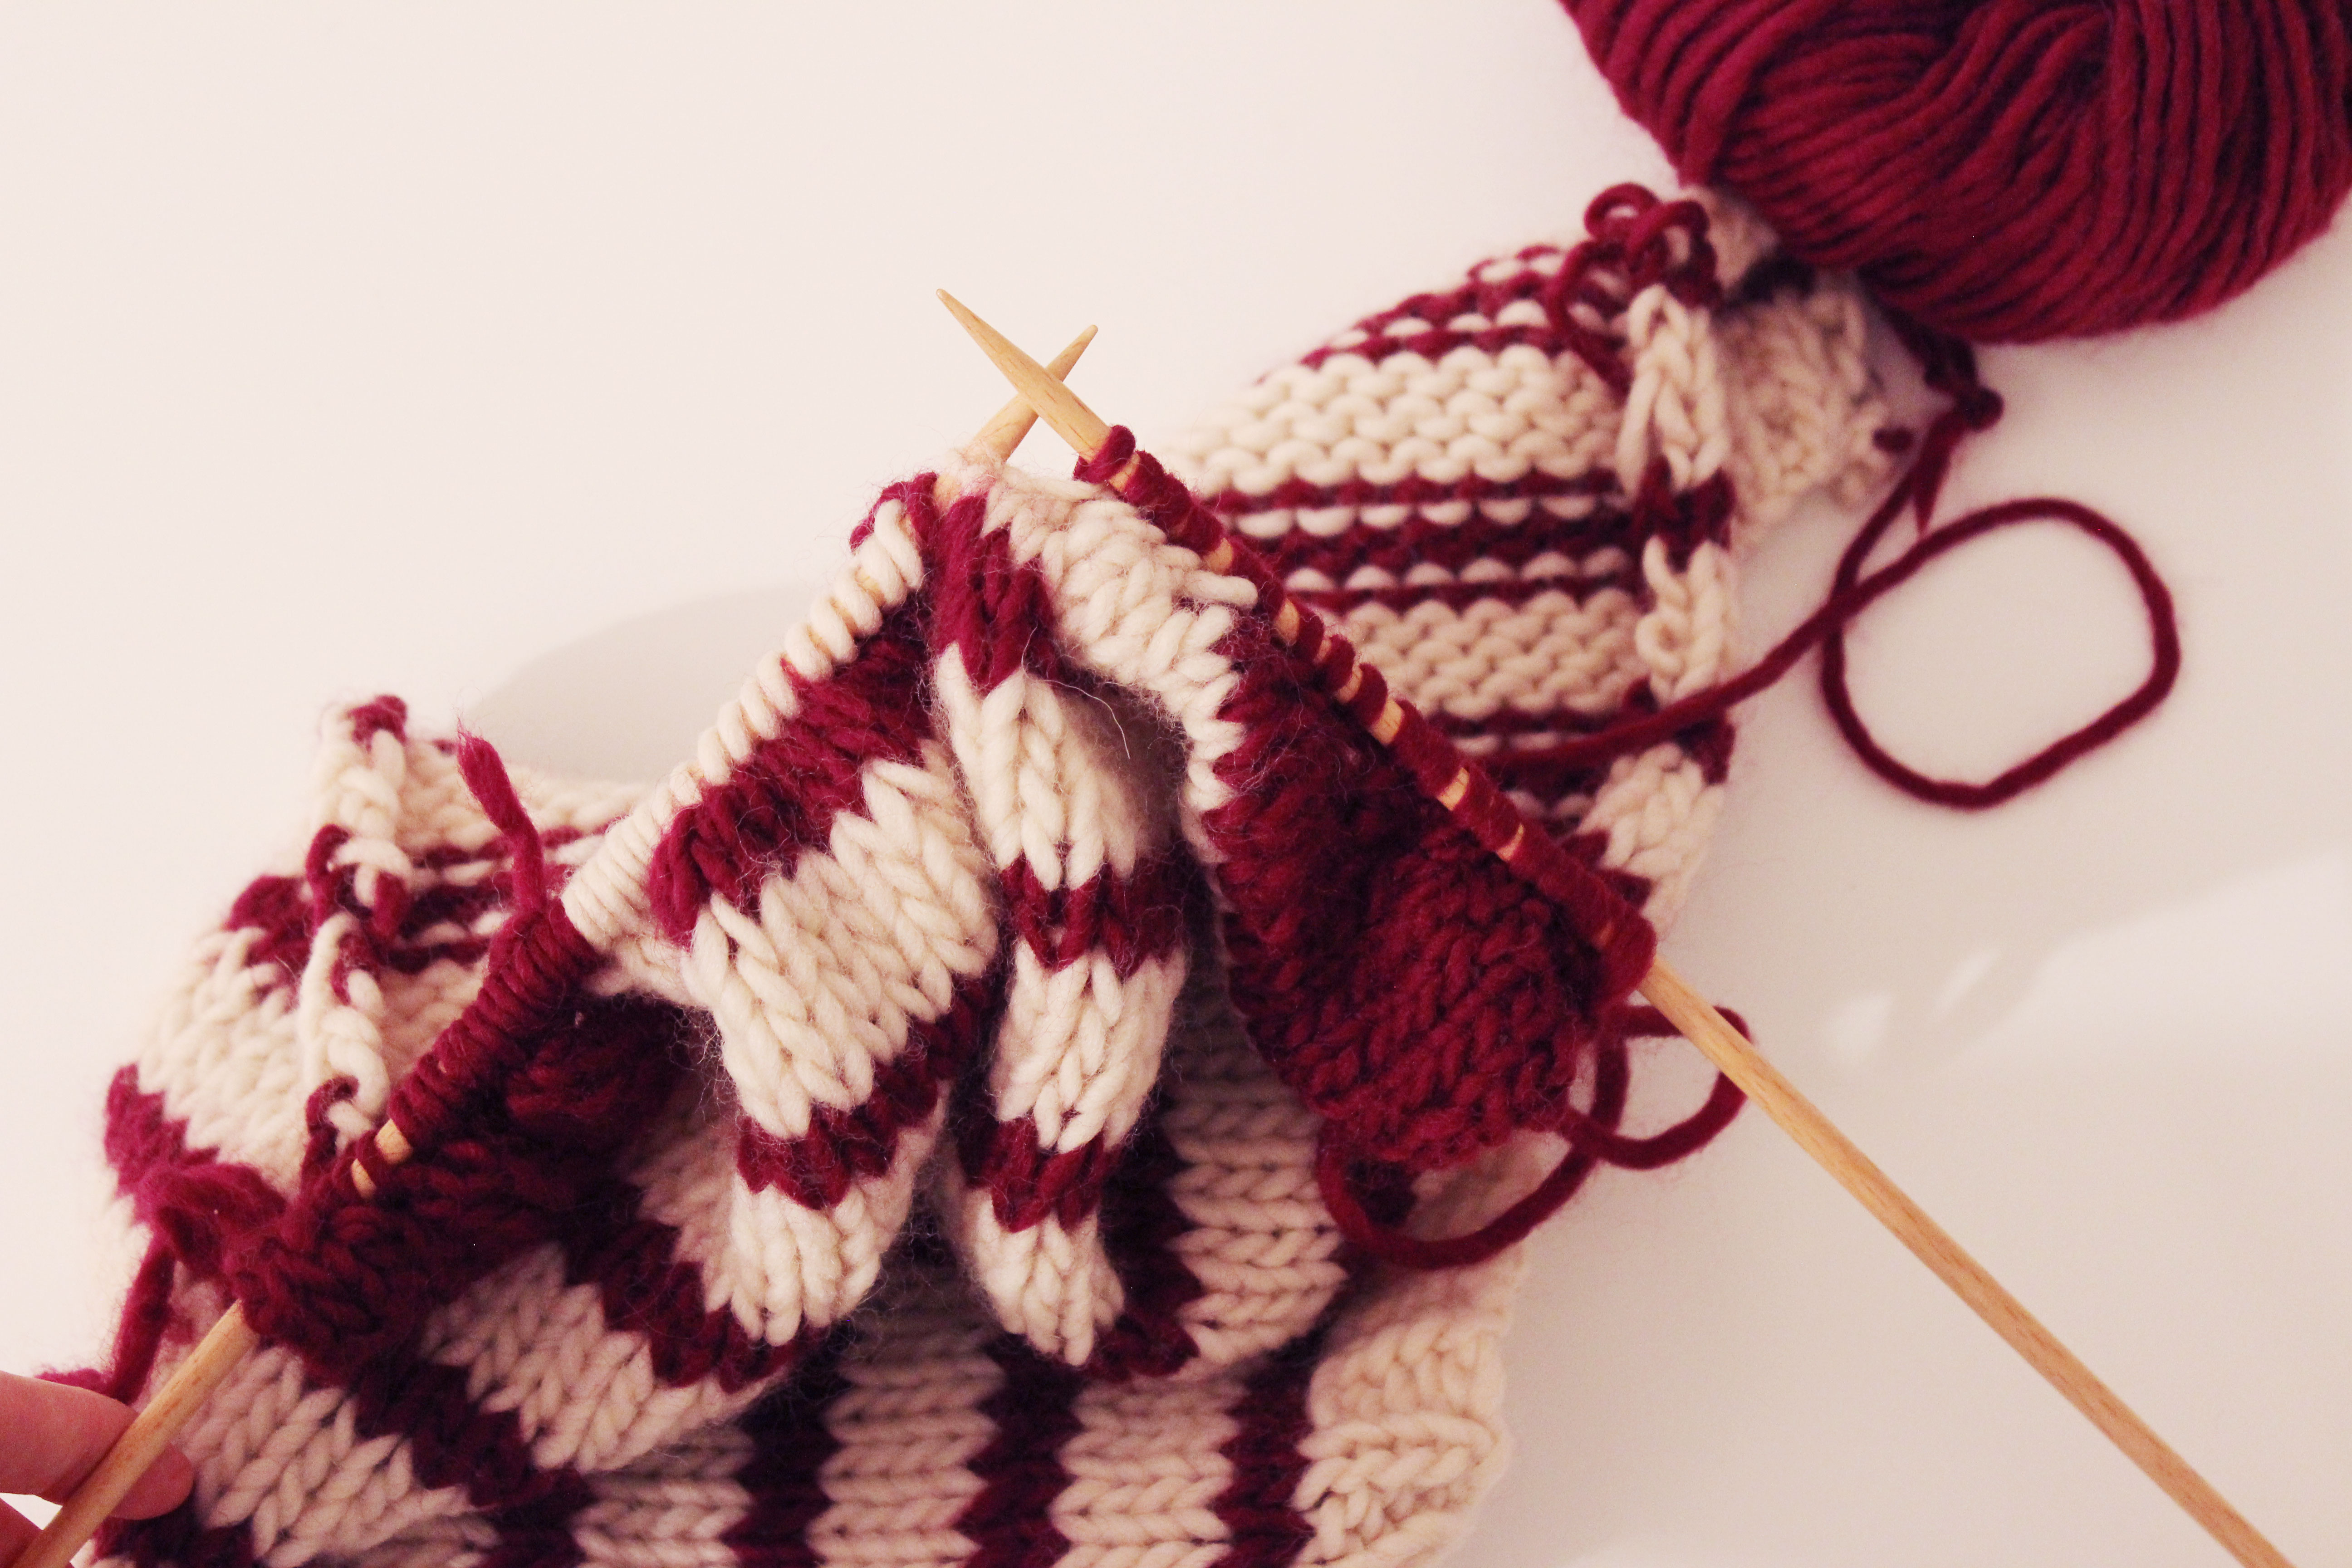
- Knit all the stitches on the next row.
- Cast off all stitches knitwise.
- You’ve now worked the front collar.
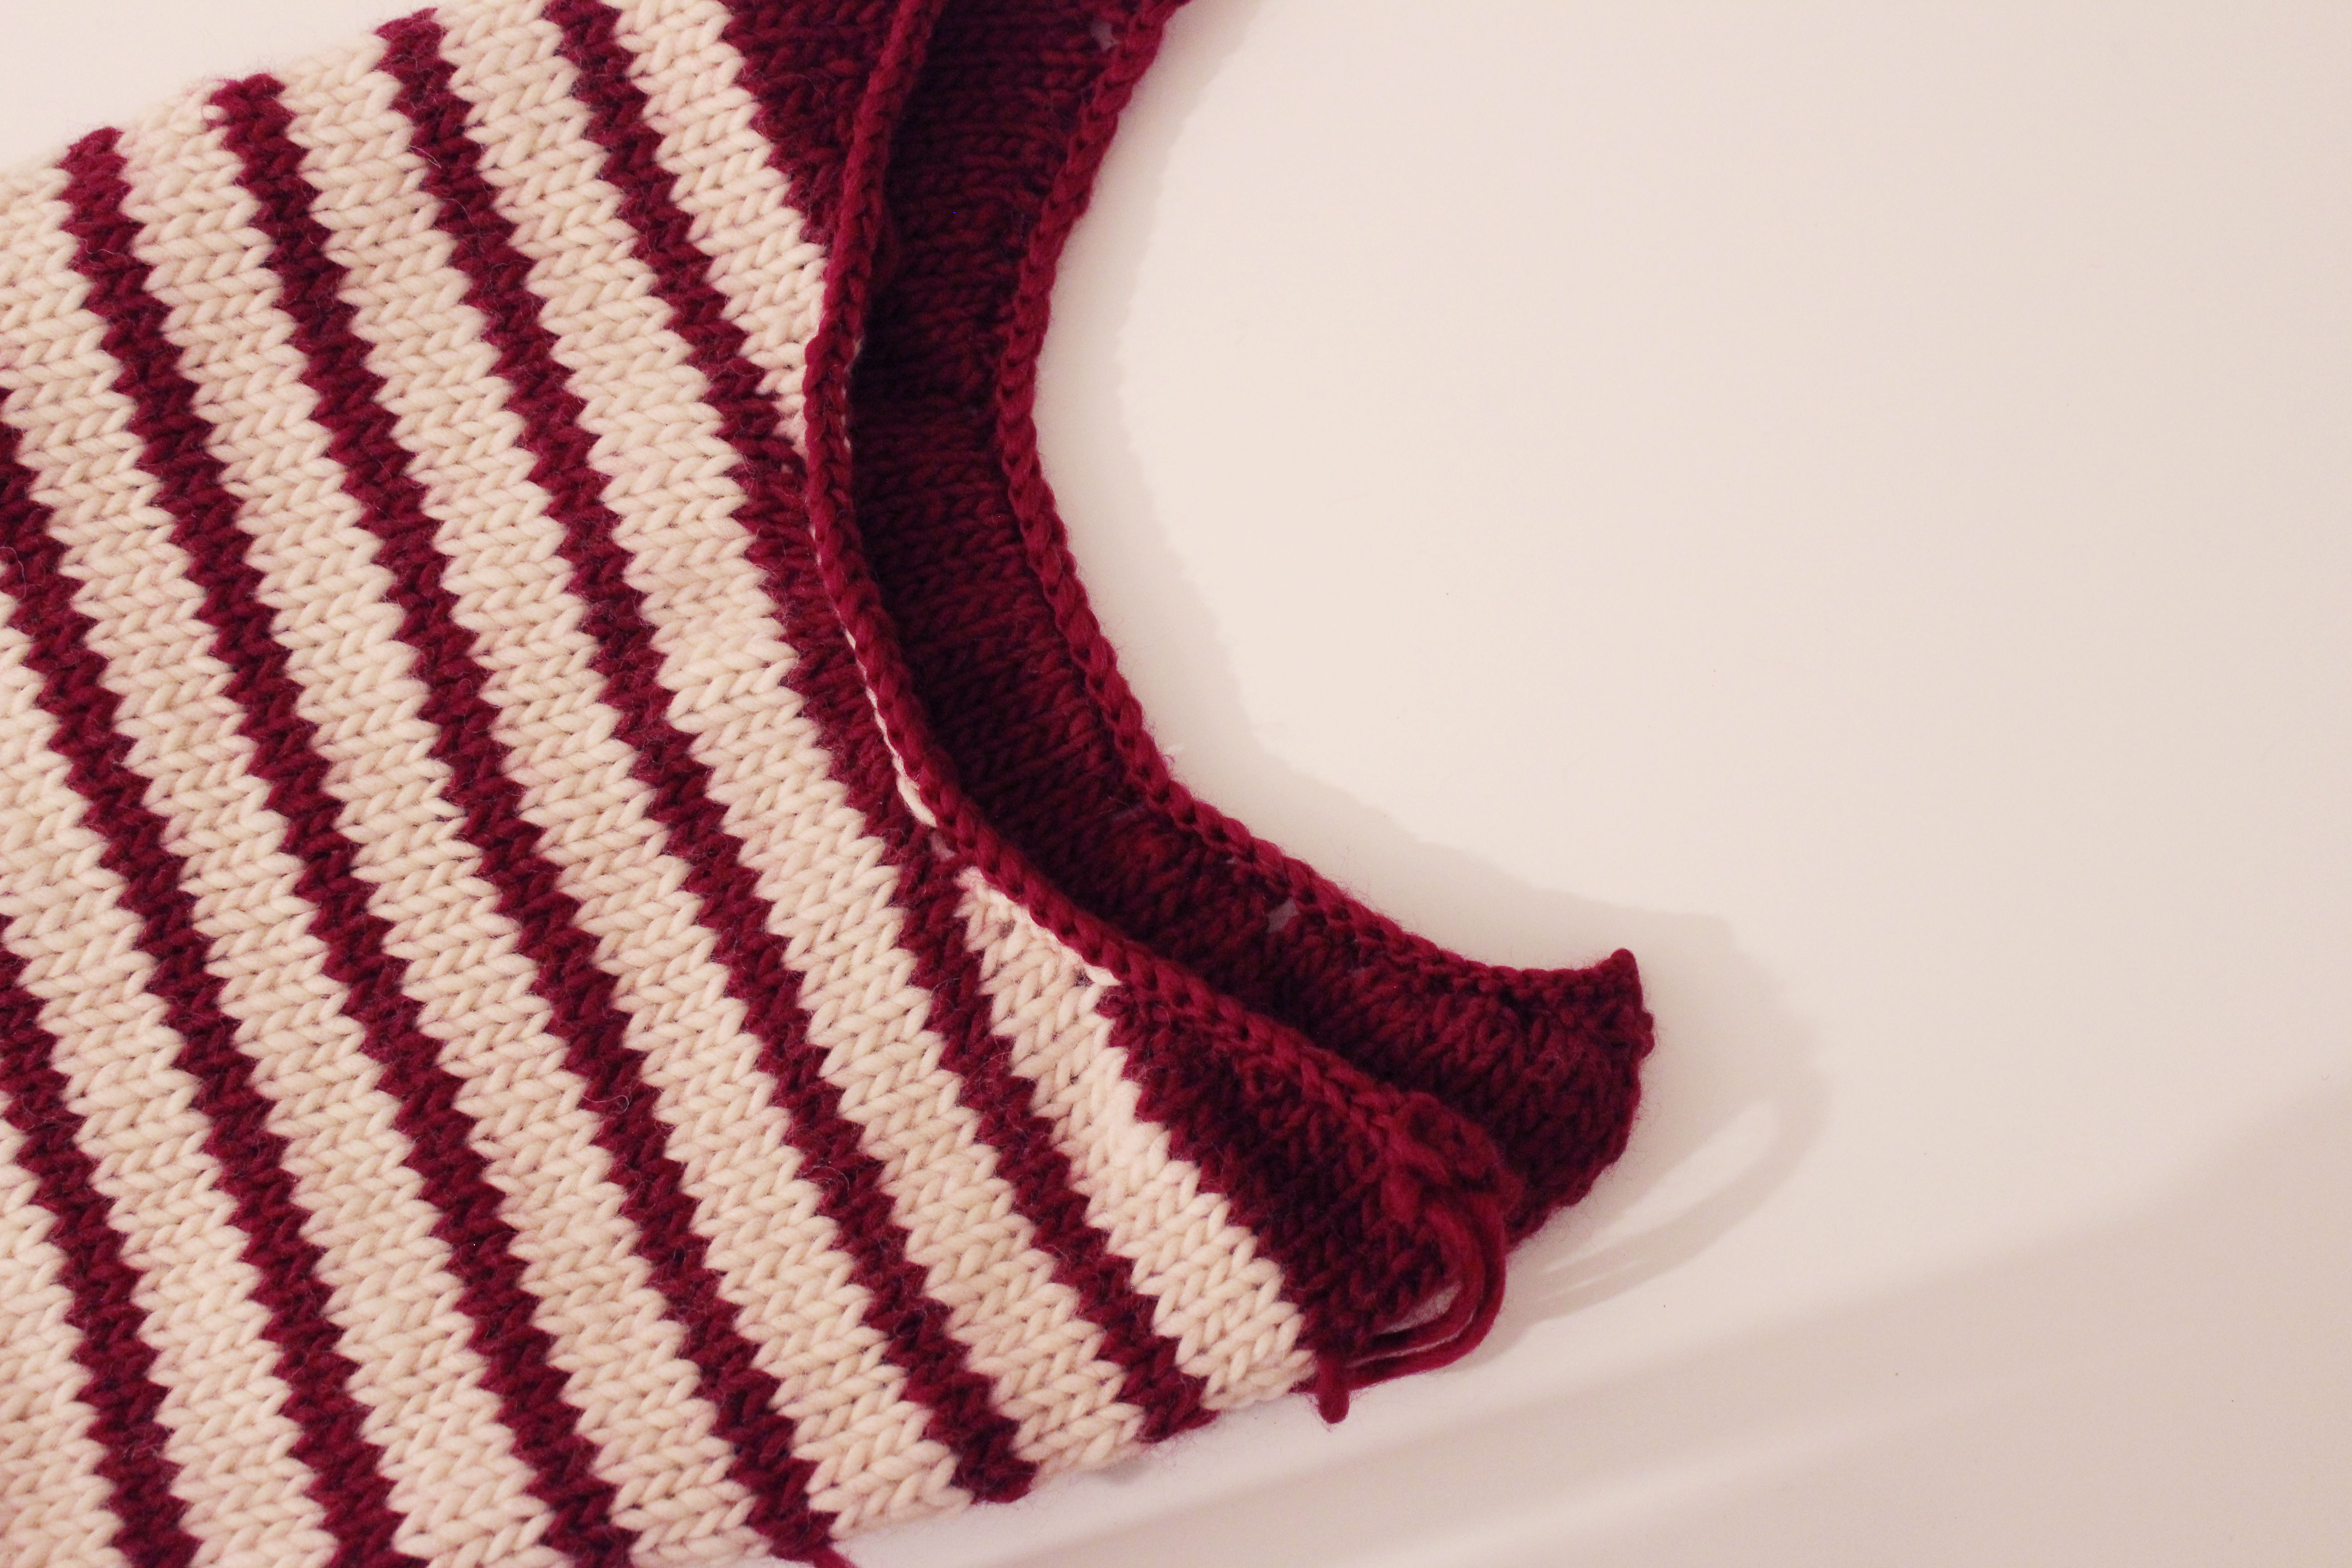
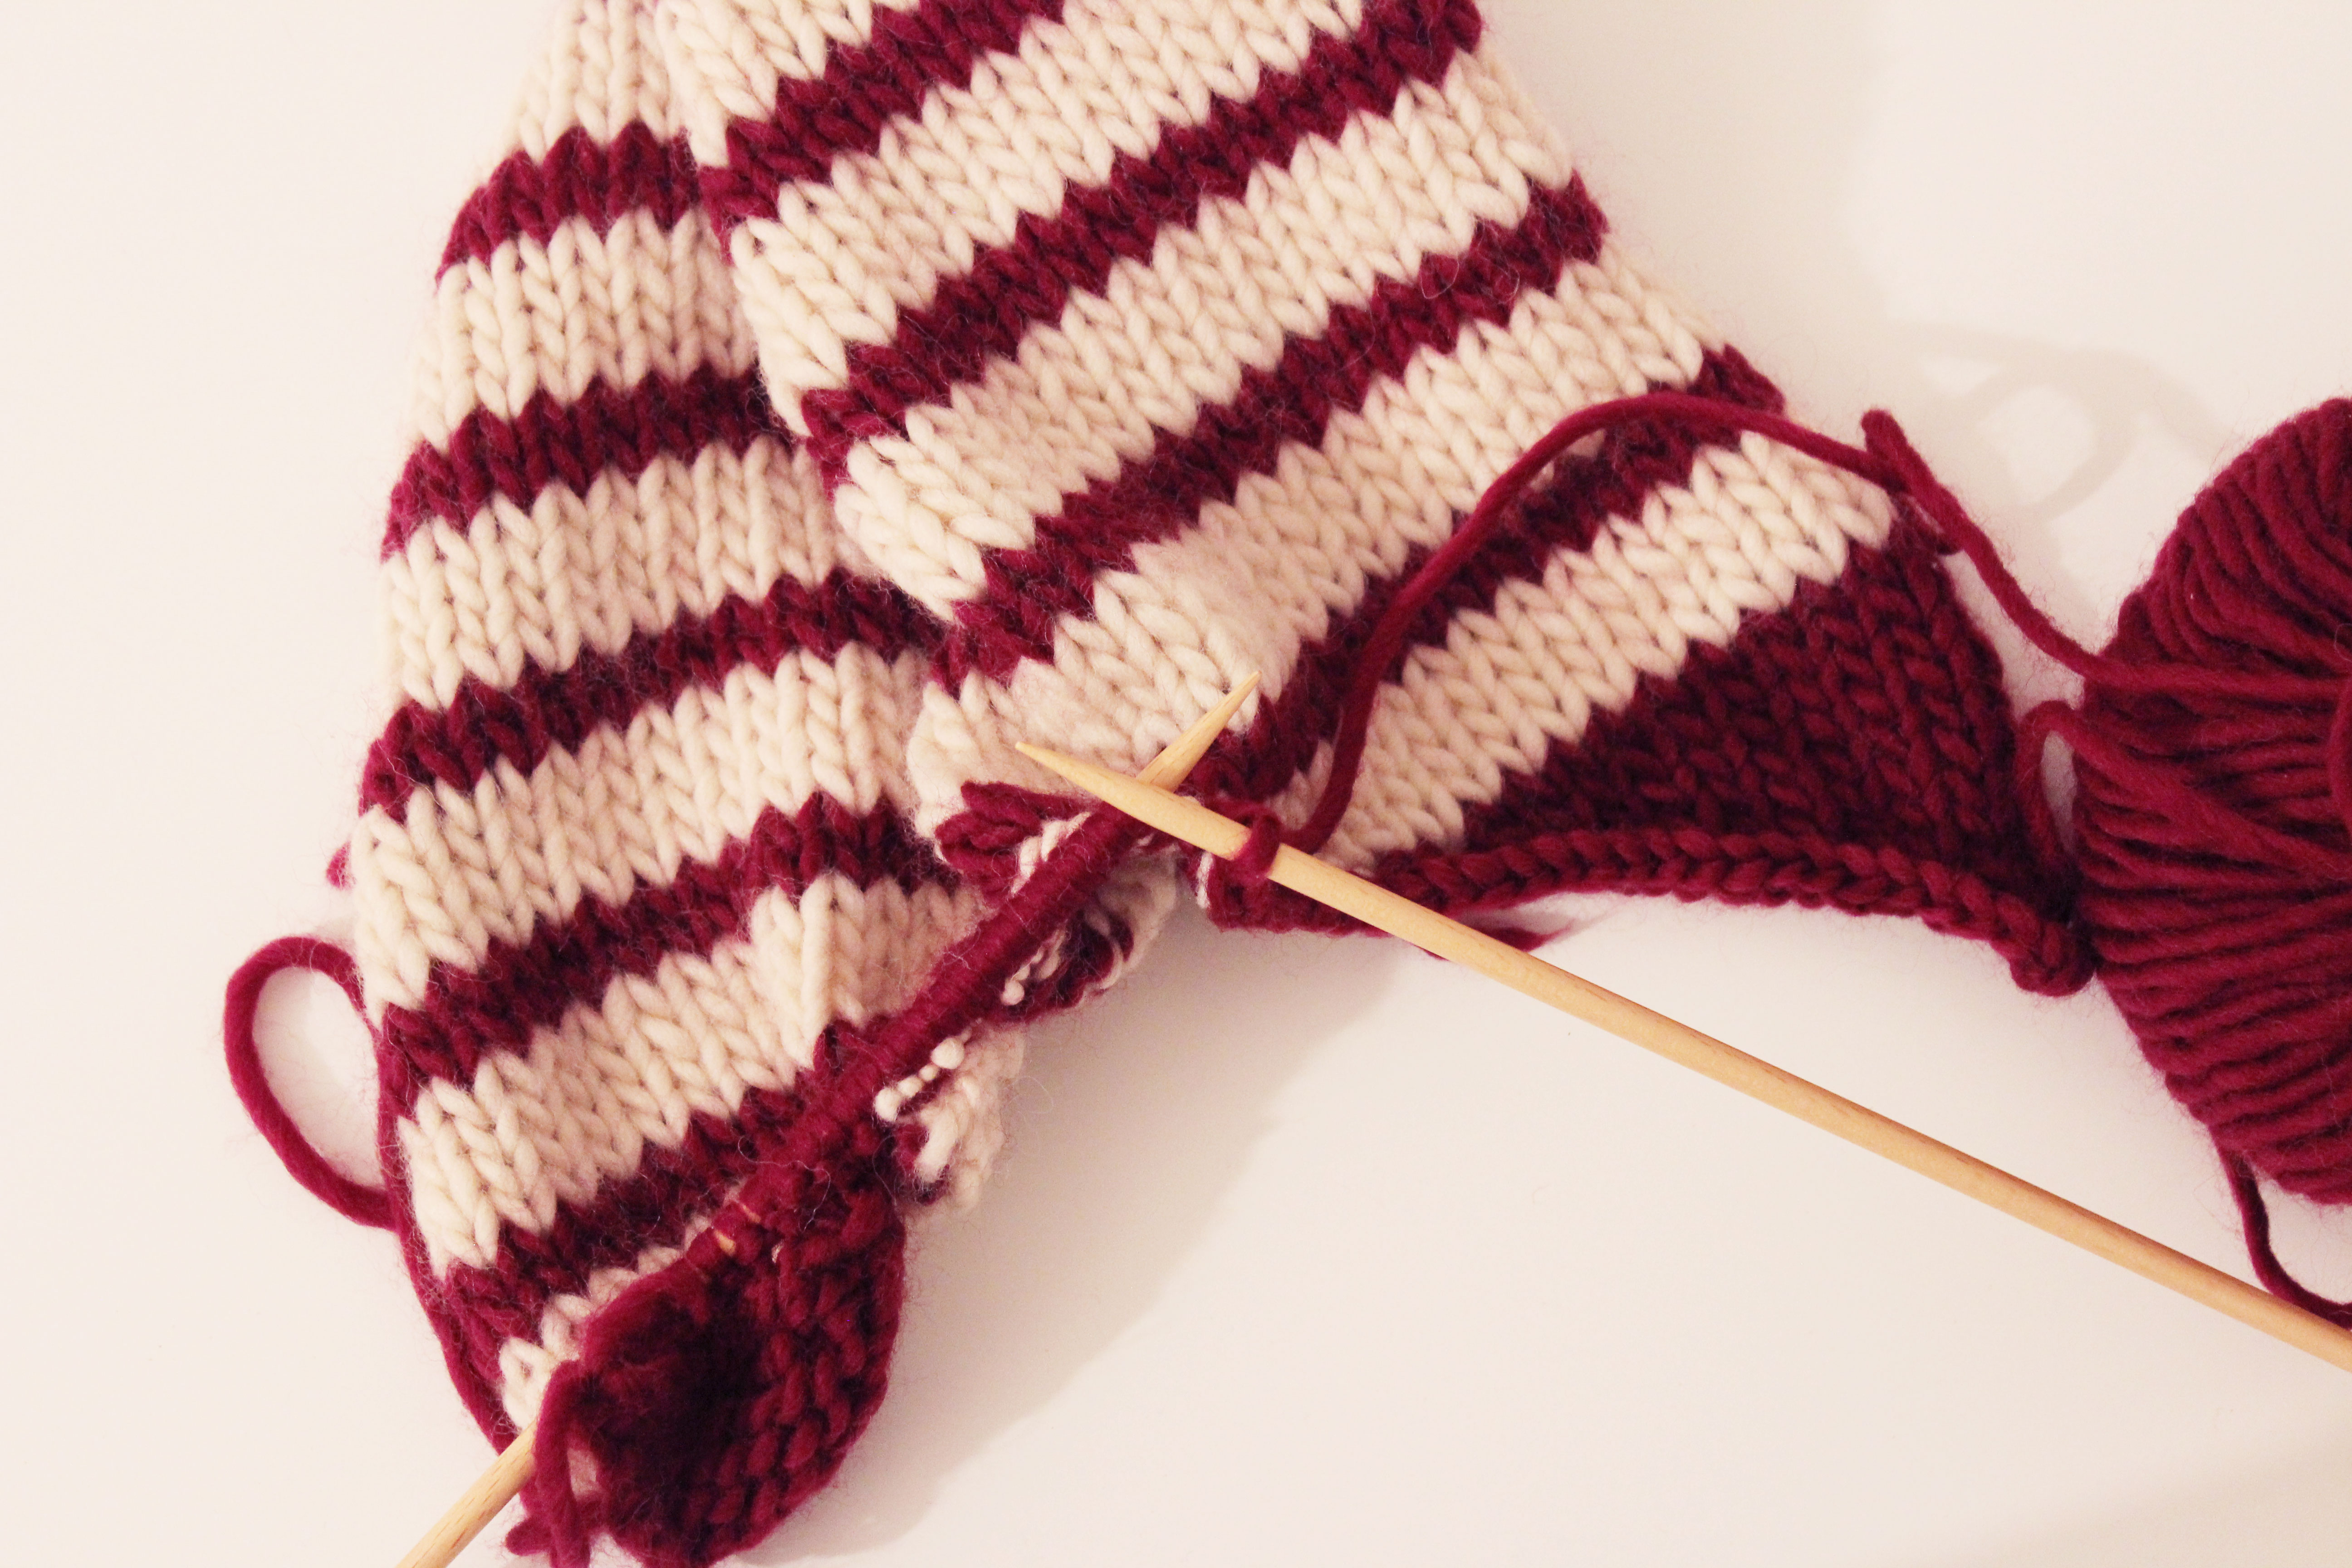
Repeat steps 1 through 4 to make the back neck.
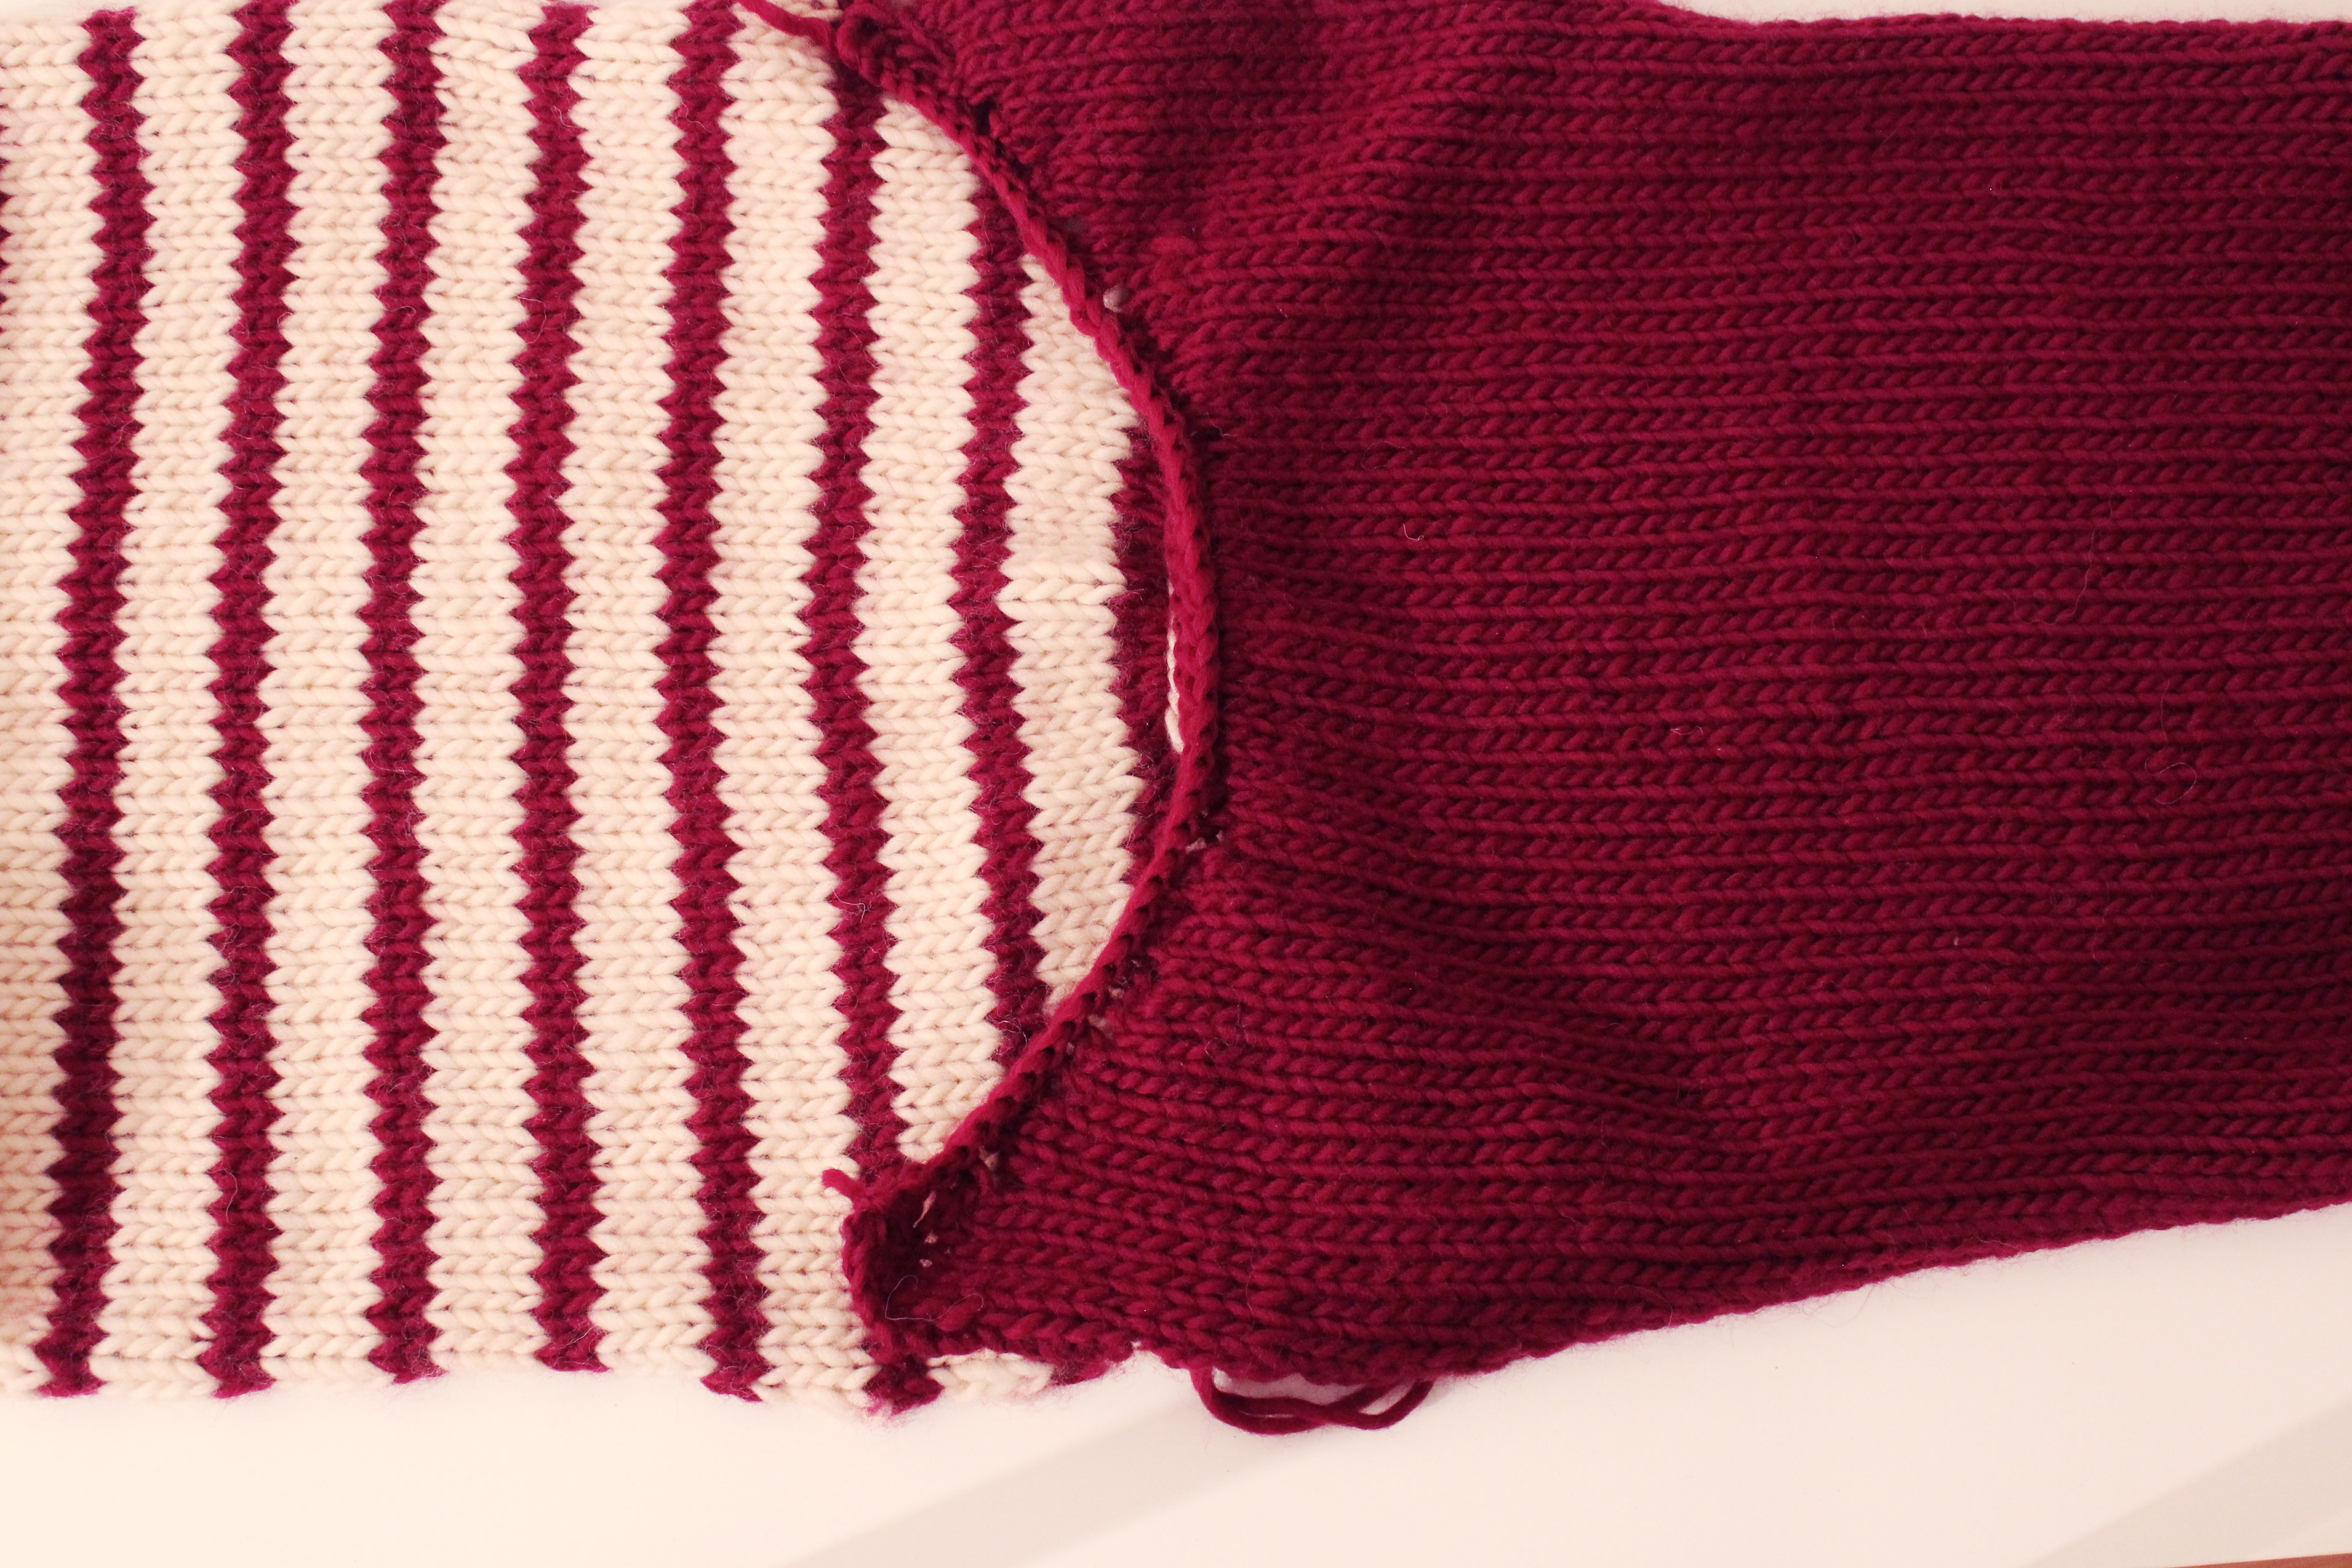
On a flat surface stretch the front of the sweater and then overlap the back above it, so that they overlap at the sides.
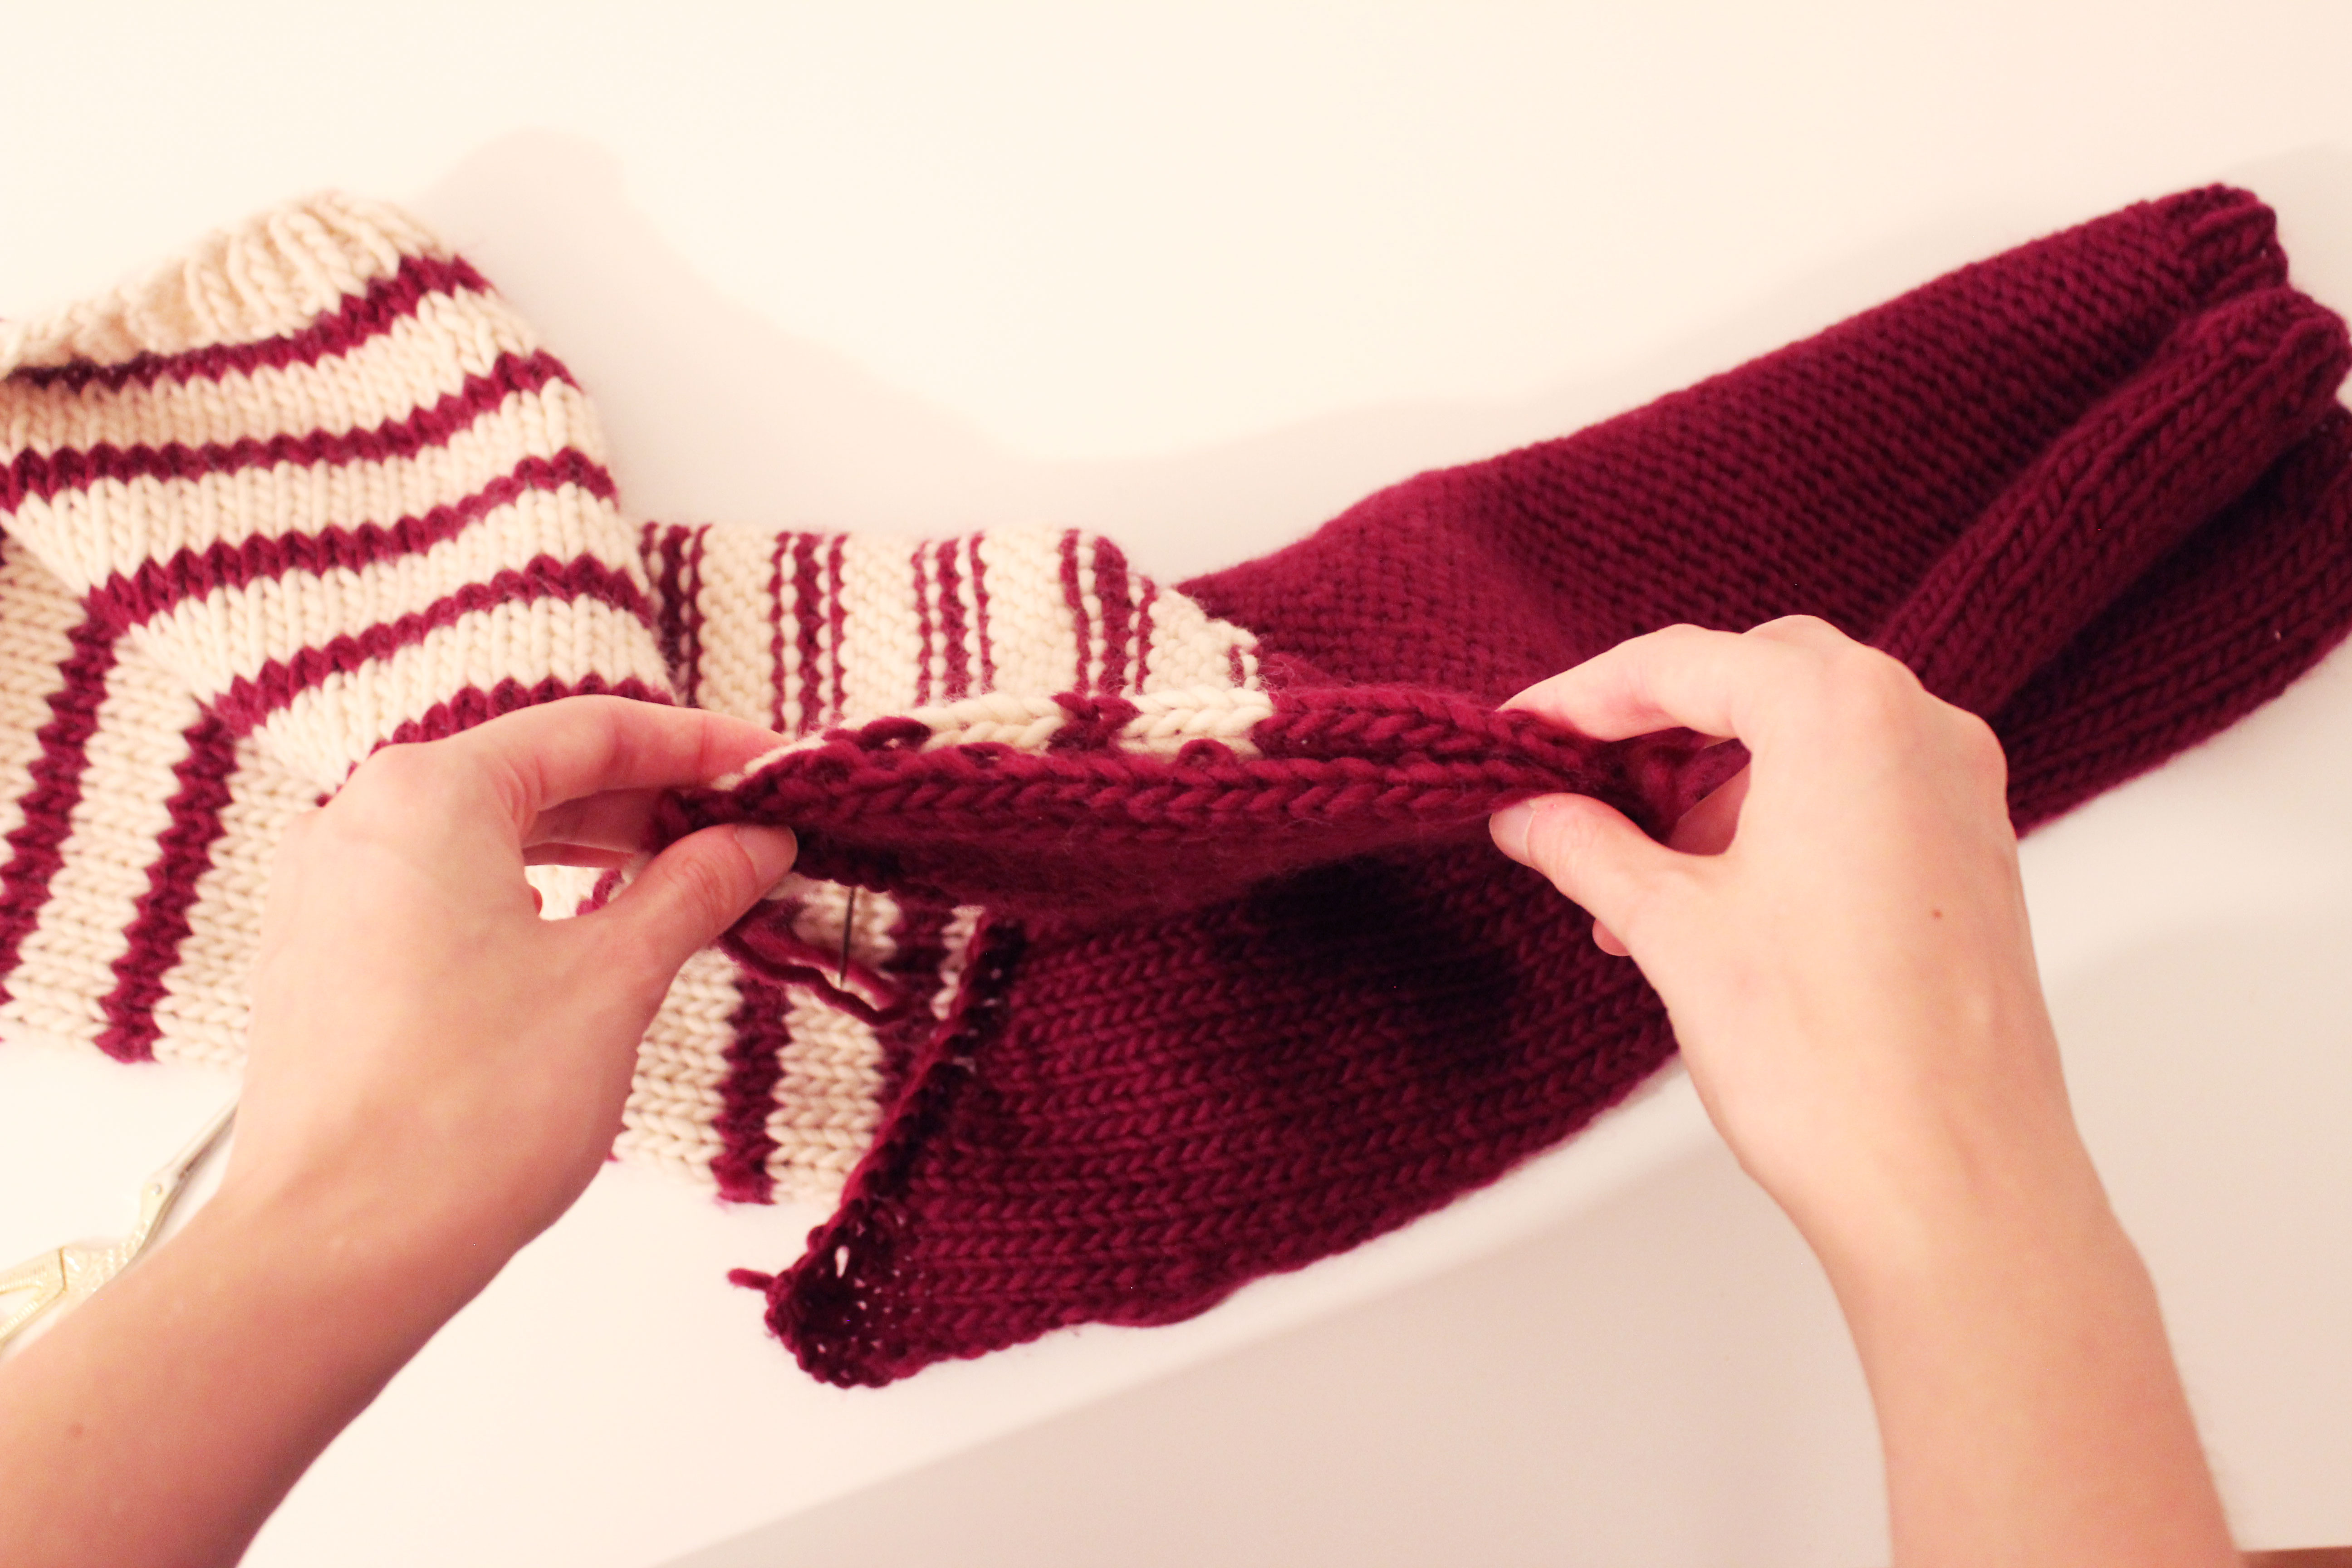
Thread a needle with the same yarn used for the sweater and sew a small seam that joins the side where the front and back overlap.

Weave in the ends and repeat the process with the other side.
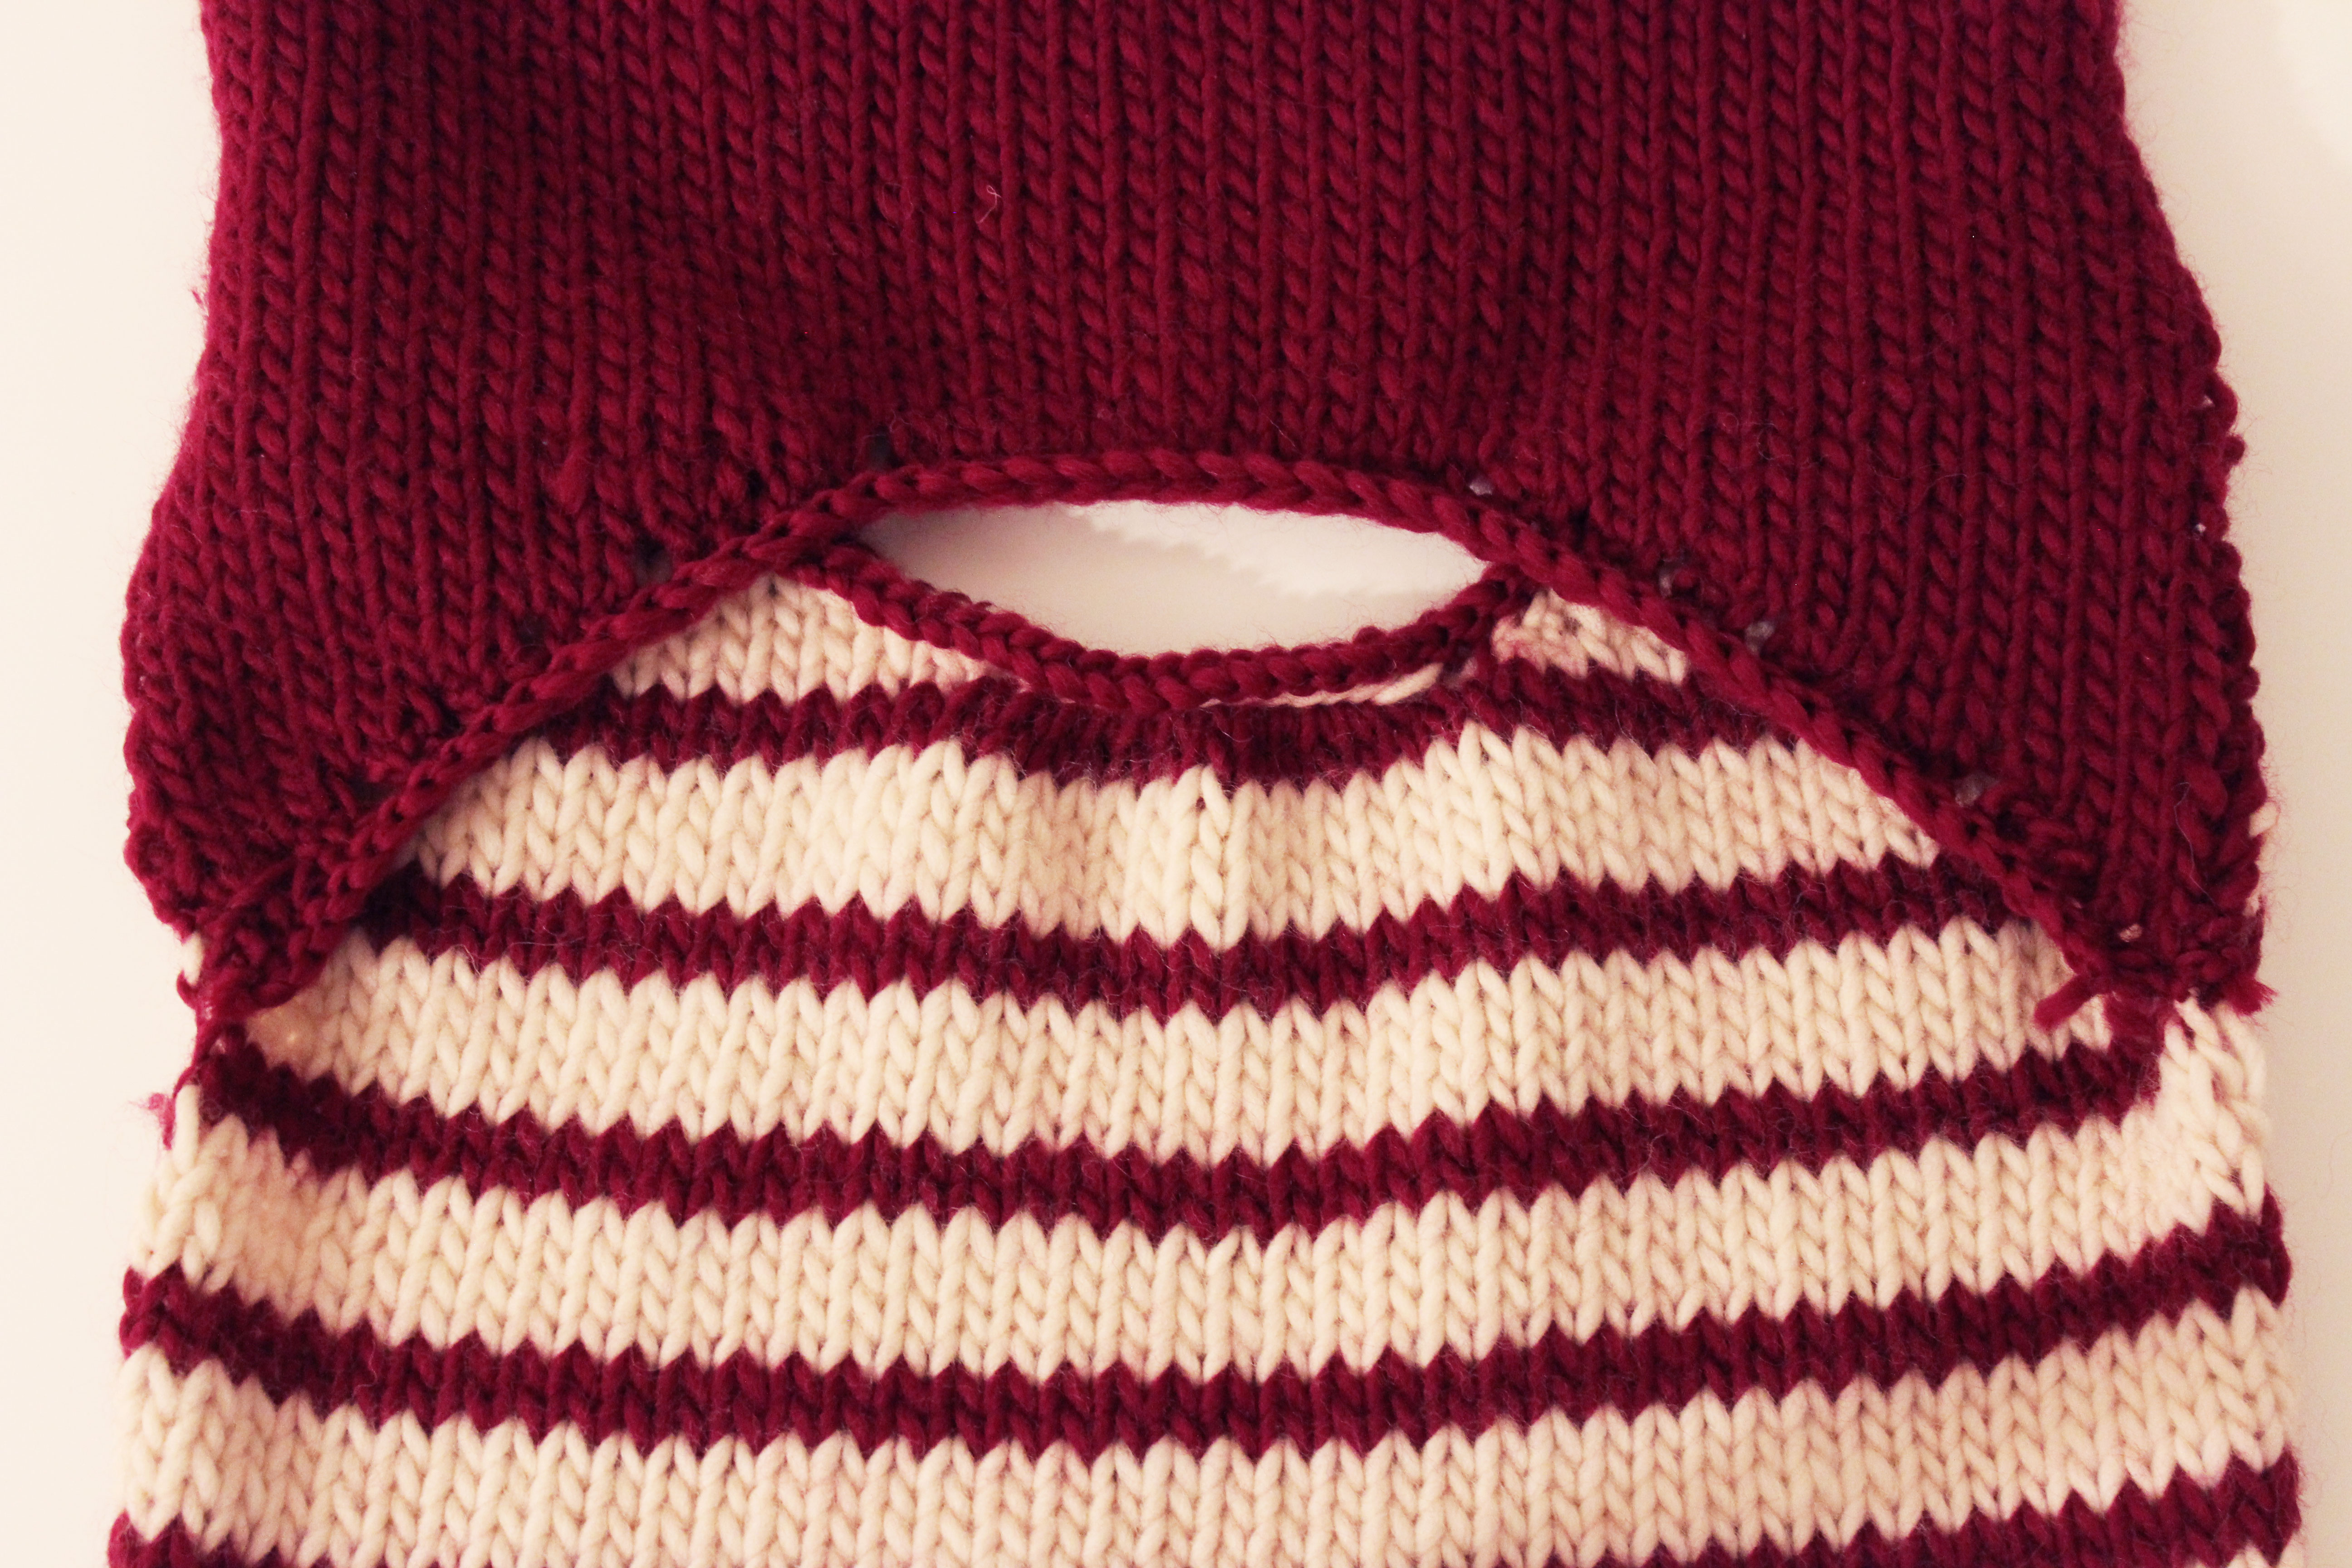
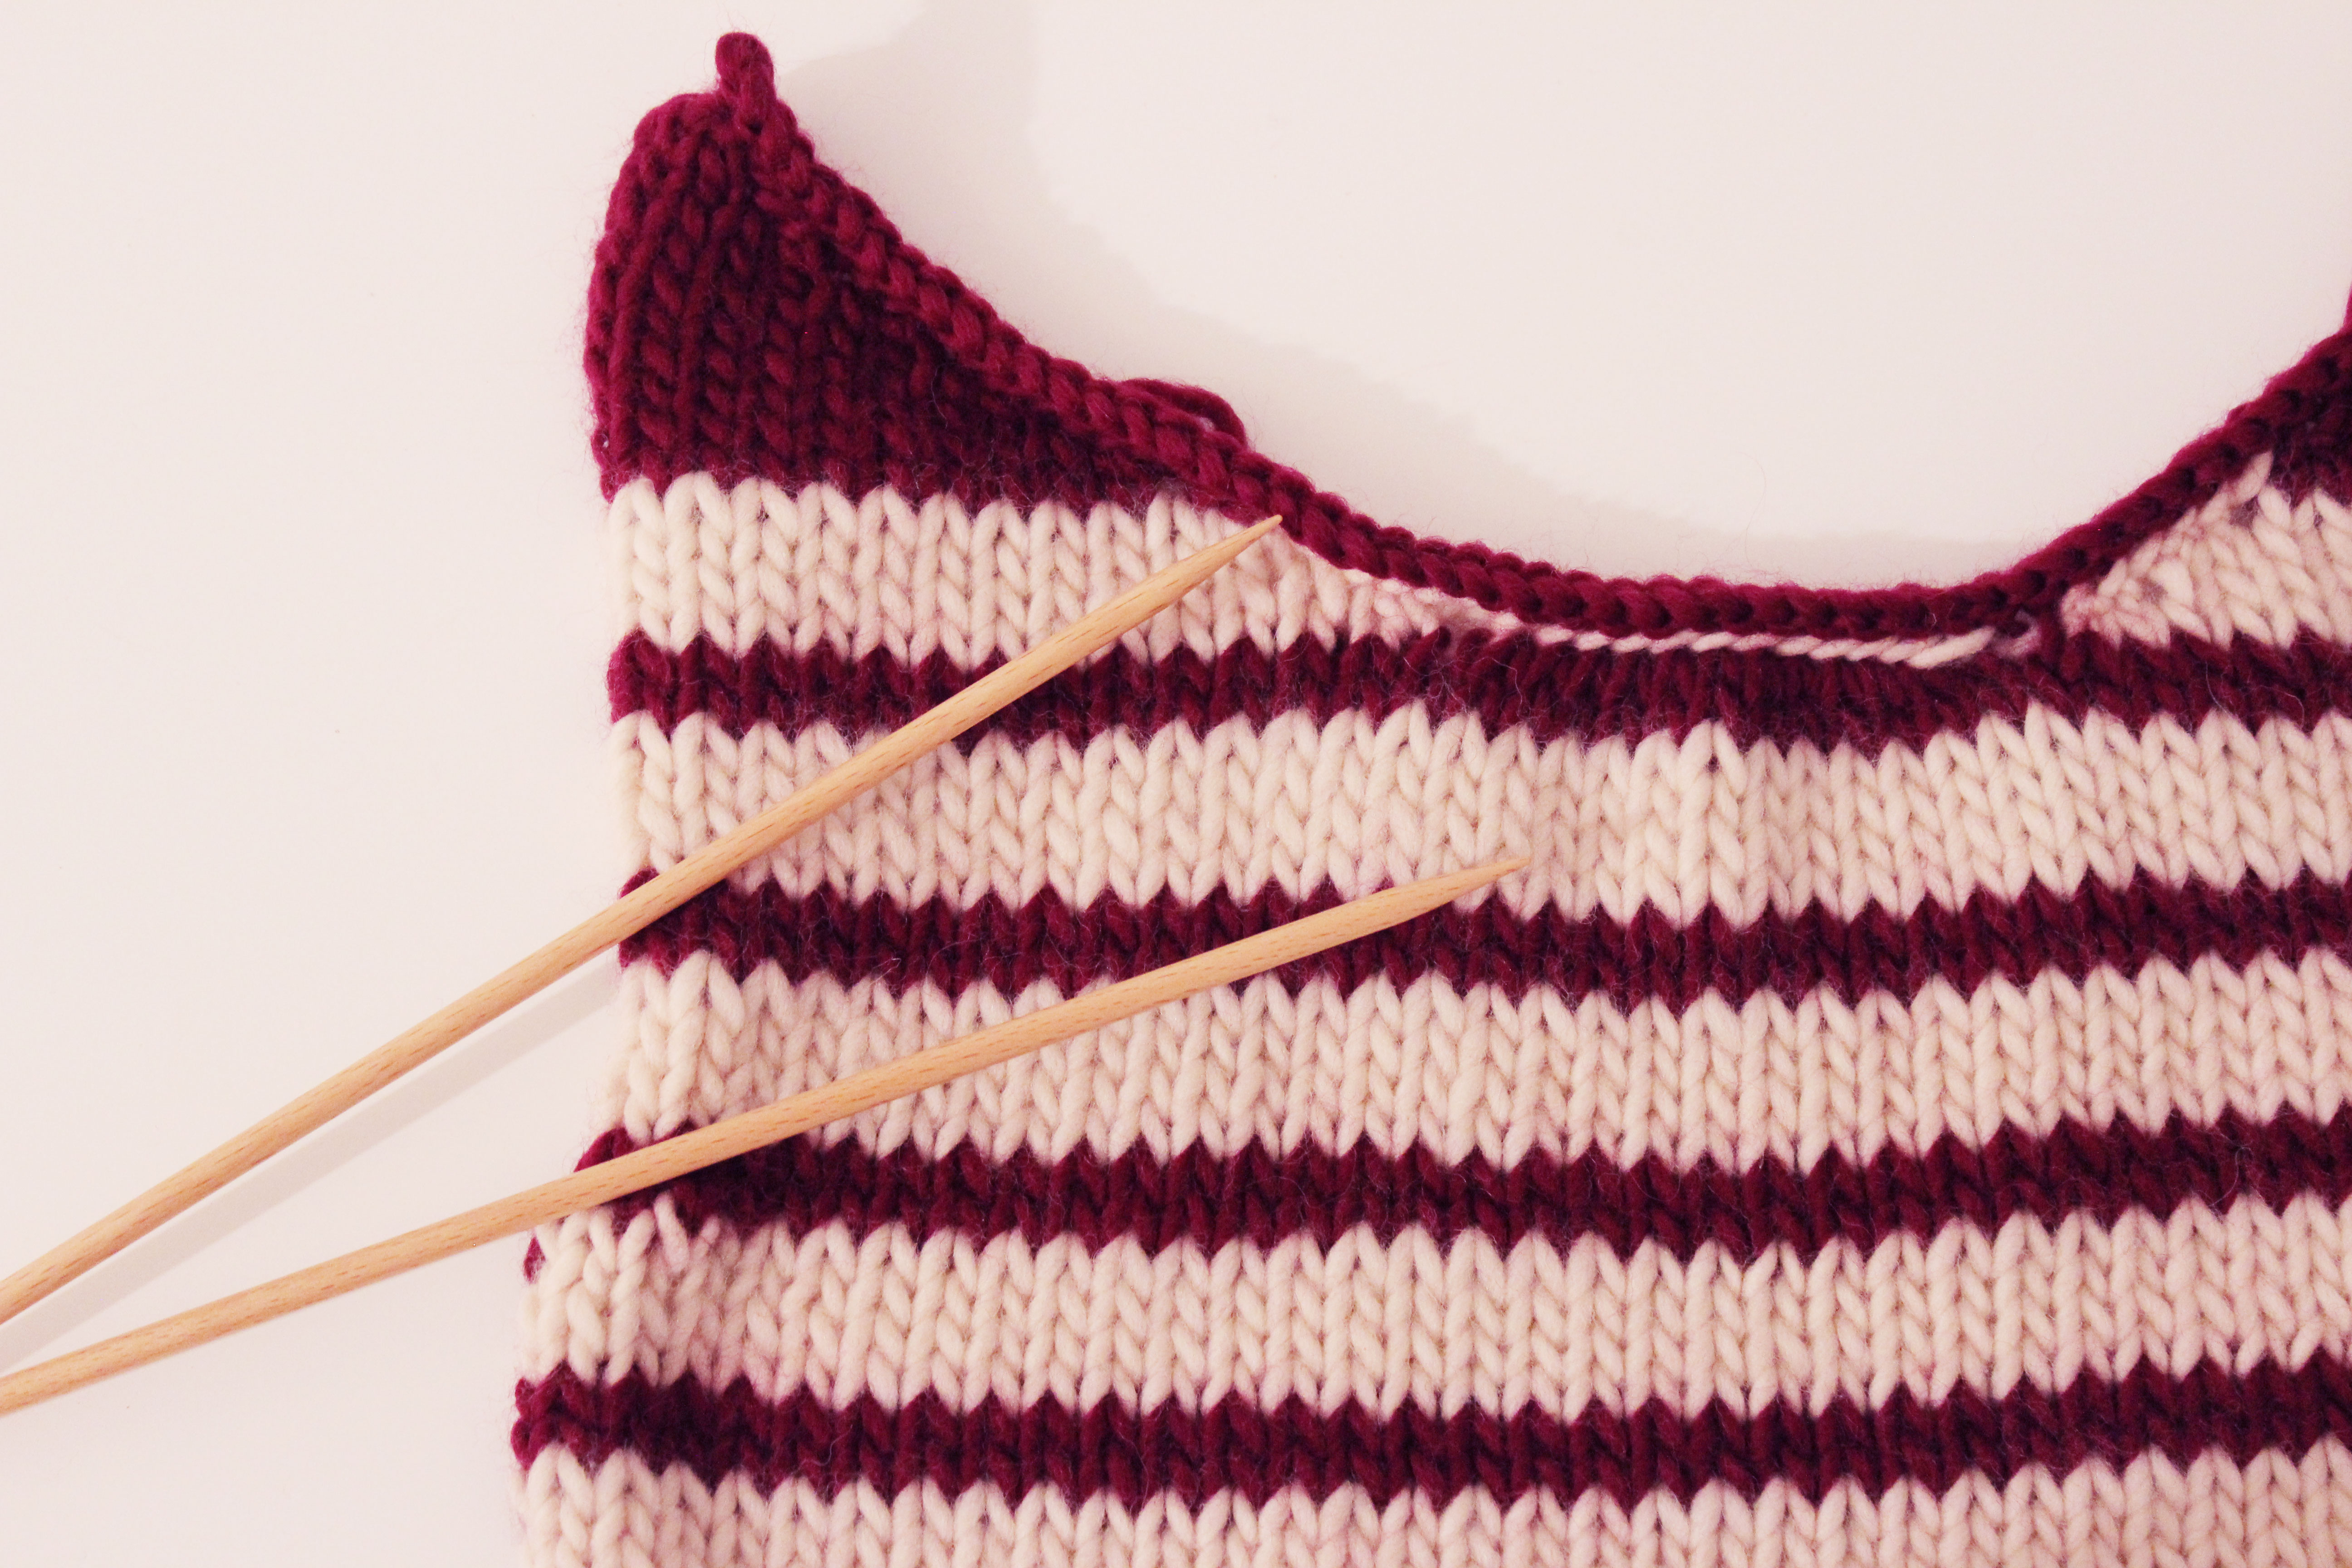
And now you’ve made the American neckline!
Now you only need to sew the sleeves and sides of the body, and you’ll have your new sweater with a different flair. We hope you share your new pieces on social media with the hashtag #weareknitters.
As you can see, it is very easy to make this interpretation and with our crochet hooks and knitting needles made of wood, there will be no measure that will stop or resist you 😉 We hope that you will share your new projects on social networks with the hashtag #weareknitters.