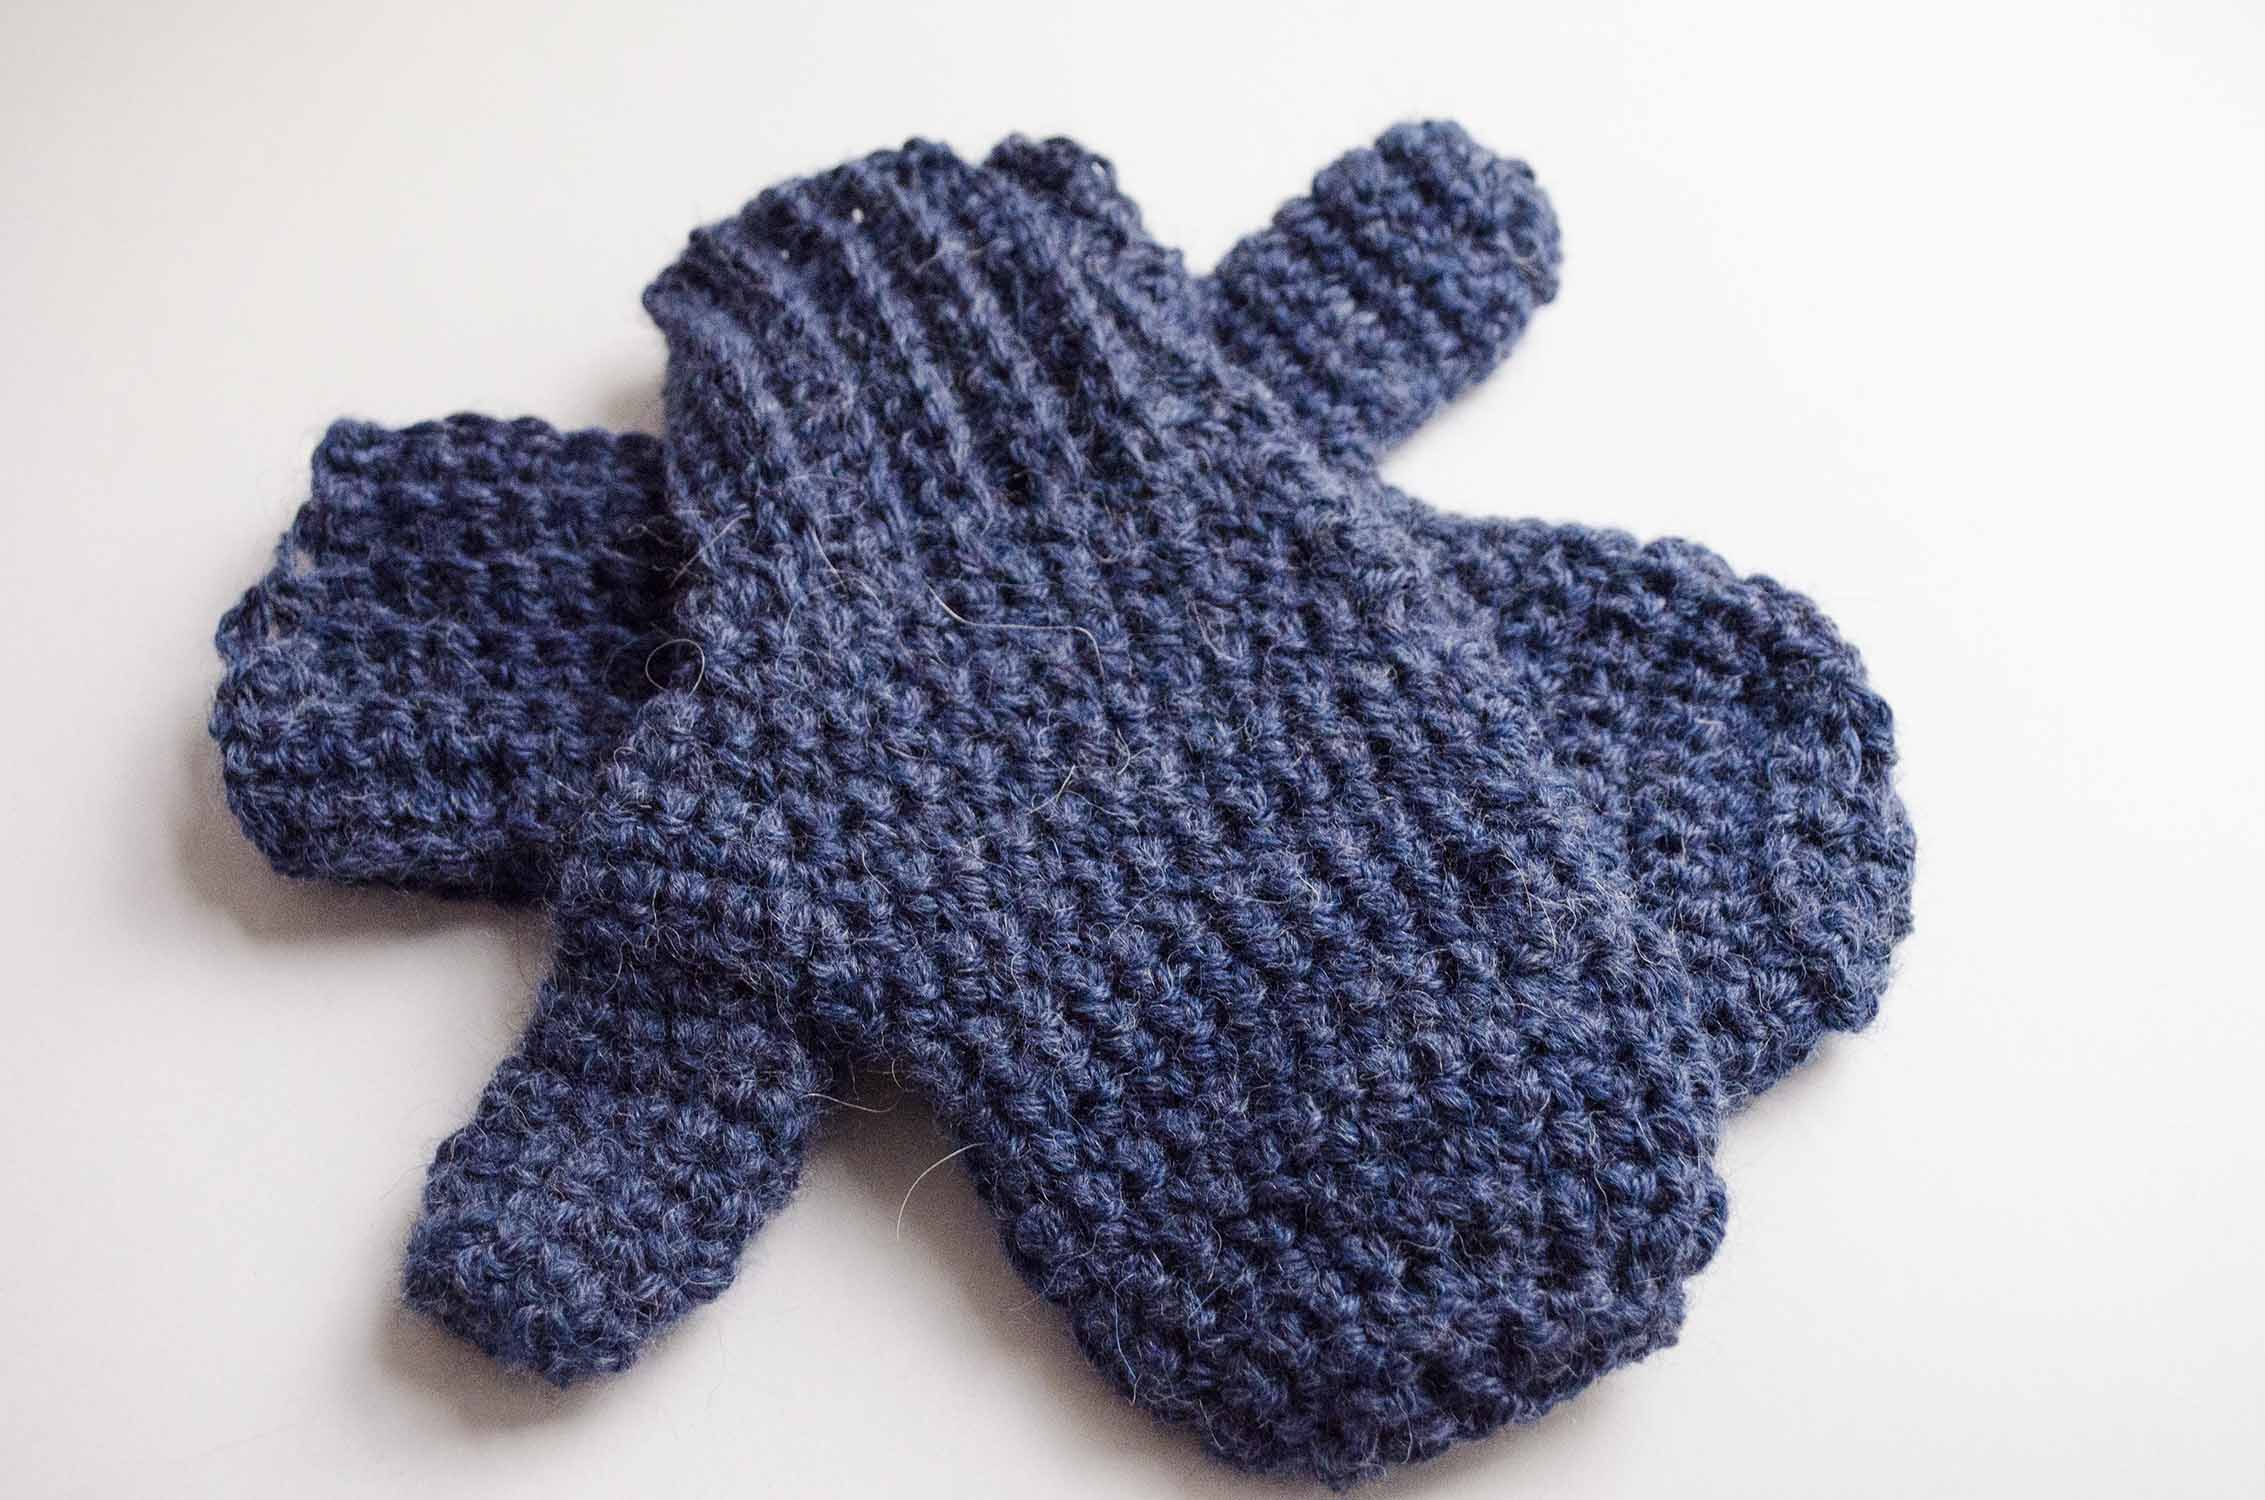
To keep your hands warm in Winter, there’s nothing better than mittens made by yourself! It’s very easy to find mittens knitting patterns, but not so easy if what we want is crochet patterns. With this free pattern we’ll teach you how to make your own mittens using the softest and warmest yarn, besides they’ll be ready in a single afternoon, so they are perfect for this winter wave that came so unexpectedly…
MATERIALS
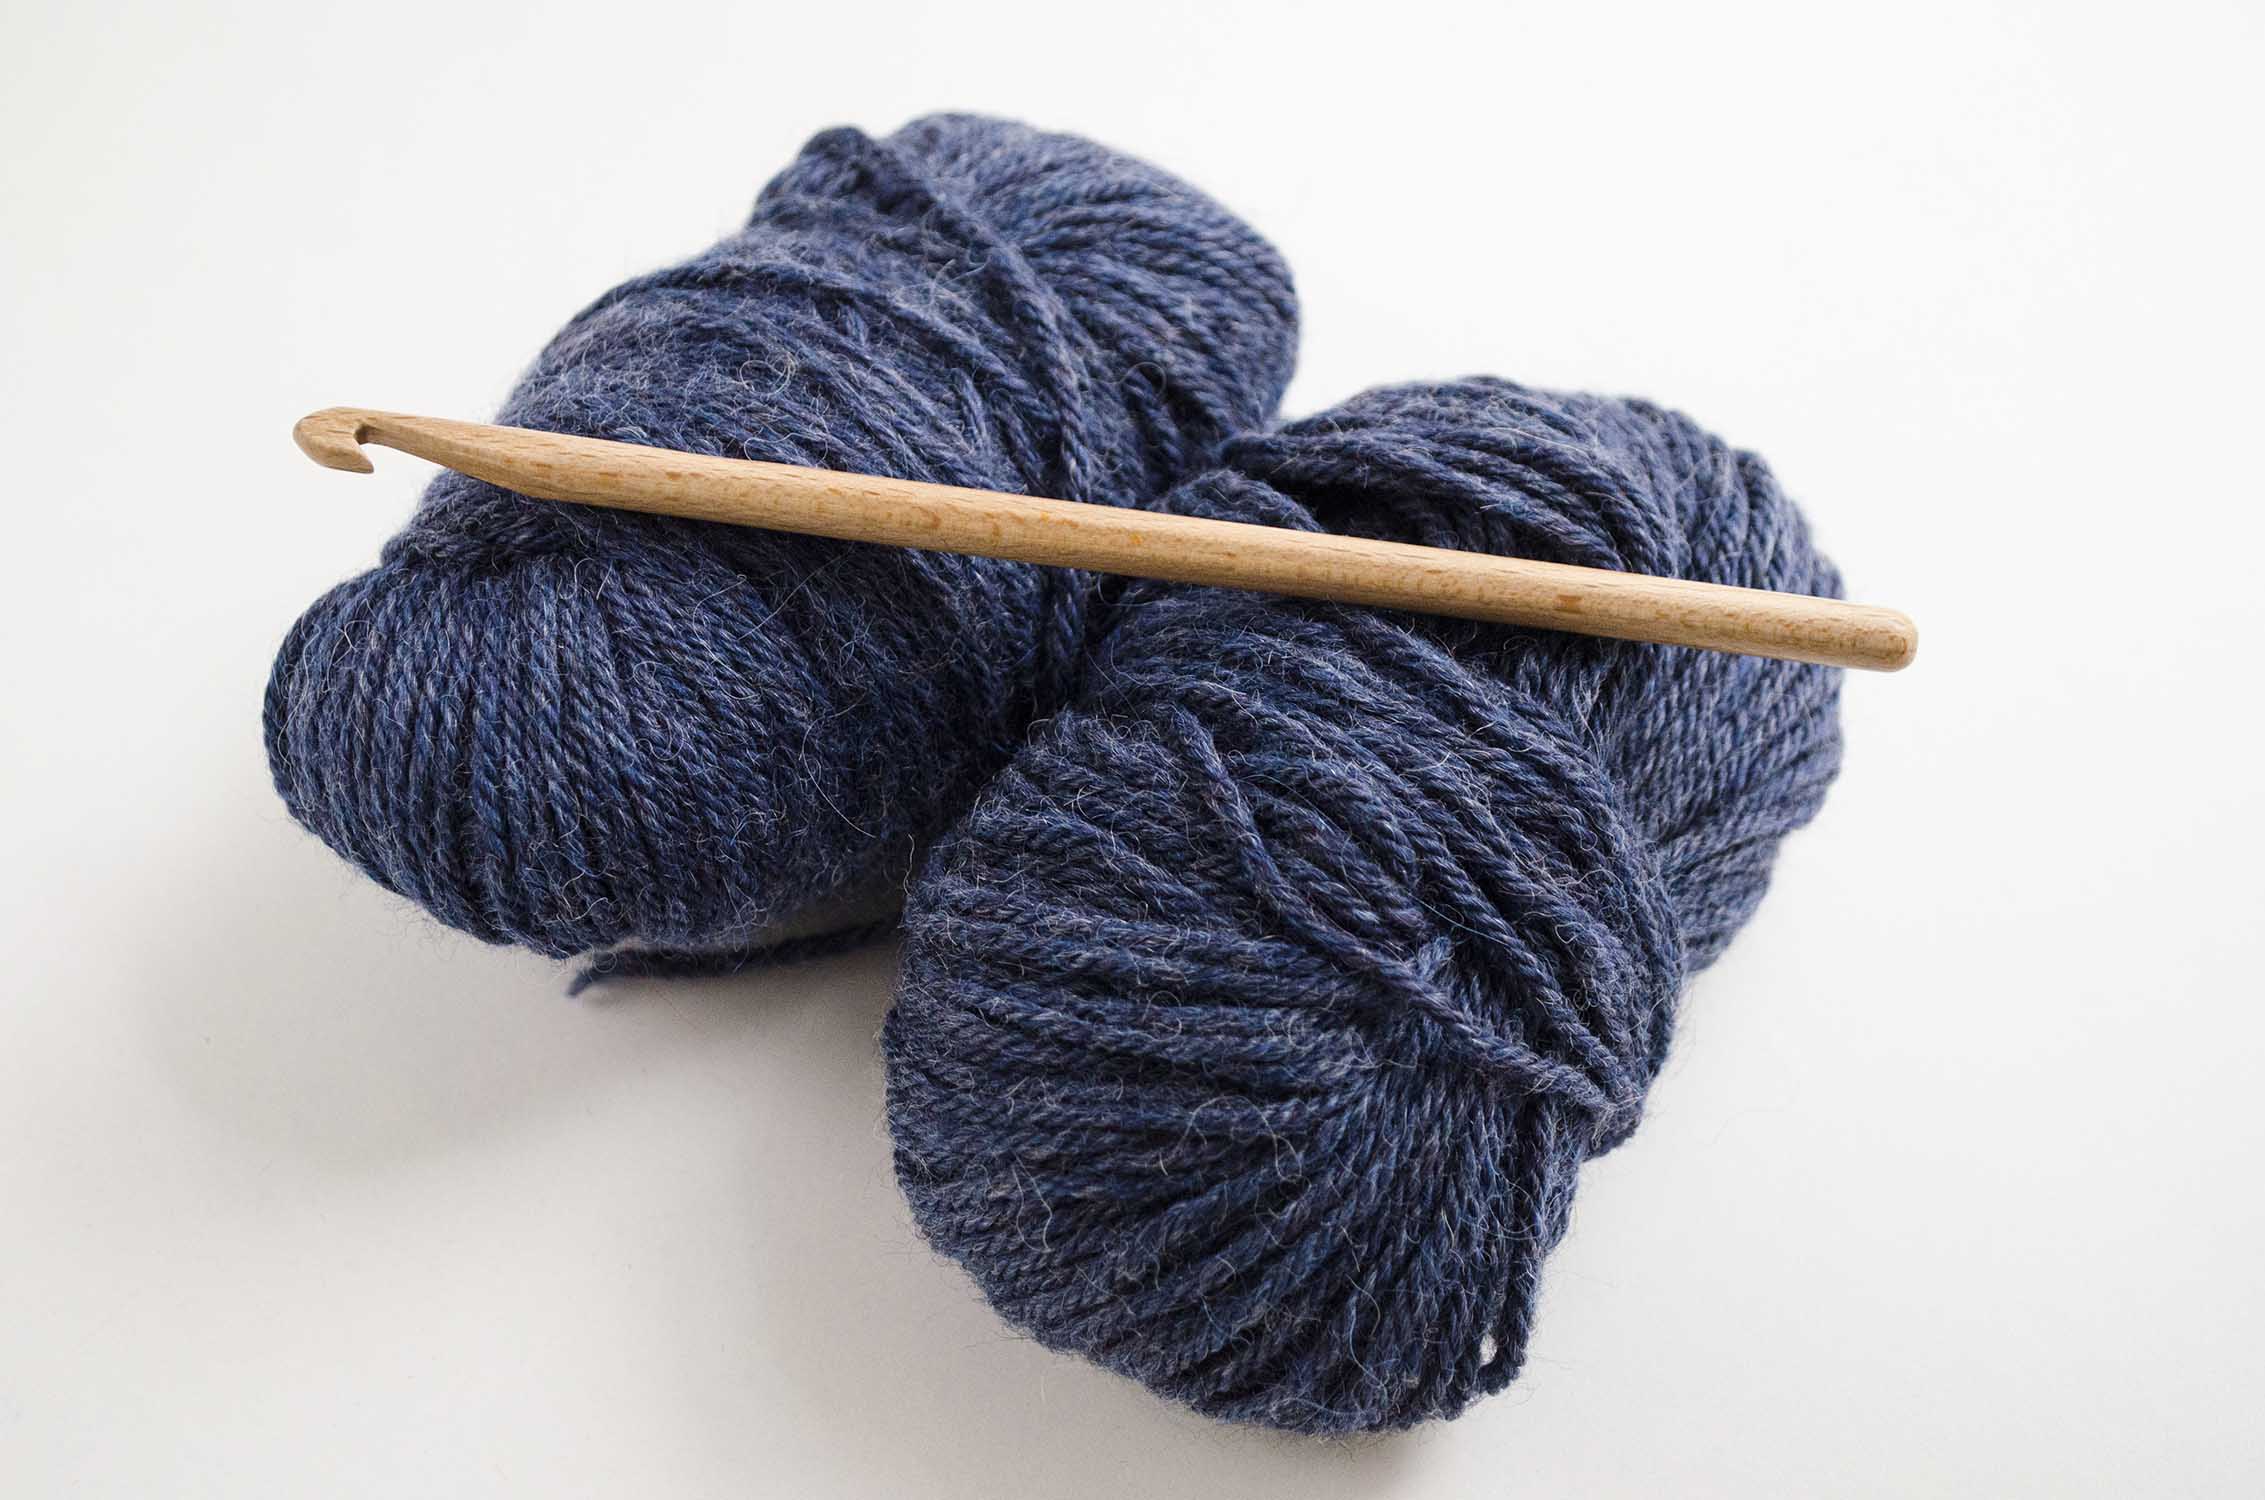
To make these crochet mittens, you’ll need:
– 2 balls of Baby Alpaca (we used marbled blue, but you can pick the color you like the most)
– 5 mm Beech wood crochet hook.
– Tapestry needle
– Scissors
Besides, you’ll need to know the following crochet techniques (and we have videos so you can practice them): how to chain, how to do the slip stitch and how to do the single crochet. That’s it!
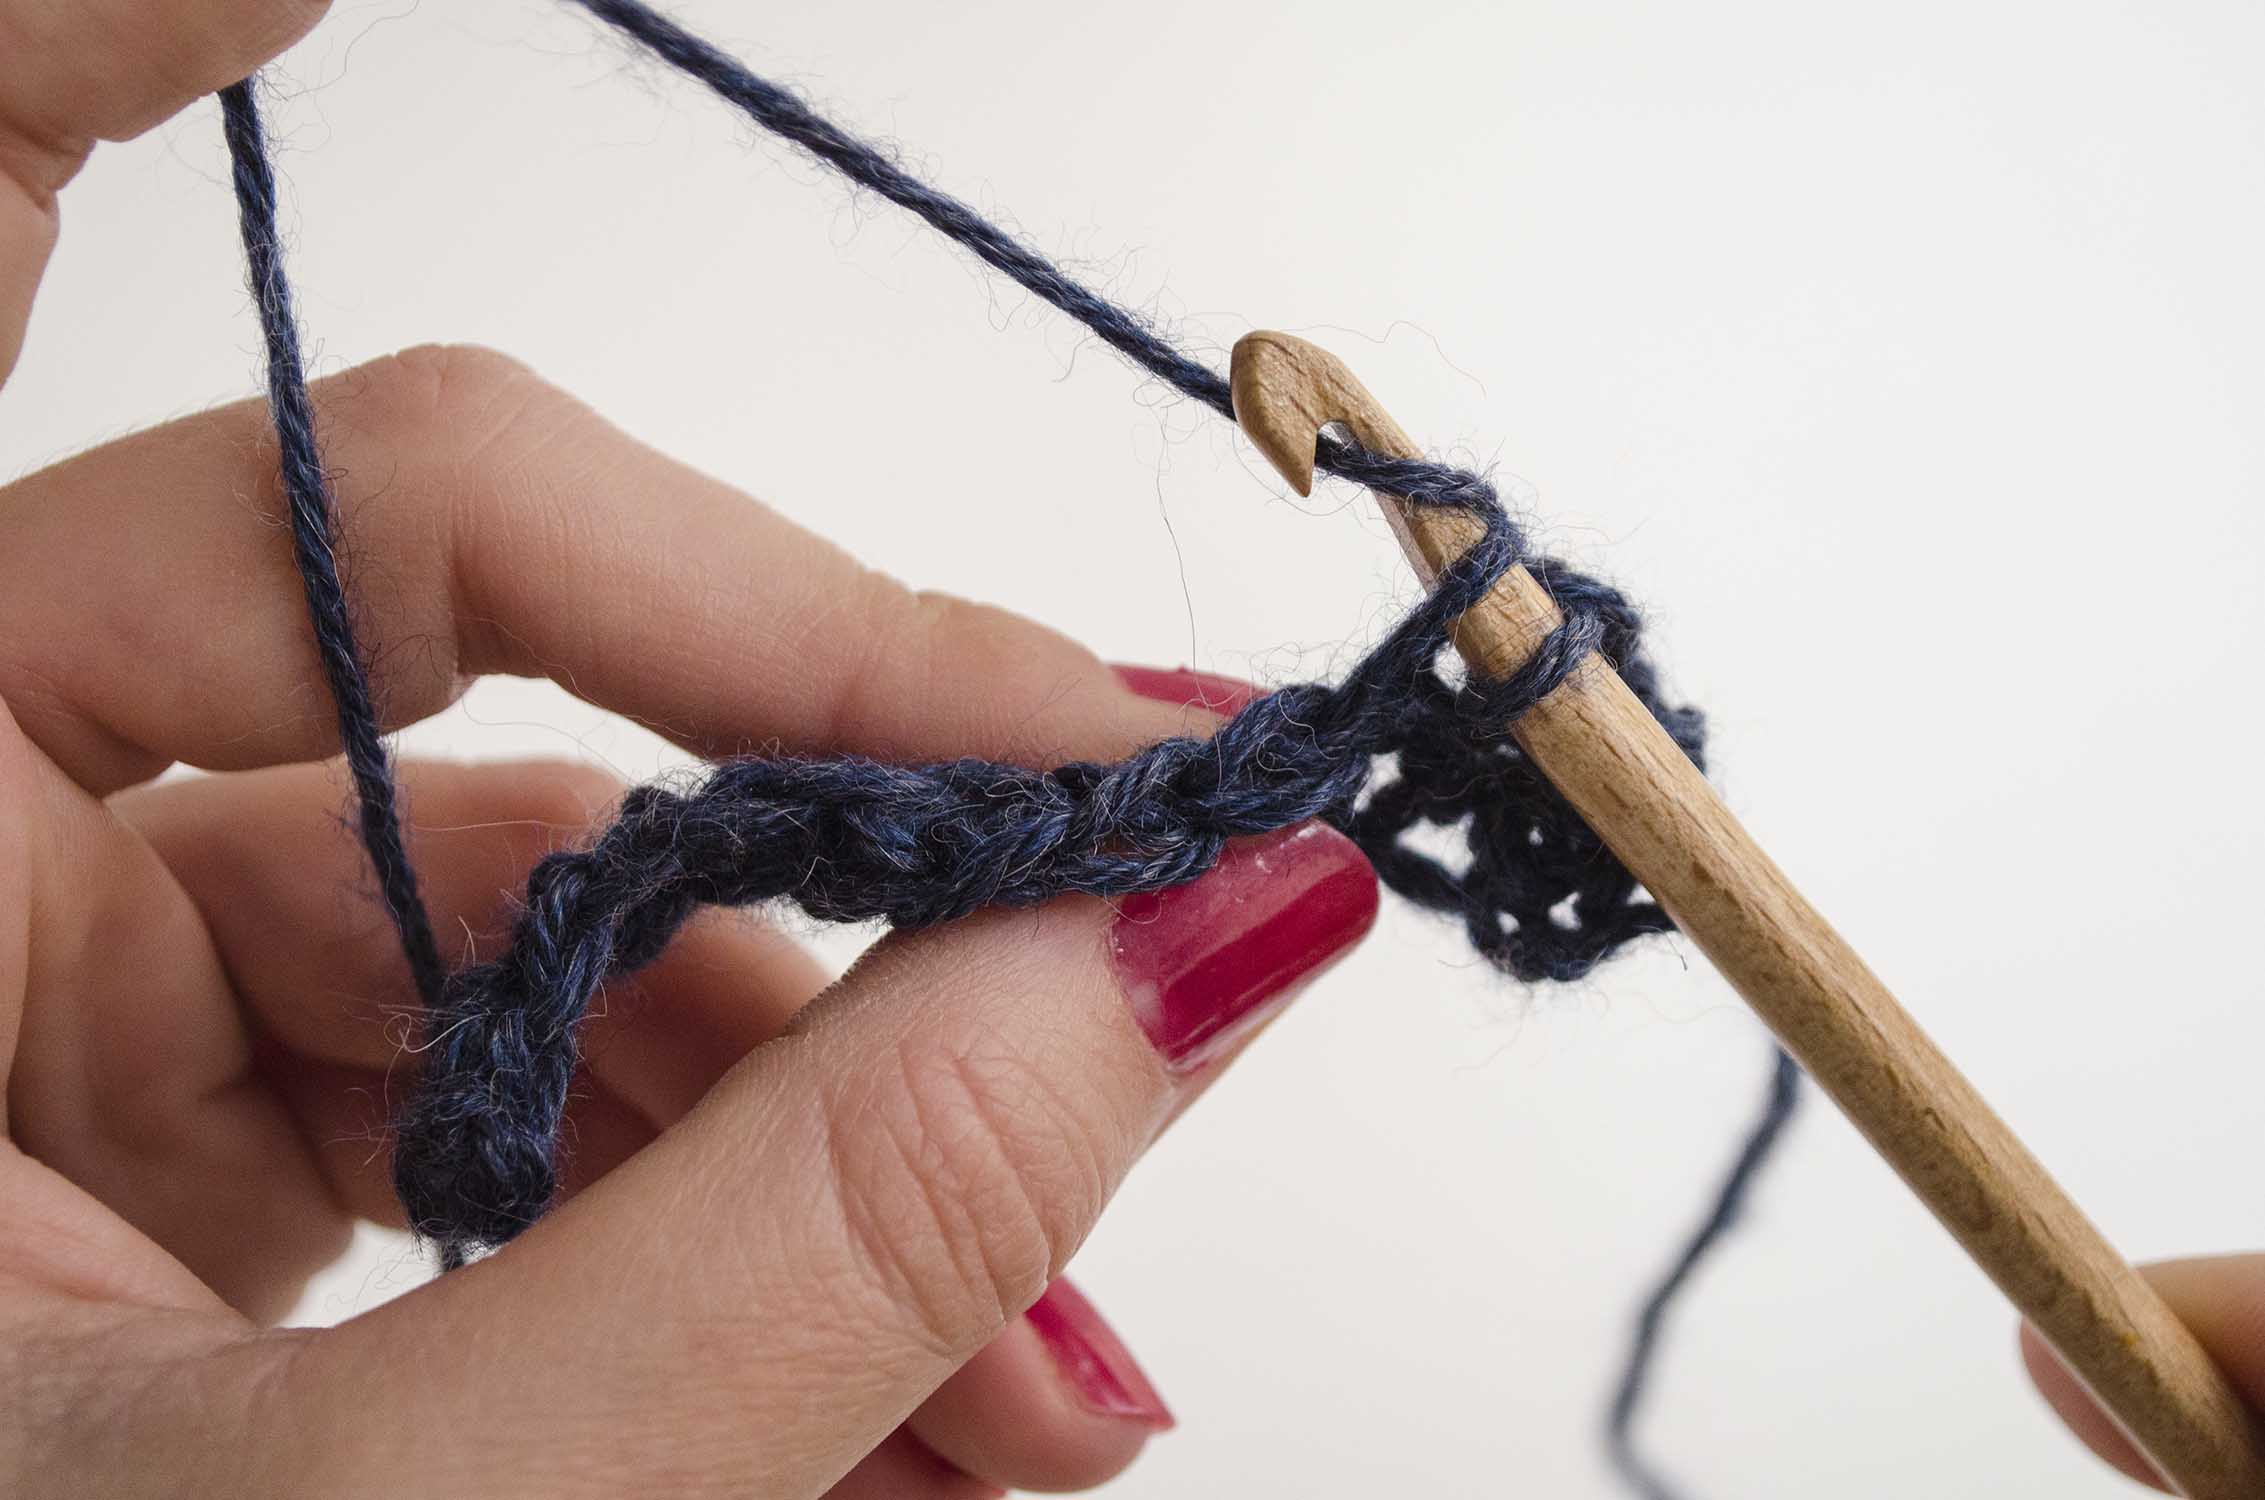
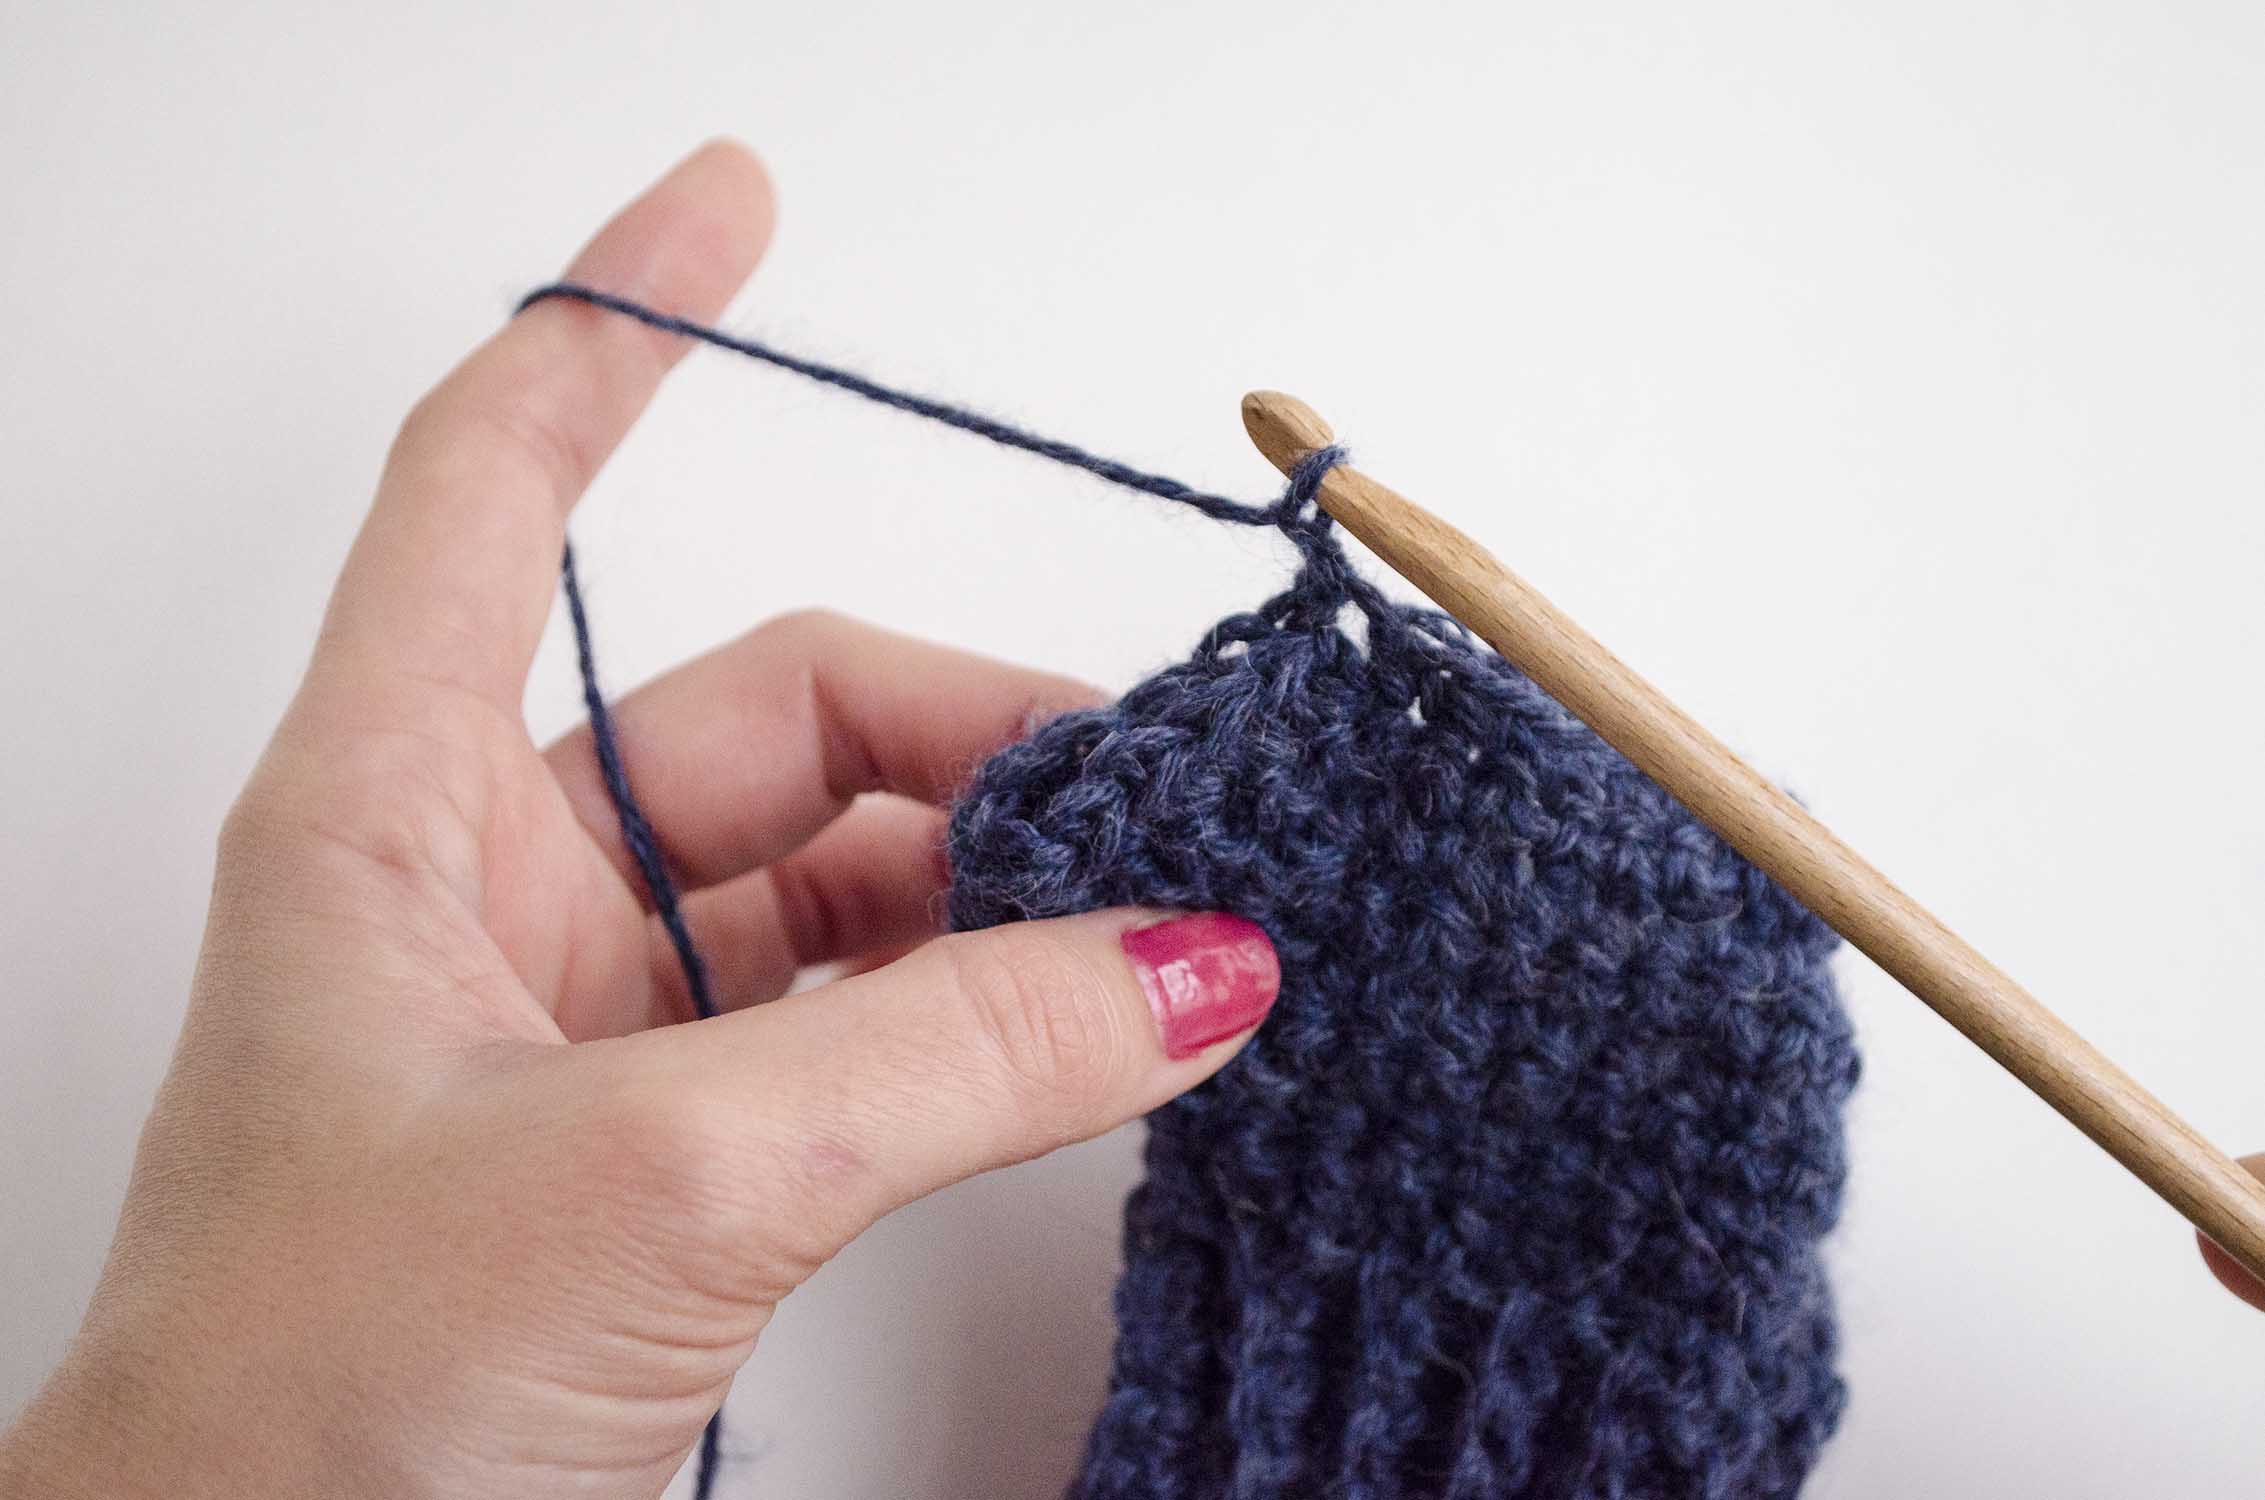
Chain 13 with your crochet hook.
Row 1: starting on the second chain from the crochet hook, work 12 single crochets on the back loop of each stitch. Chain 1, and turn the work. At the end of the row you will have 12 stitches.
Row 2: work 12 single crochets on the back loop of each stitch. Chain 1, and turn the work.
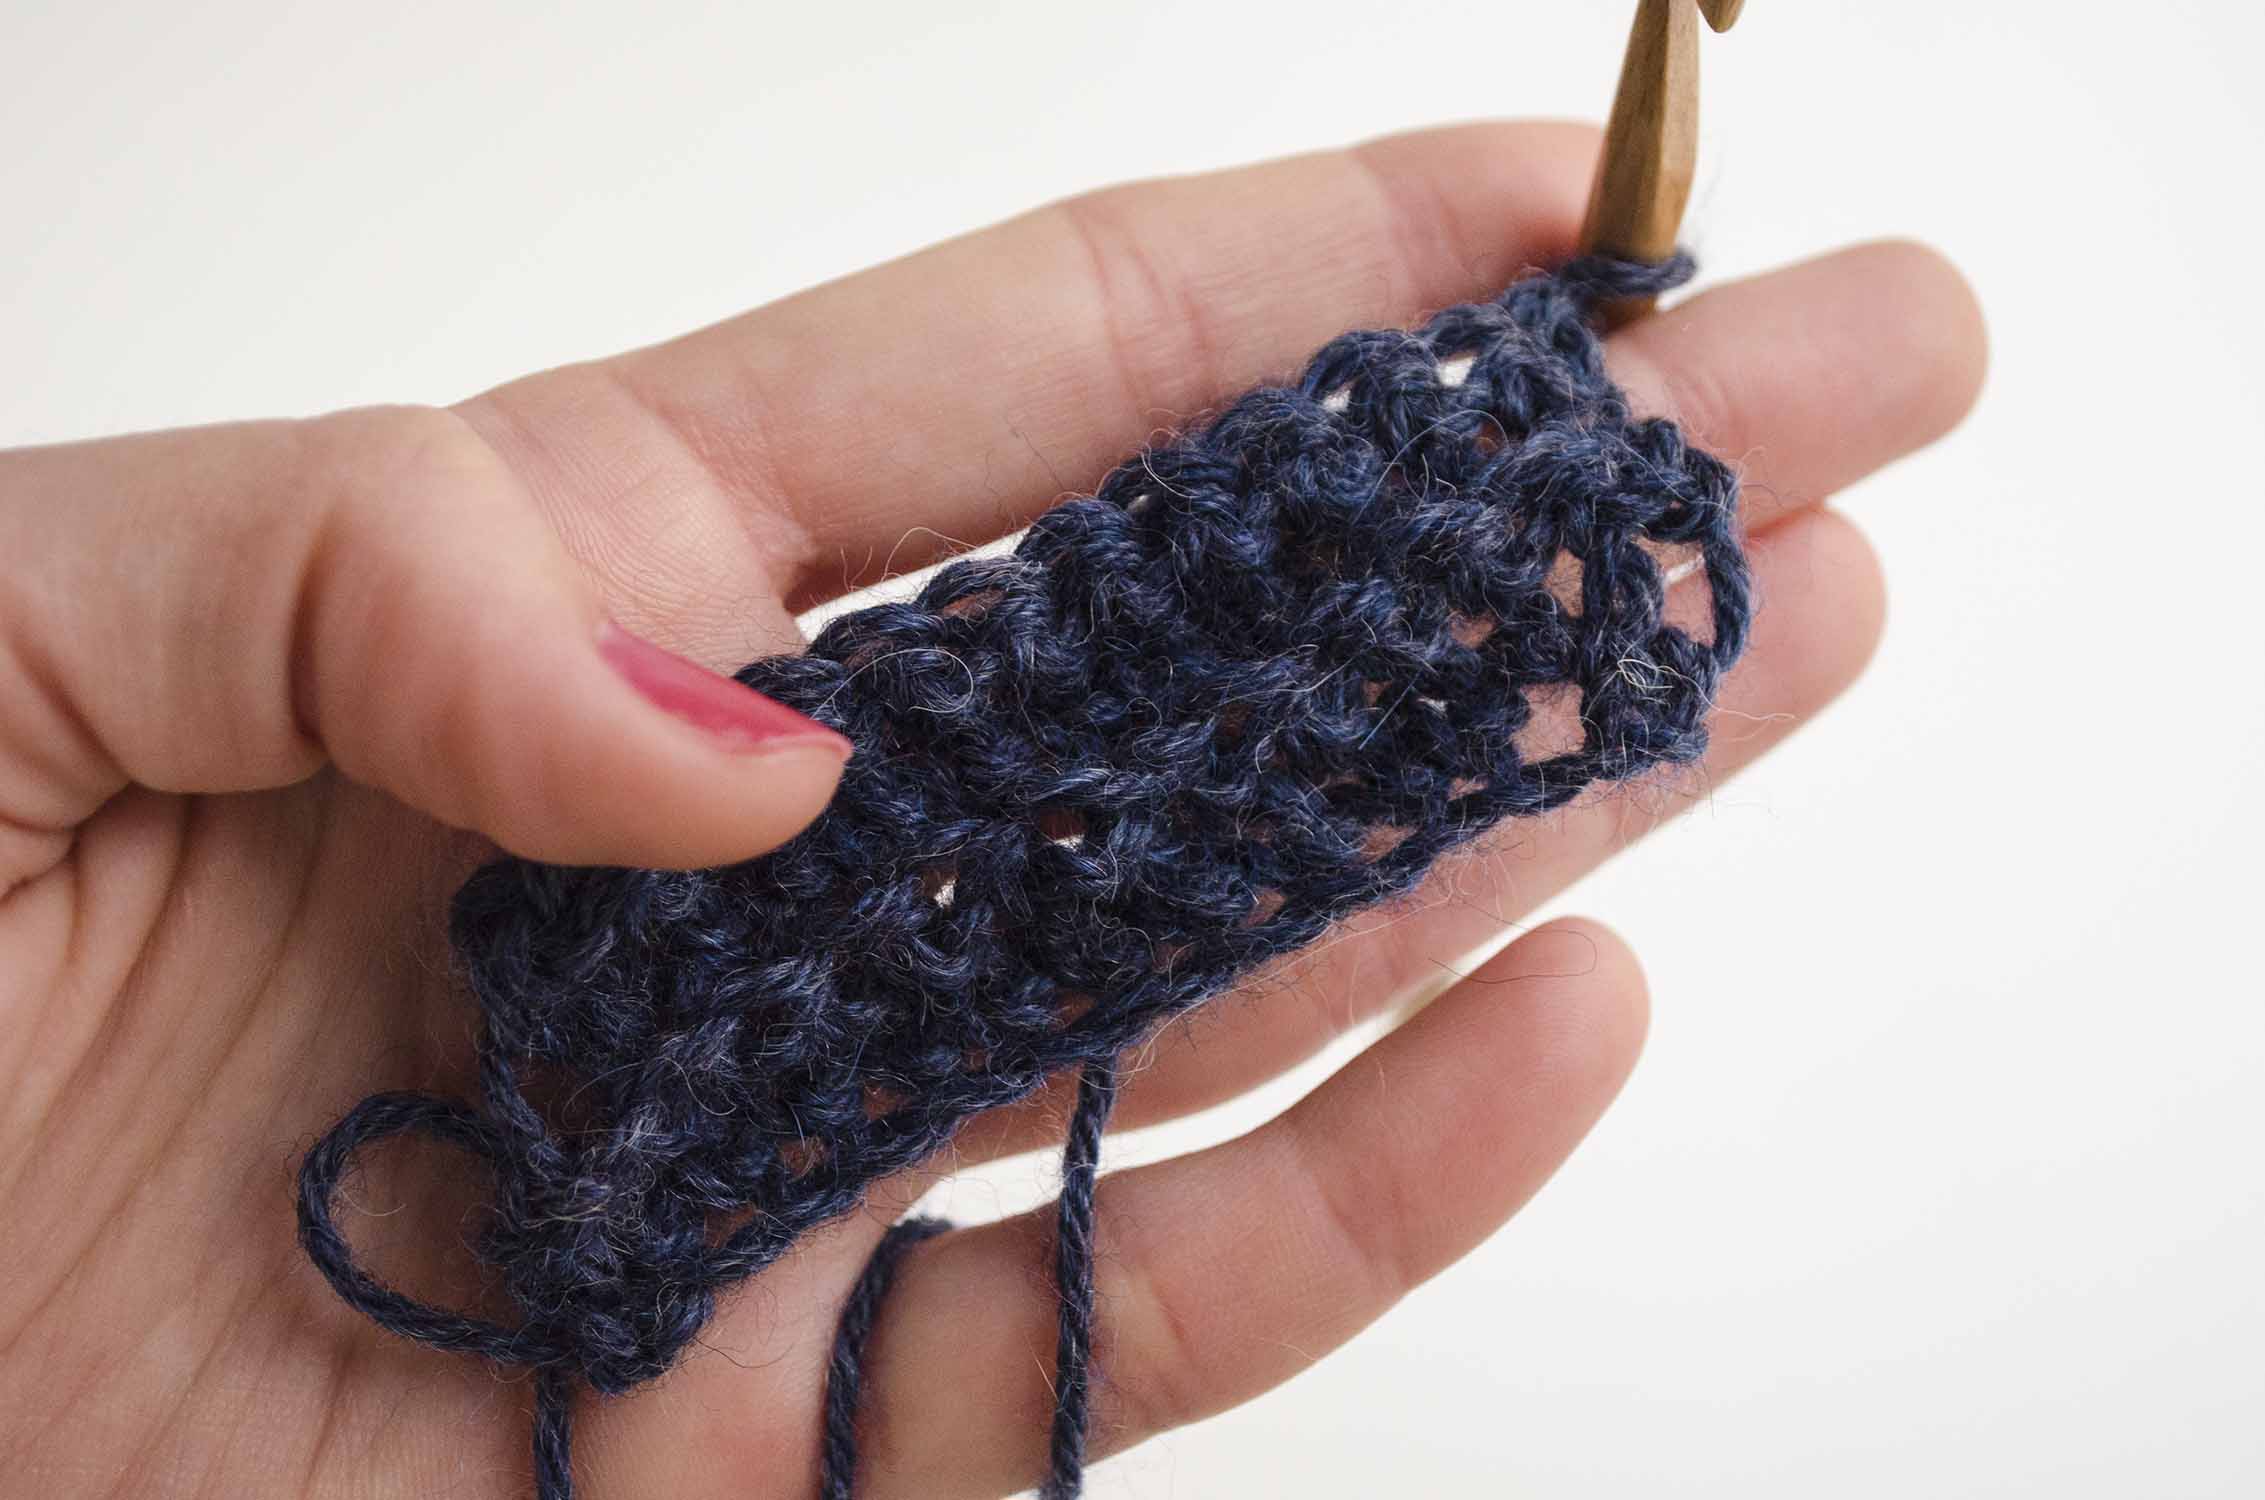
Rows 3 to 25: repeat row 2.
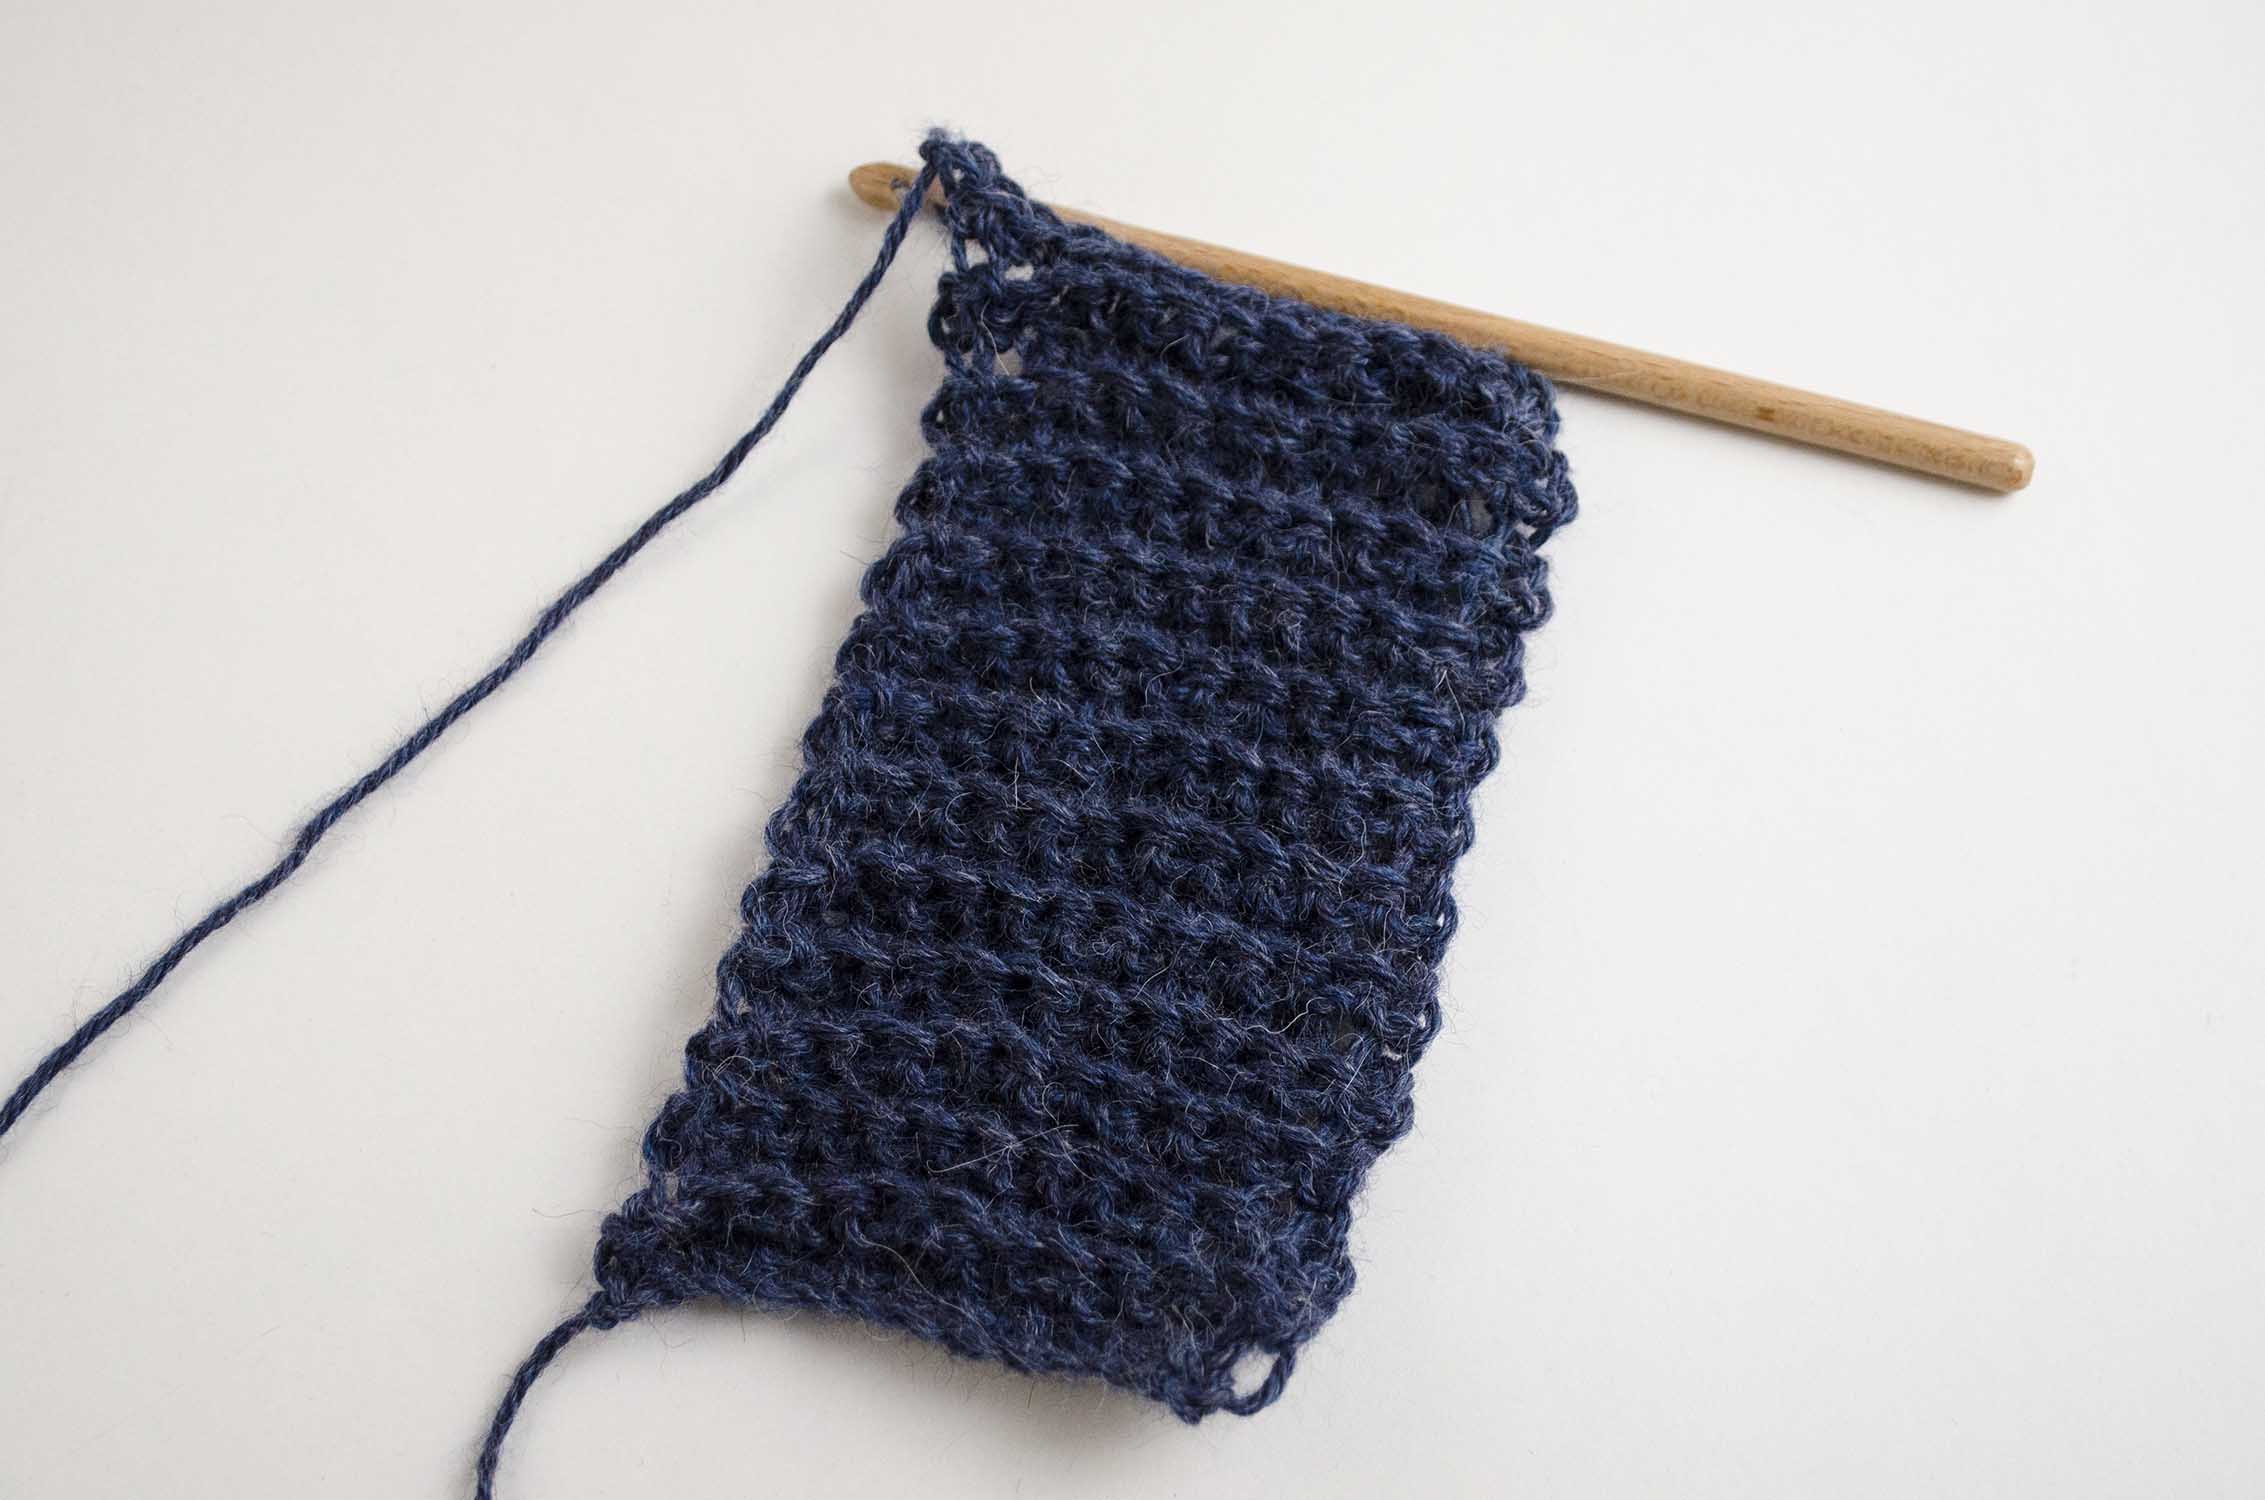
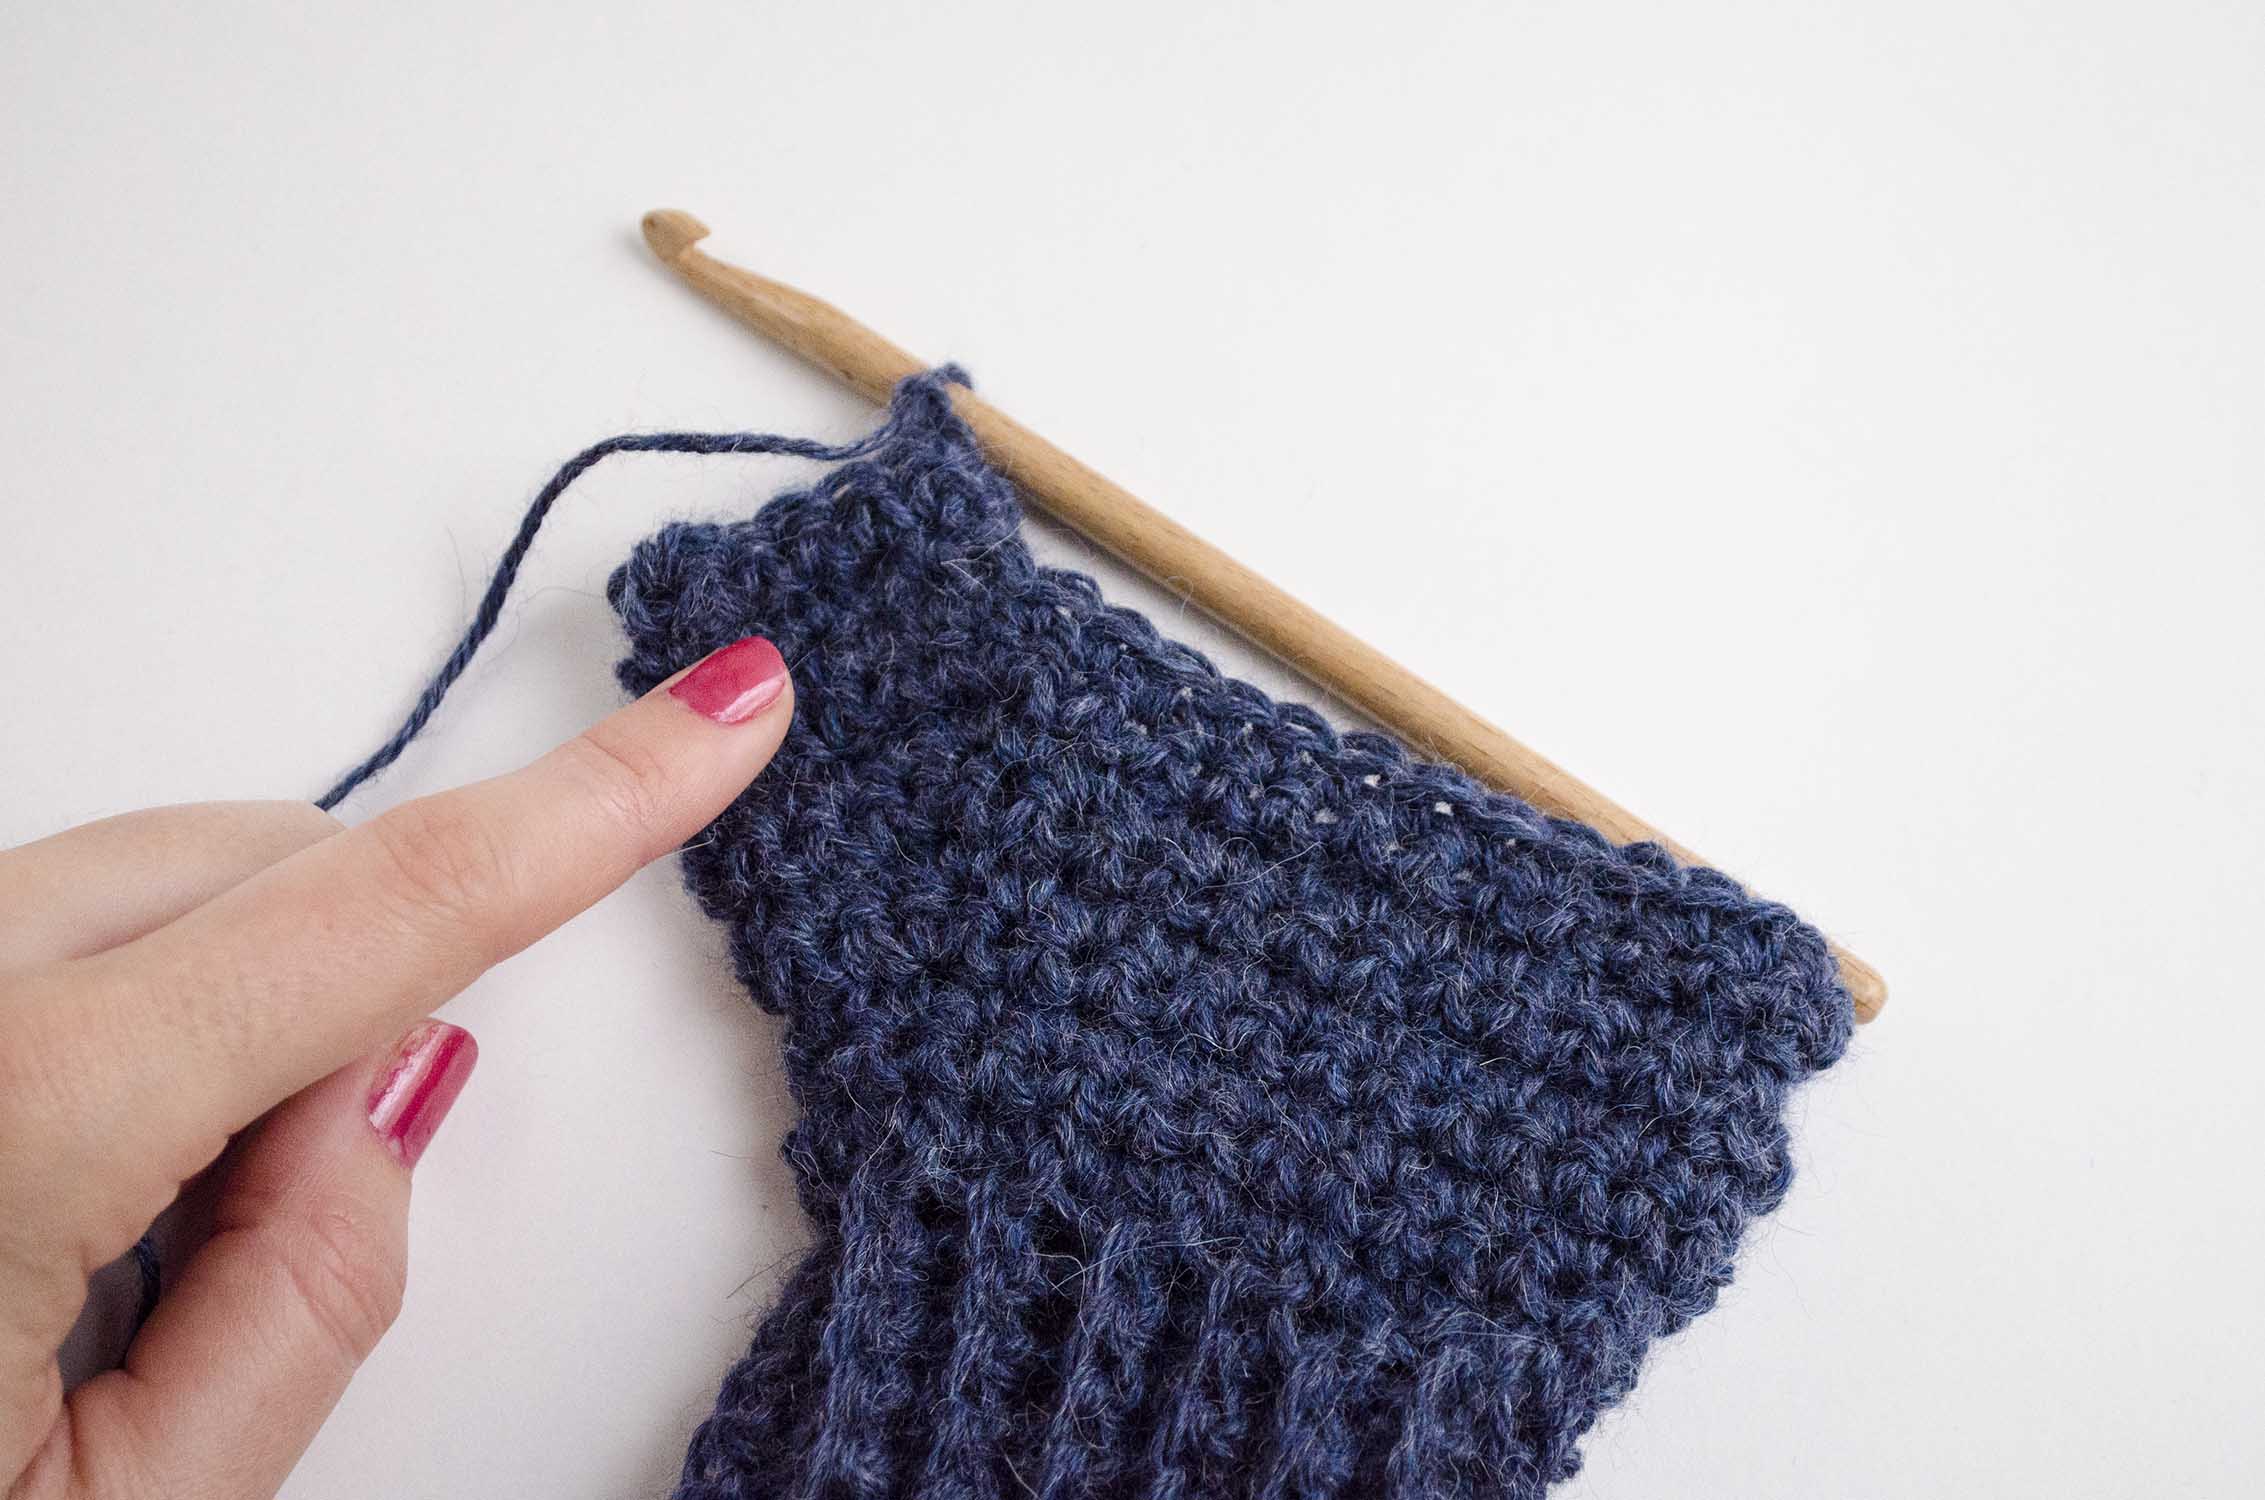
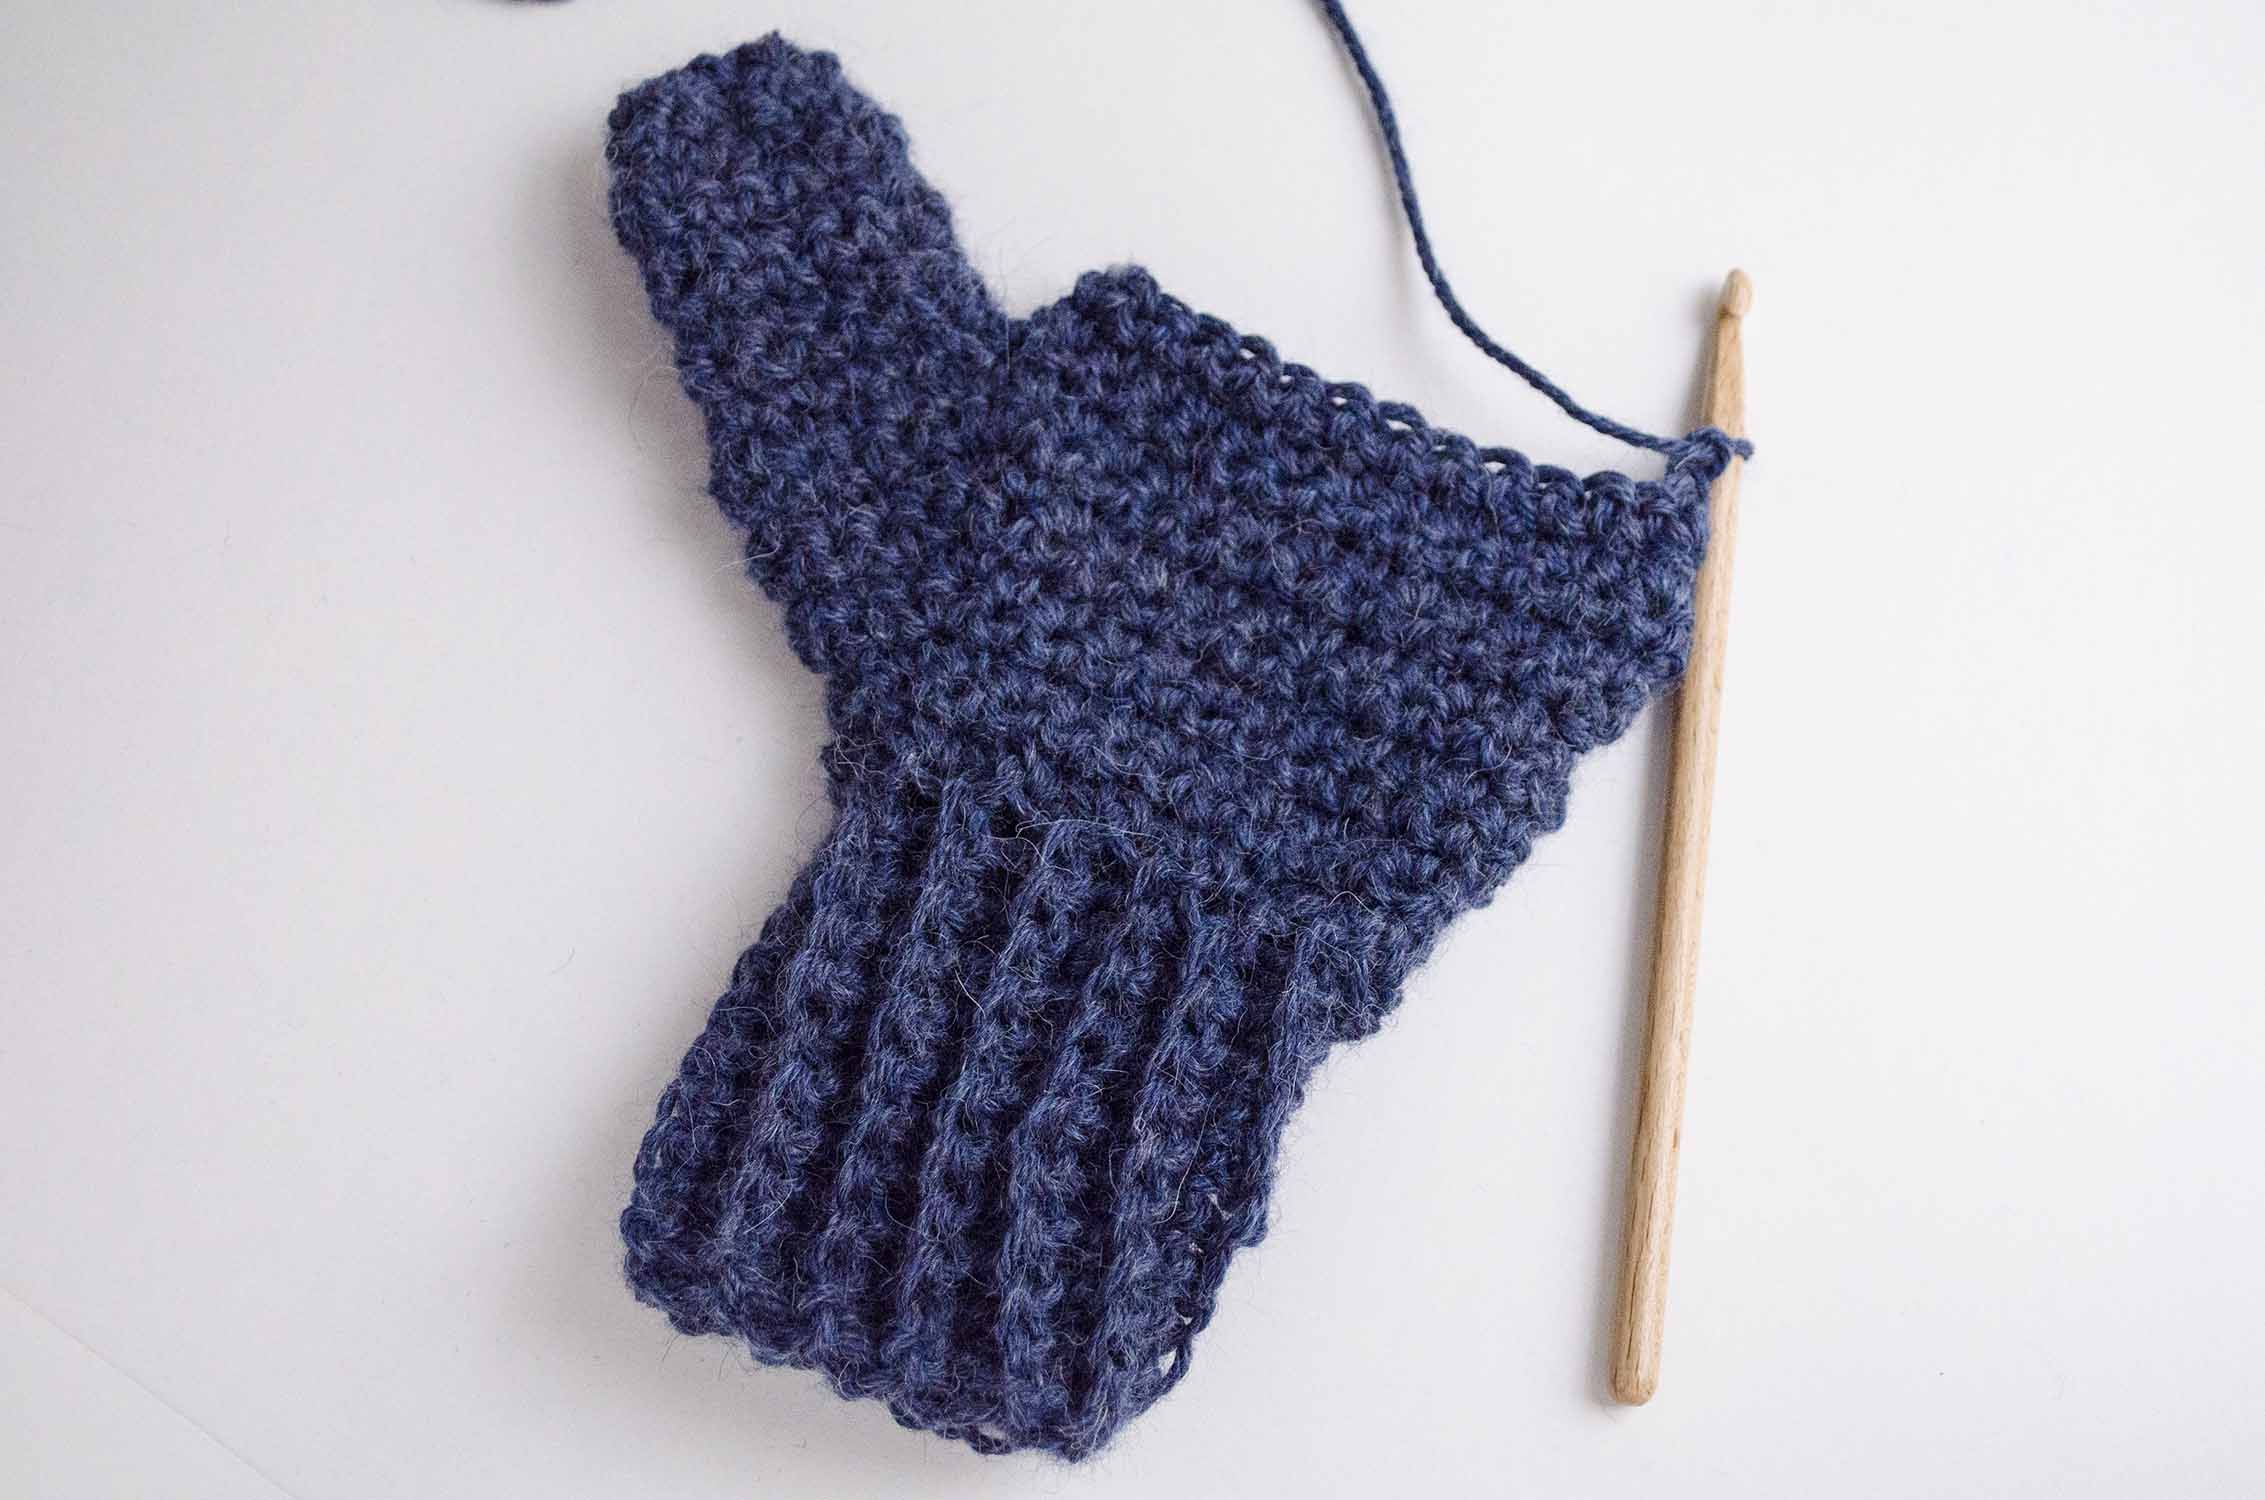
When you have worked all rows, you’ll have something similar to what you see on the picture above. Now we are going to join the piece to form the mitten cuff.
Row 26: fold the crocheted piece in a way so the row 1 is behind the row 25. Join both sides using the slip stitch, that means, make 1 slip stitch in each stitch to join the piece and form a tube.

The cuff will be closed. Turn the piece right side out, and place the seam to the right. You’ll be in the position you see on the picture. Now we are going to work around the edge of the cuff to start forming the part of the hand.
Row 27: chain 1, and 1 single crochet in the same stitch where you chain. Work 25 single crochets around the cuff, on the edge of the piece we crocheted first. Join the row with 1 slip stitch, chain 1, and turn the work. You’ll have 26 stitches.
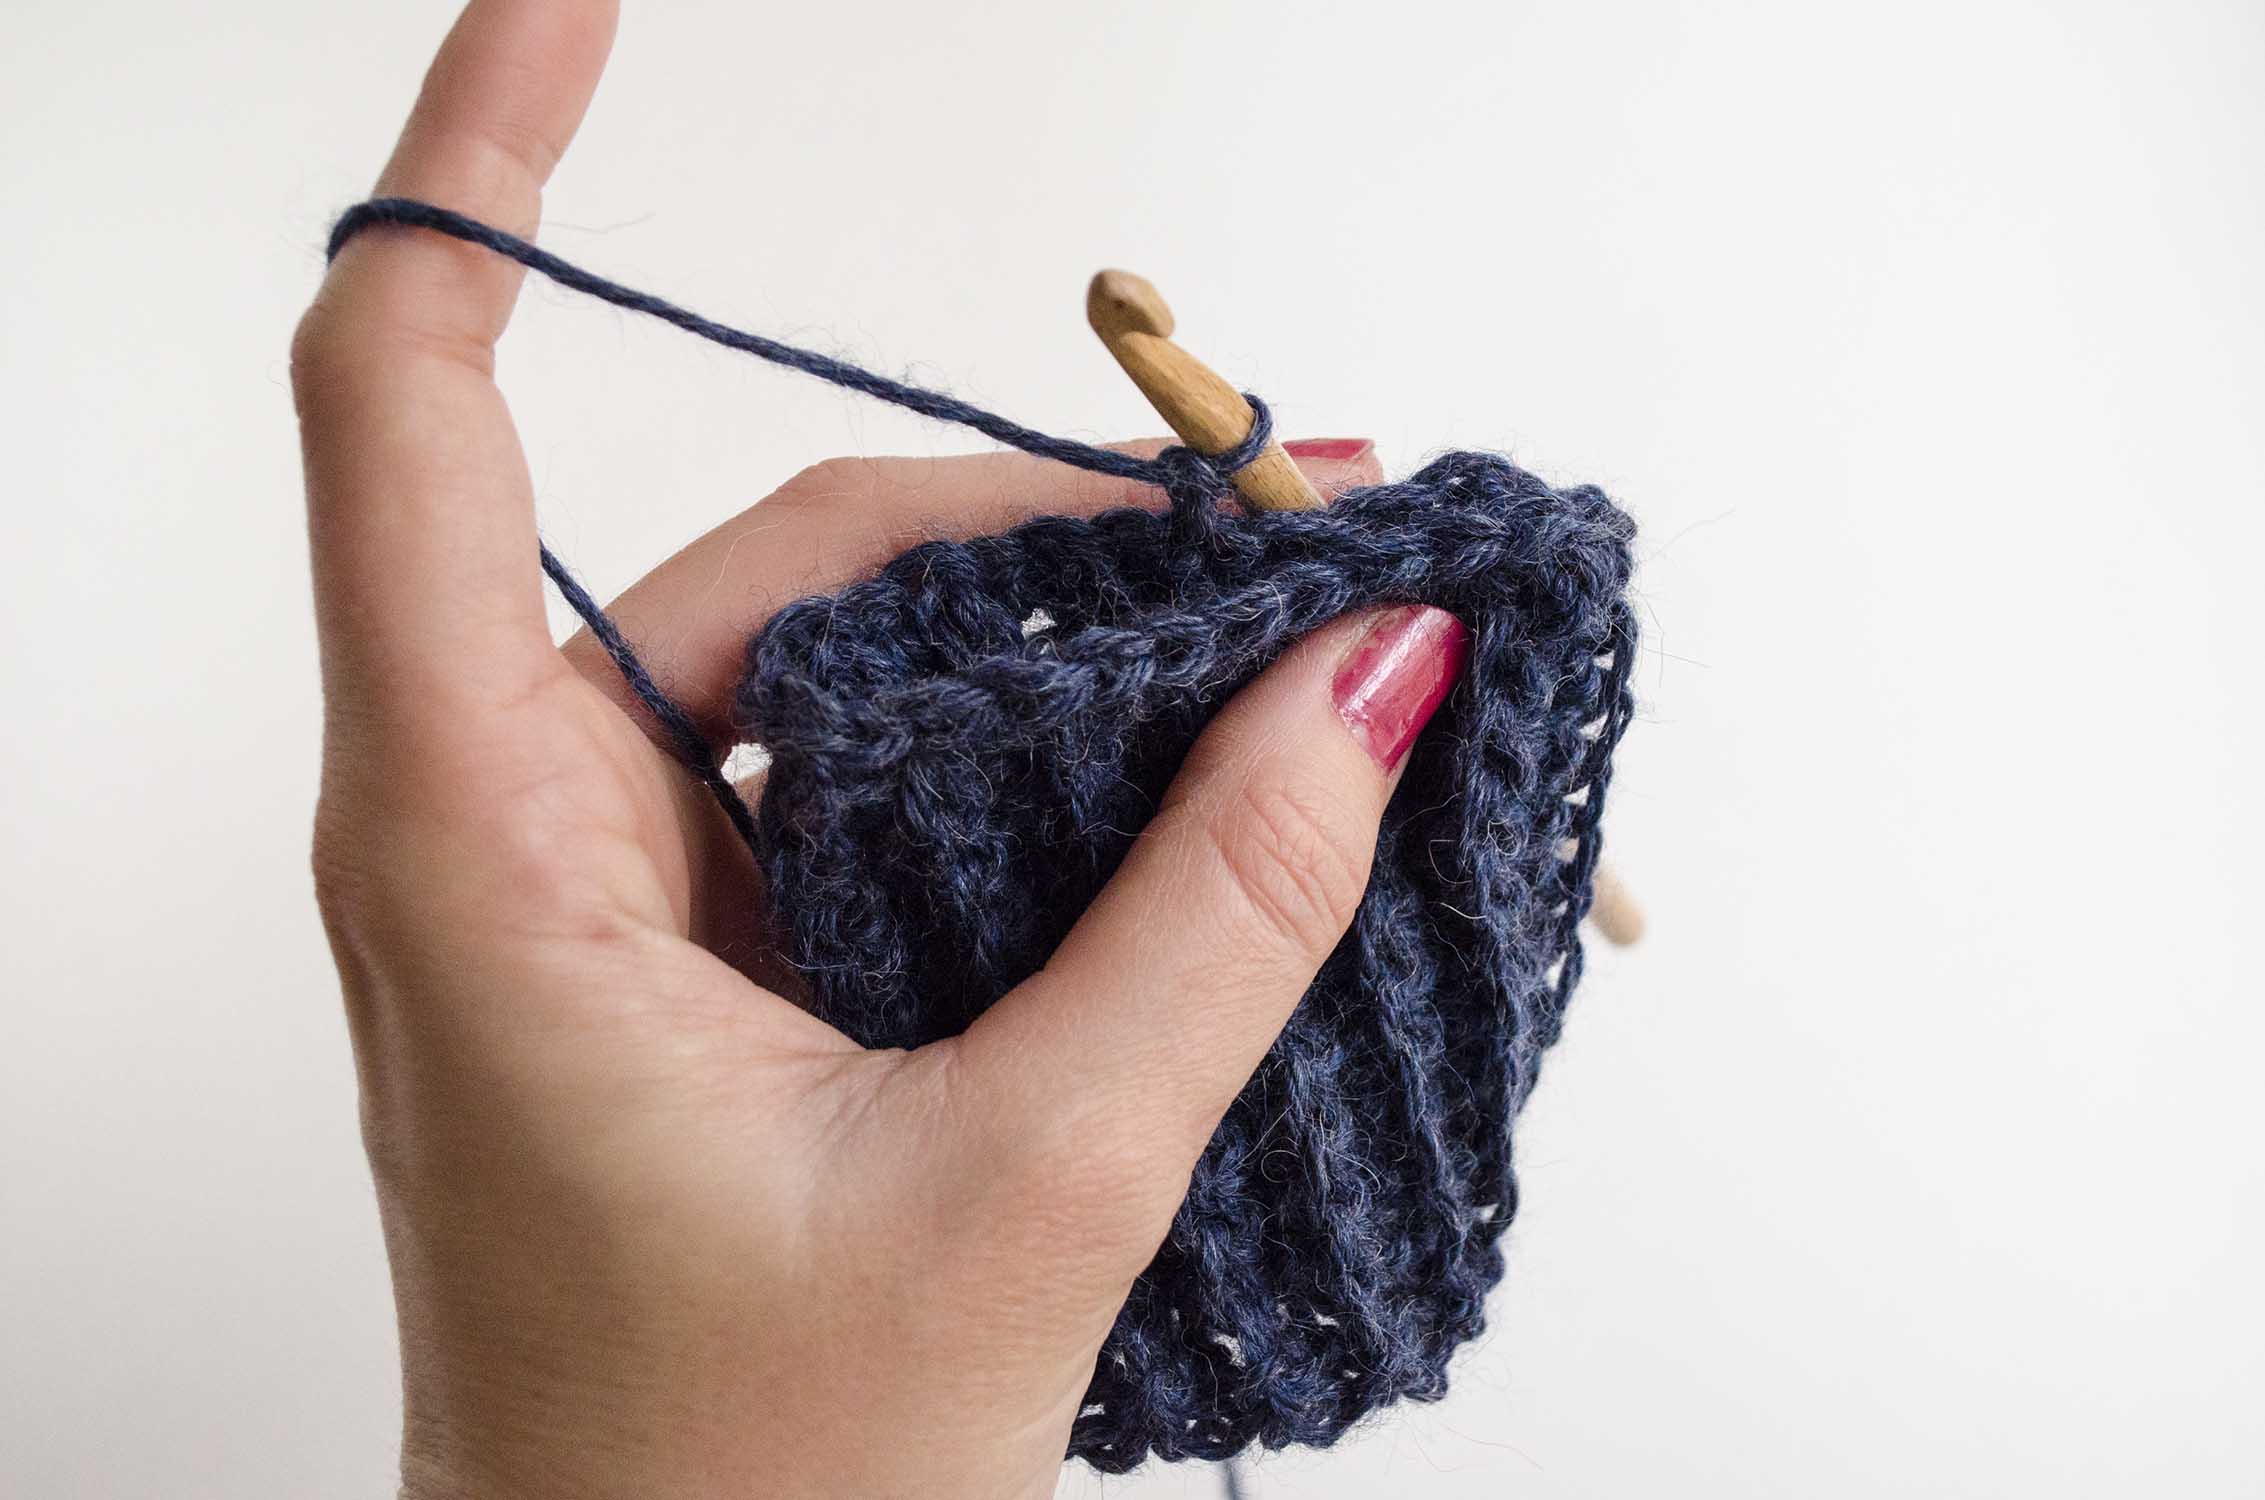
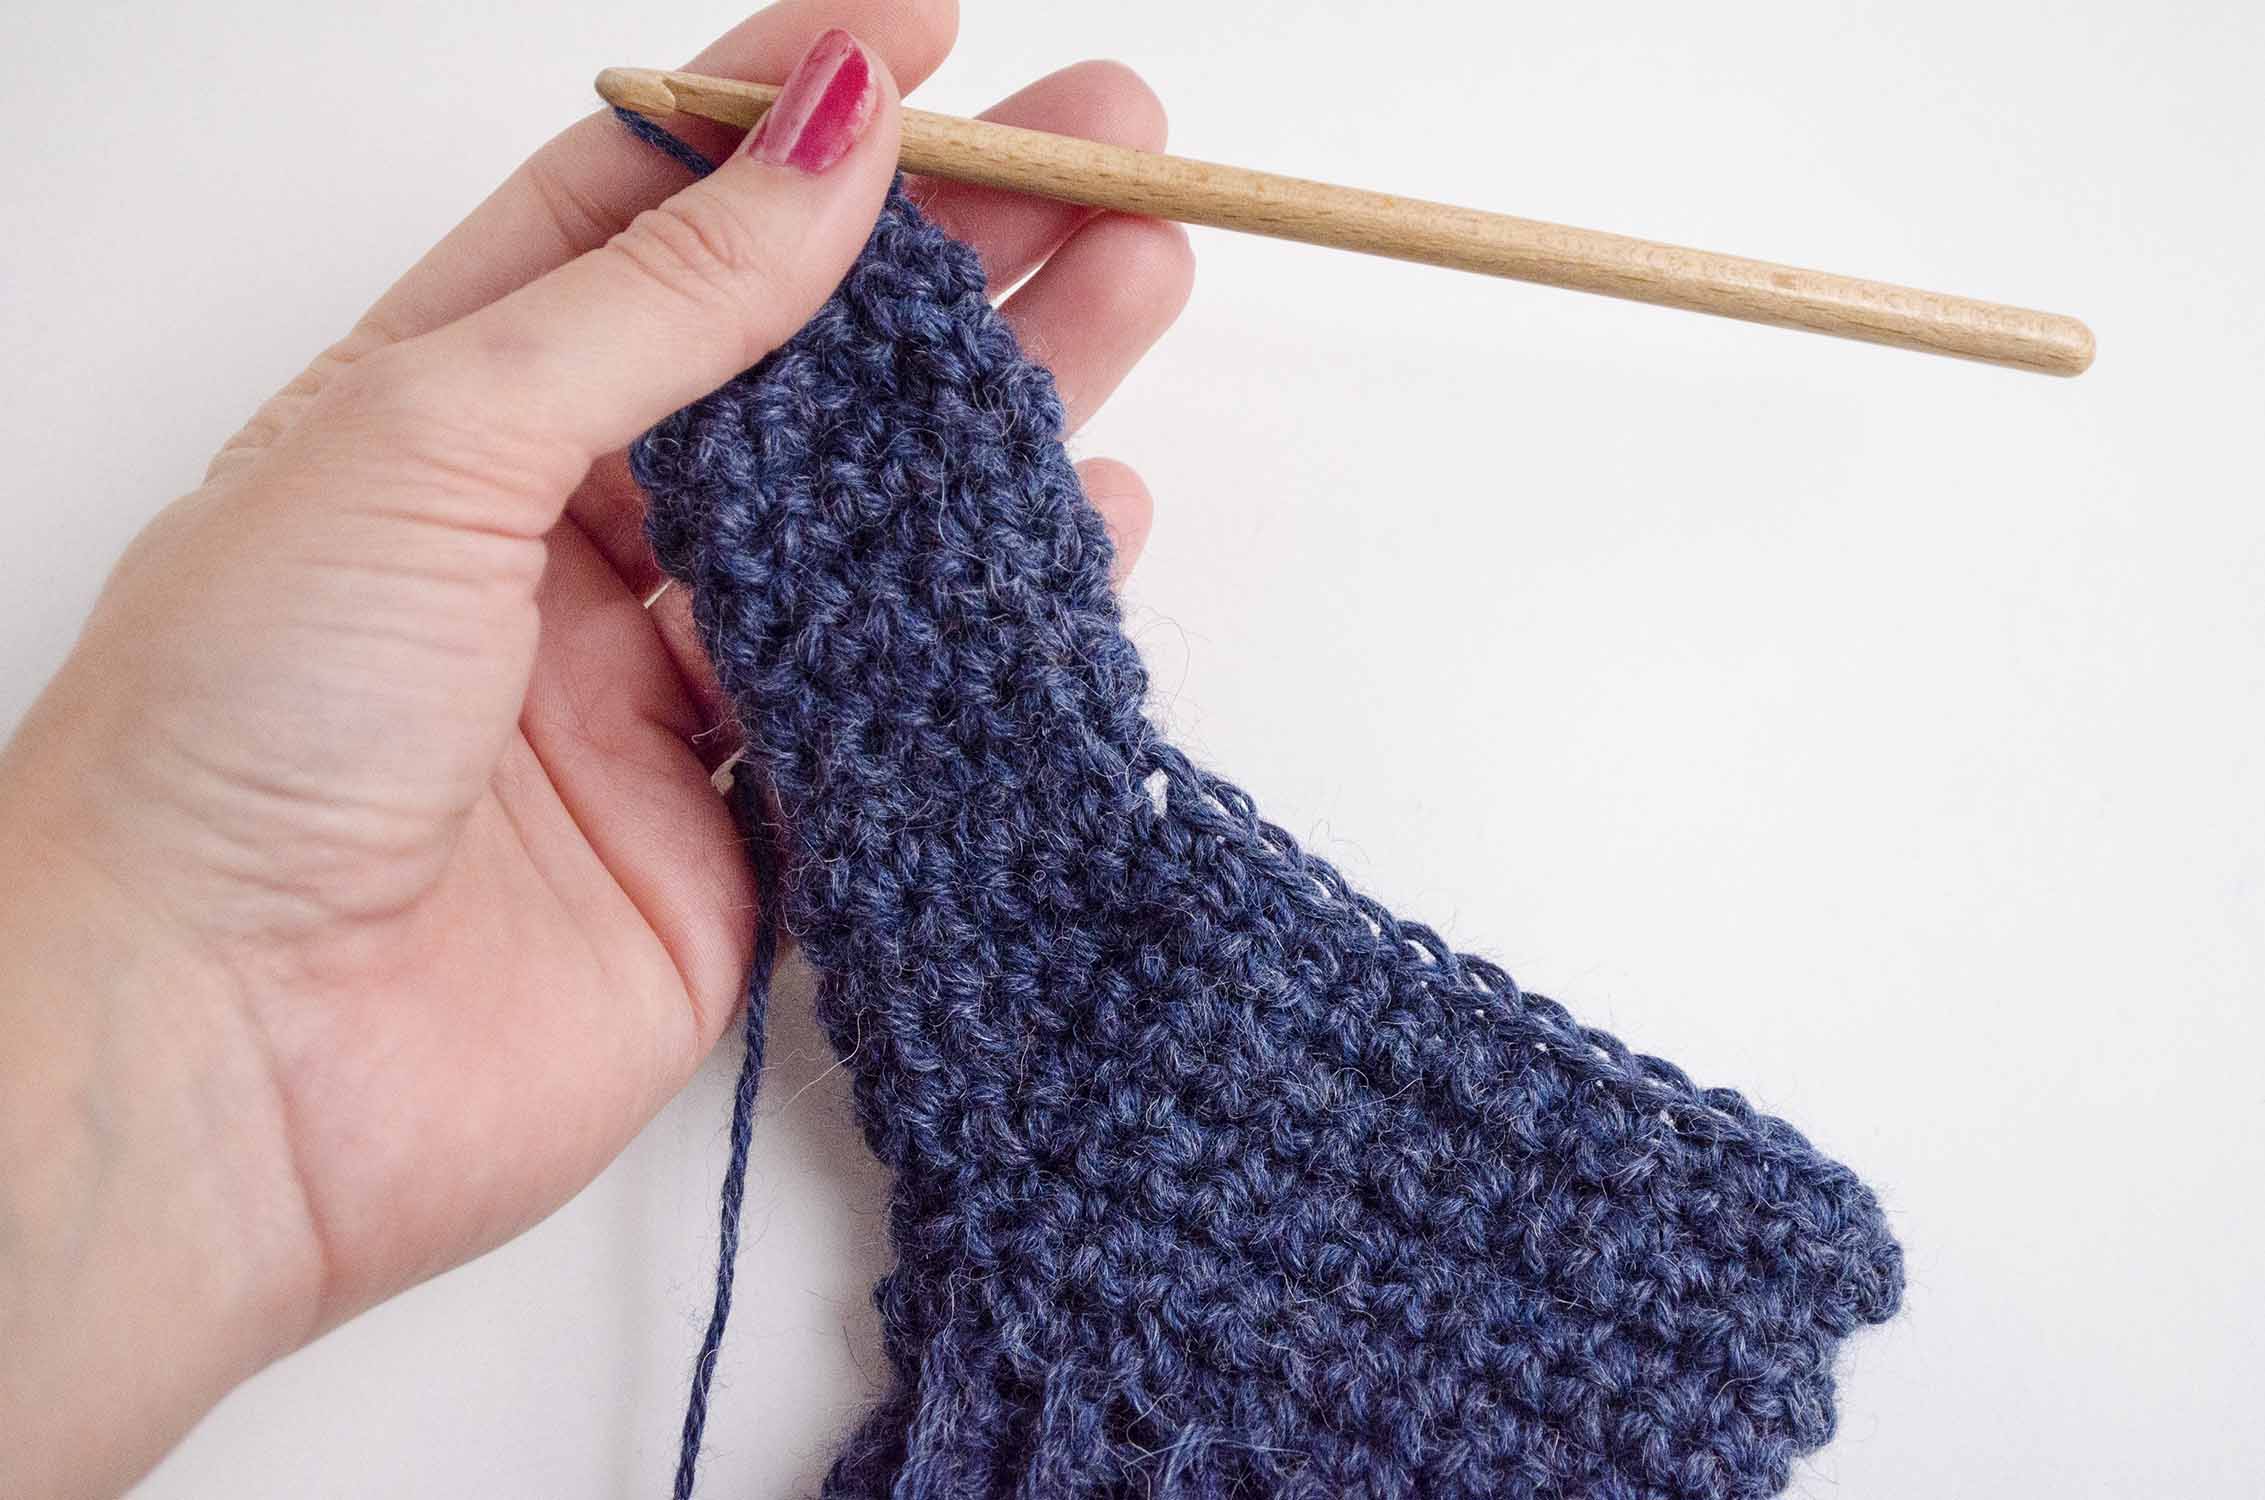
From now on, every row is worked by turning the work, that means we’ll work in the round but WITHOUT joining the rows, not in spiral. At the end of each row, join the rows with a slip stitch, chain 1, and turn the work, and continue with the next row skipping the slip stitch you made. Now we’ll work the increases for the thumb.
Row 28: work all stitches in single crochet. Join the row with 1 slip stitch, chain 1 and turn the work.
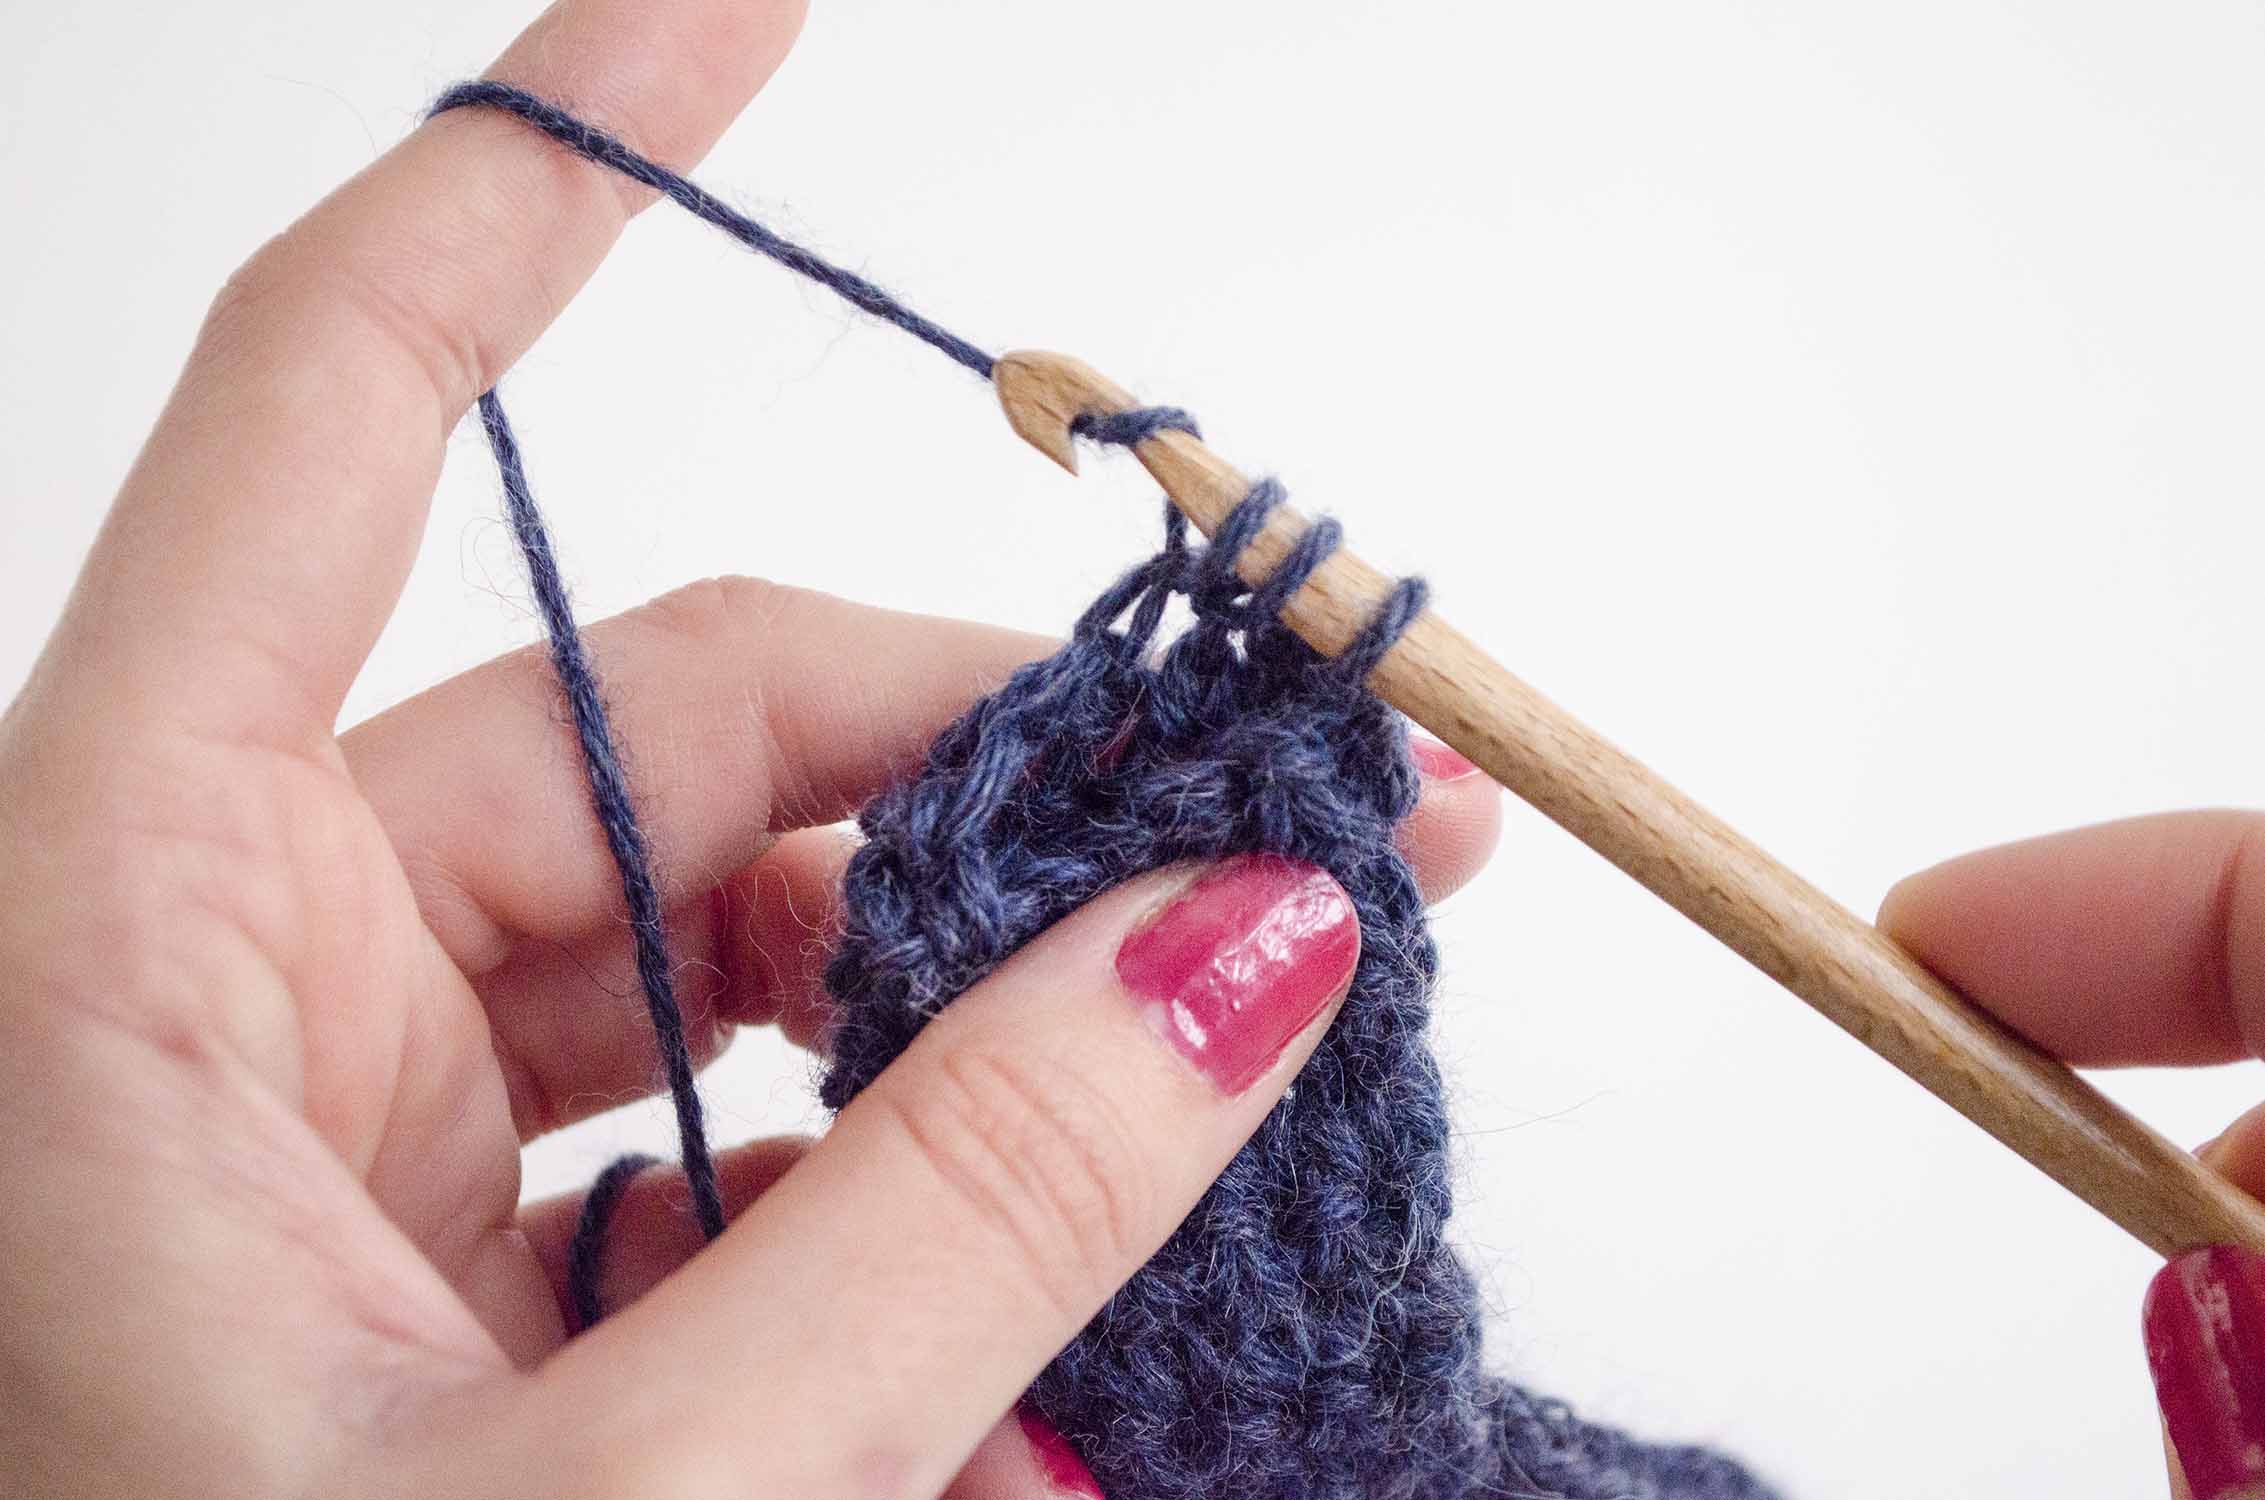
Row 29: work 12 single crochets, increase 1 stitch, and work 12 single crochets. Join the row with 1 slip stitch, chain 1 and turn the work. At the end of the row, you’ll have 28 stitches.
Row 30: work 12 single crochets, increase 2 stitches, work 12 single crochets. Join the row with 1 slip stitch, chain 1 and turn the work. At the end of the row, you’ll have 30 stitches.
Row 31: work 12 single crochets, increase 1 stitch, work 2 single crochets, increase 1 stitch, and work 12 single crochets. Join the row with 1 slip stitch, chain 1 and turn the work. At the end of the row, you’ll have 32 stitches.
Row 32: work 12 single crochets, increase 1 stitch, work 4 single crochets, increase 1 stitch, and work 12 single crochets. Join the row with 1 slip stitch, chain 1 and turn the work. At the end of the row, you’ll have 34 stitches.
Row 33: work 12 single crochets, increase 1 stitch, work 6 single crochets, increase 1 stitch, and work 12 single crochets. Join the row with 1 slip stitch, chain 1 and turn the work. At the end of the row, you’ll have 36 stitches.
Row 34: work 12 single crochets, increase 1 stitch, work 8 single crochets, increase 1 stitch, and work 12 single crochets. Join the row with 1 slip stitch, chain 1 and turn the work. At the end of the row, you’ll have 38 stitches.
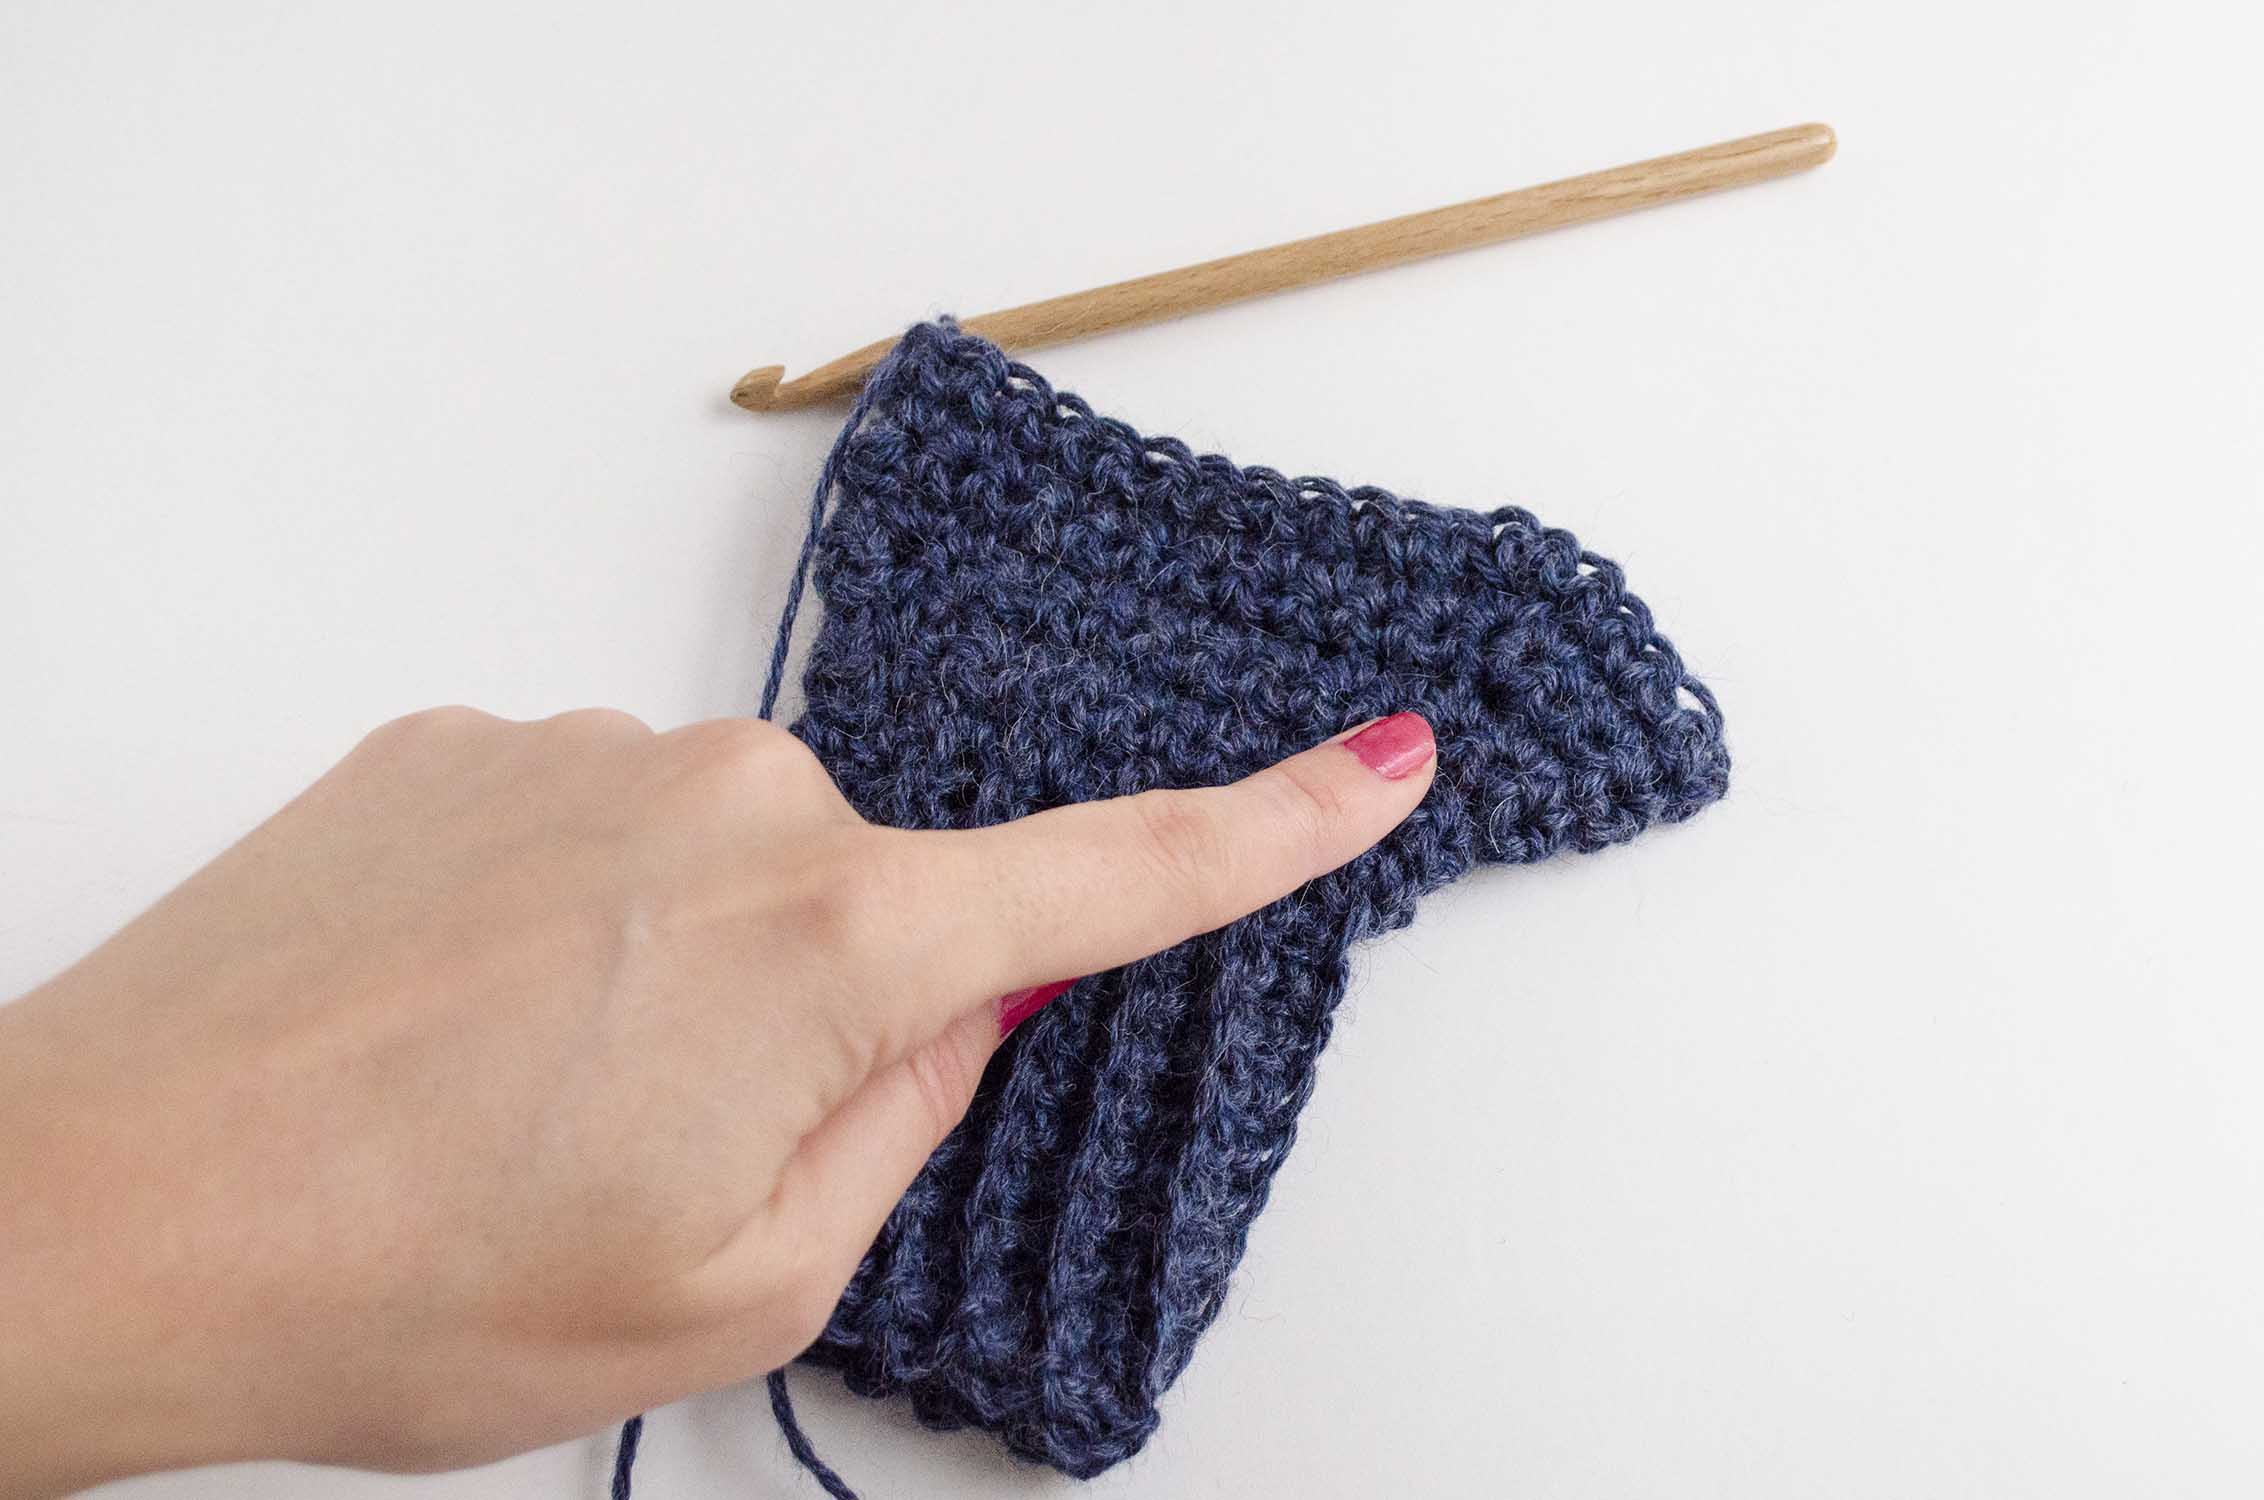
We have now the necessary increases to form the thumb. Now we well separate it from the rest of the hand, and we’ll crochet it.

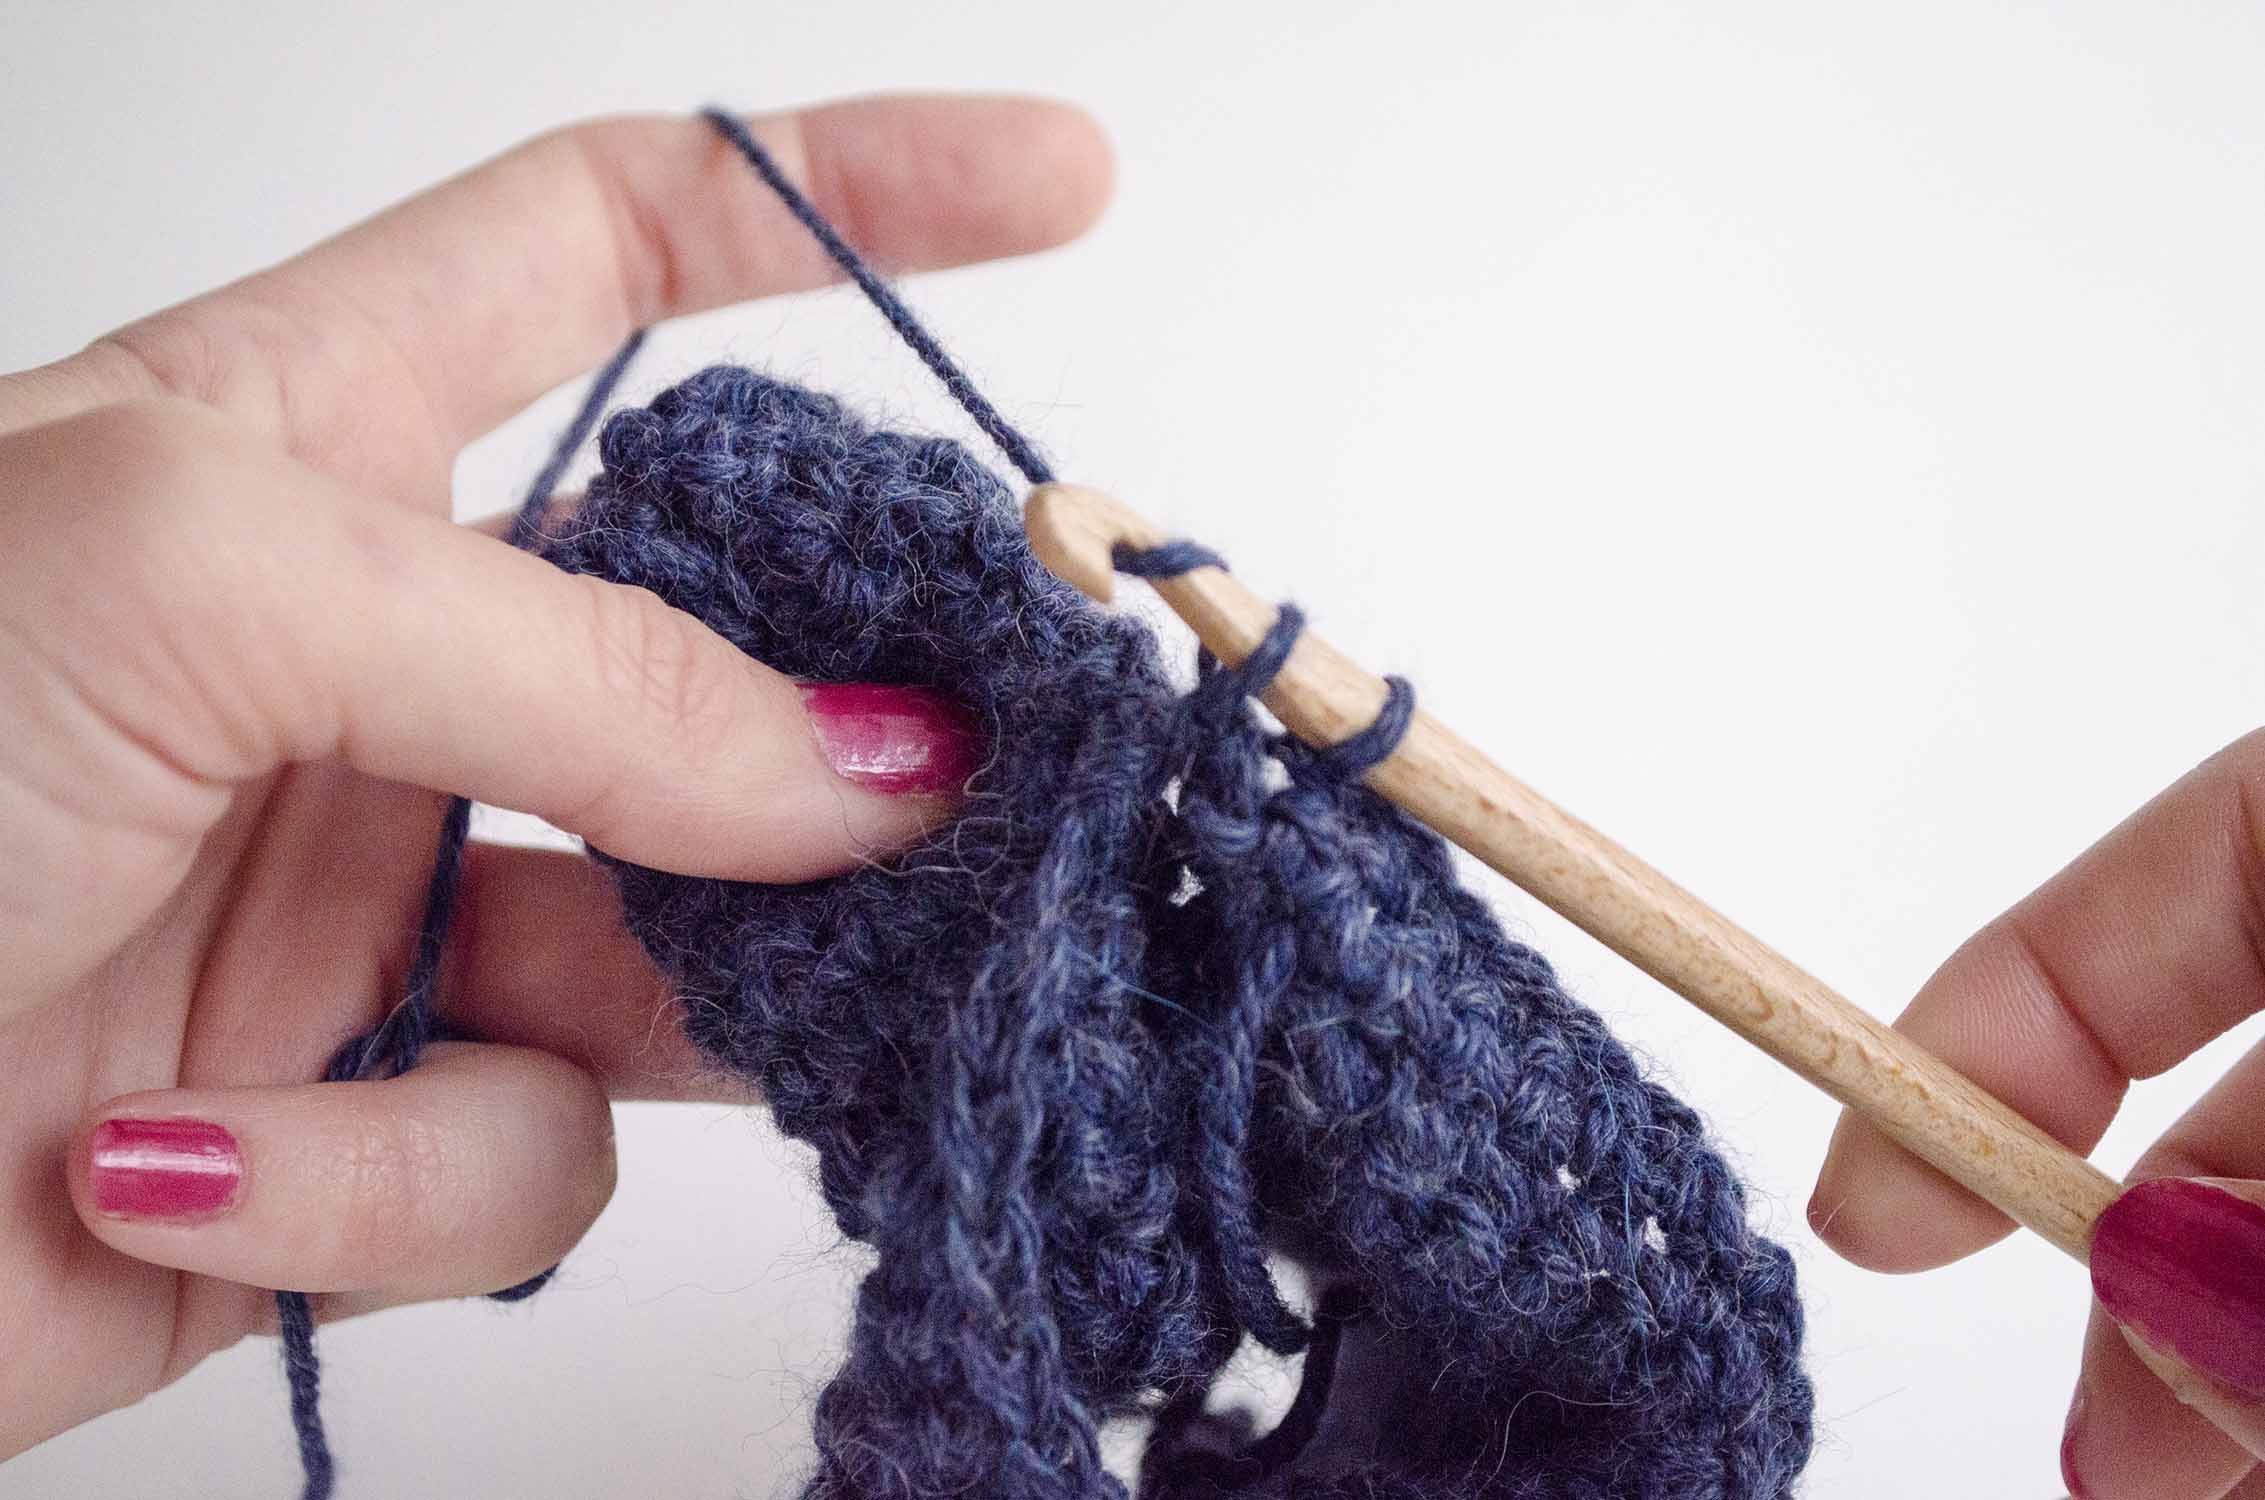
Row 35: work 25 single crochets. Count from the last single crochet you just made from the back 12 single crochets. That means, count as if you wanted to go back on the stitches you just made.
Once you have find that stitch, 12 stitched back, join it to the stitch you are at with a slip stitch. The slip stitch separates the thumb form the rest of the mitten. Chain 1 and turn the work.
Now we’ll crochet the thumb. To do so, we are going to work only on the stitches we separated when we made the slip stitch.
Row 36: work 12 single crochets, increase 1 stitch, and chain 1 and turn the work. At the end of the row, you’ll have 12 stitches.
Rows 37 to 42: repeat row 36.
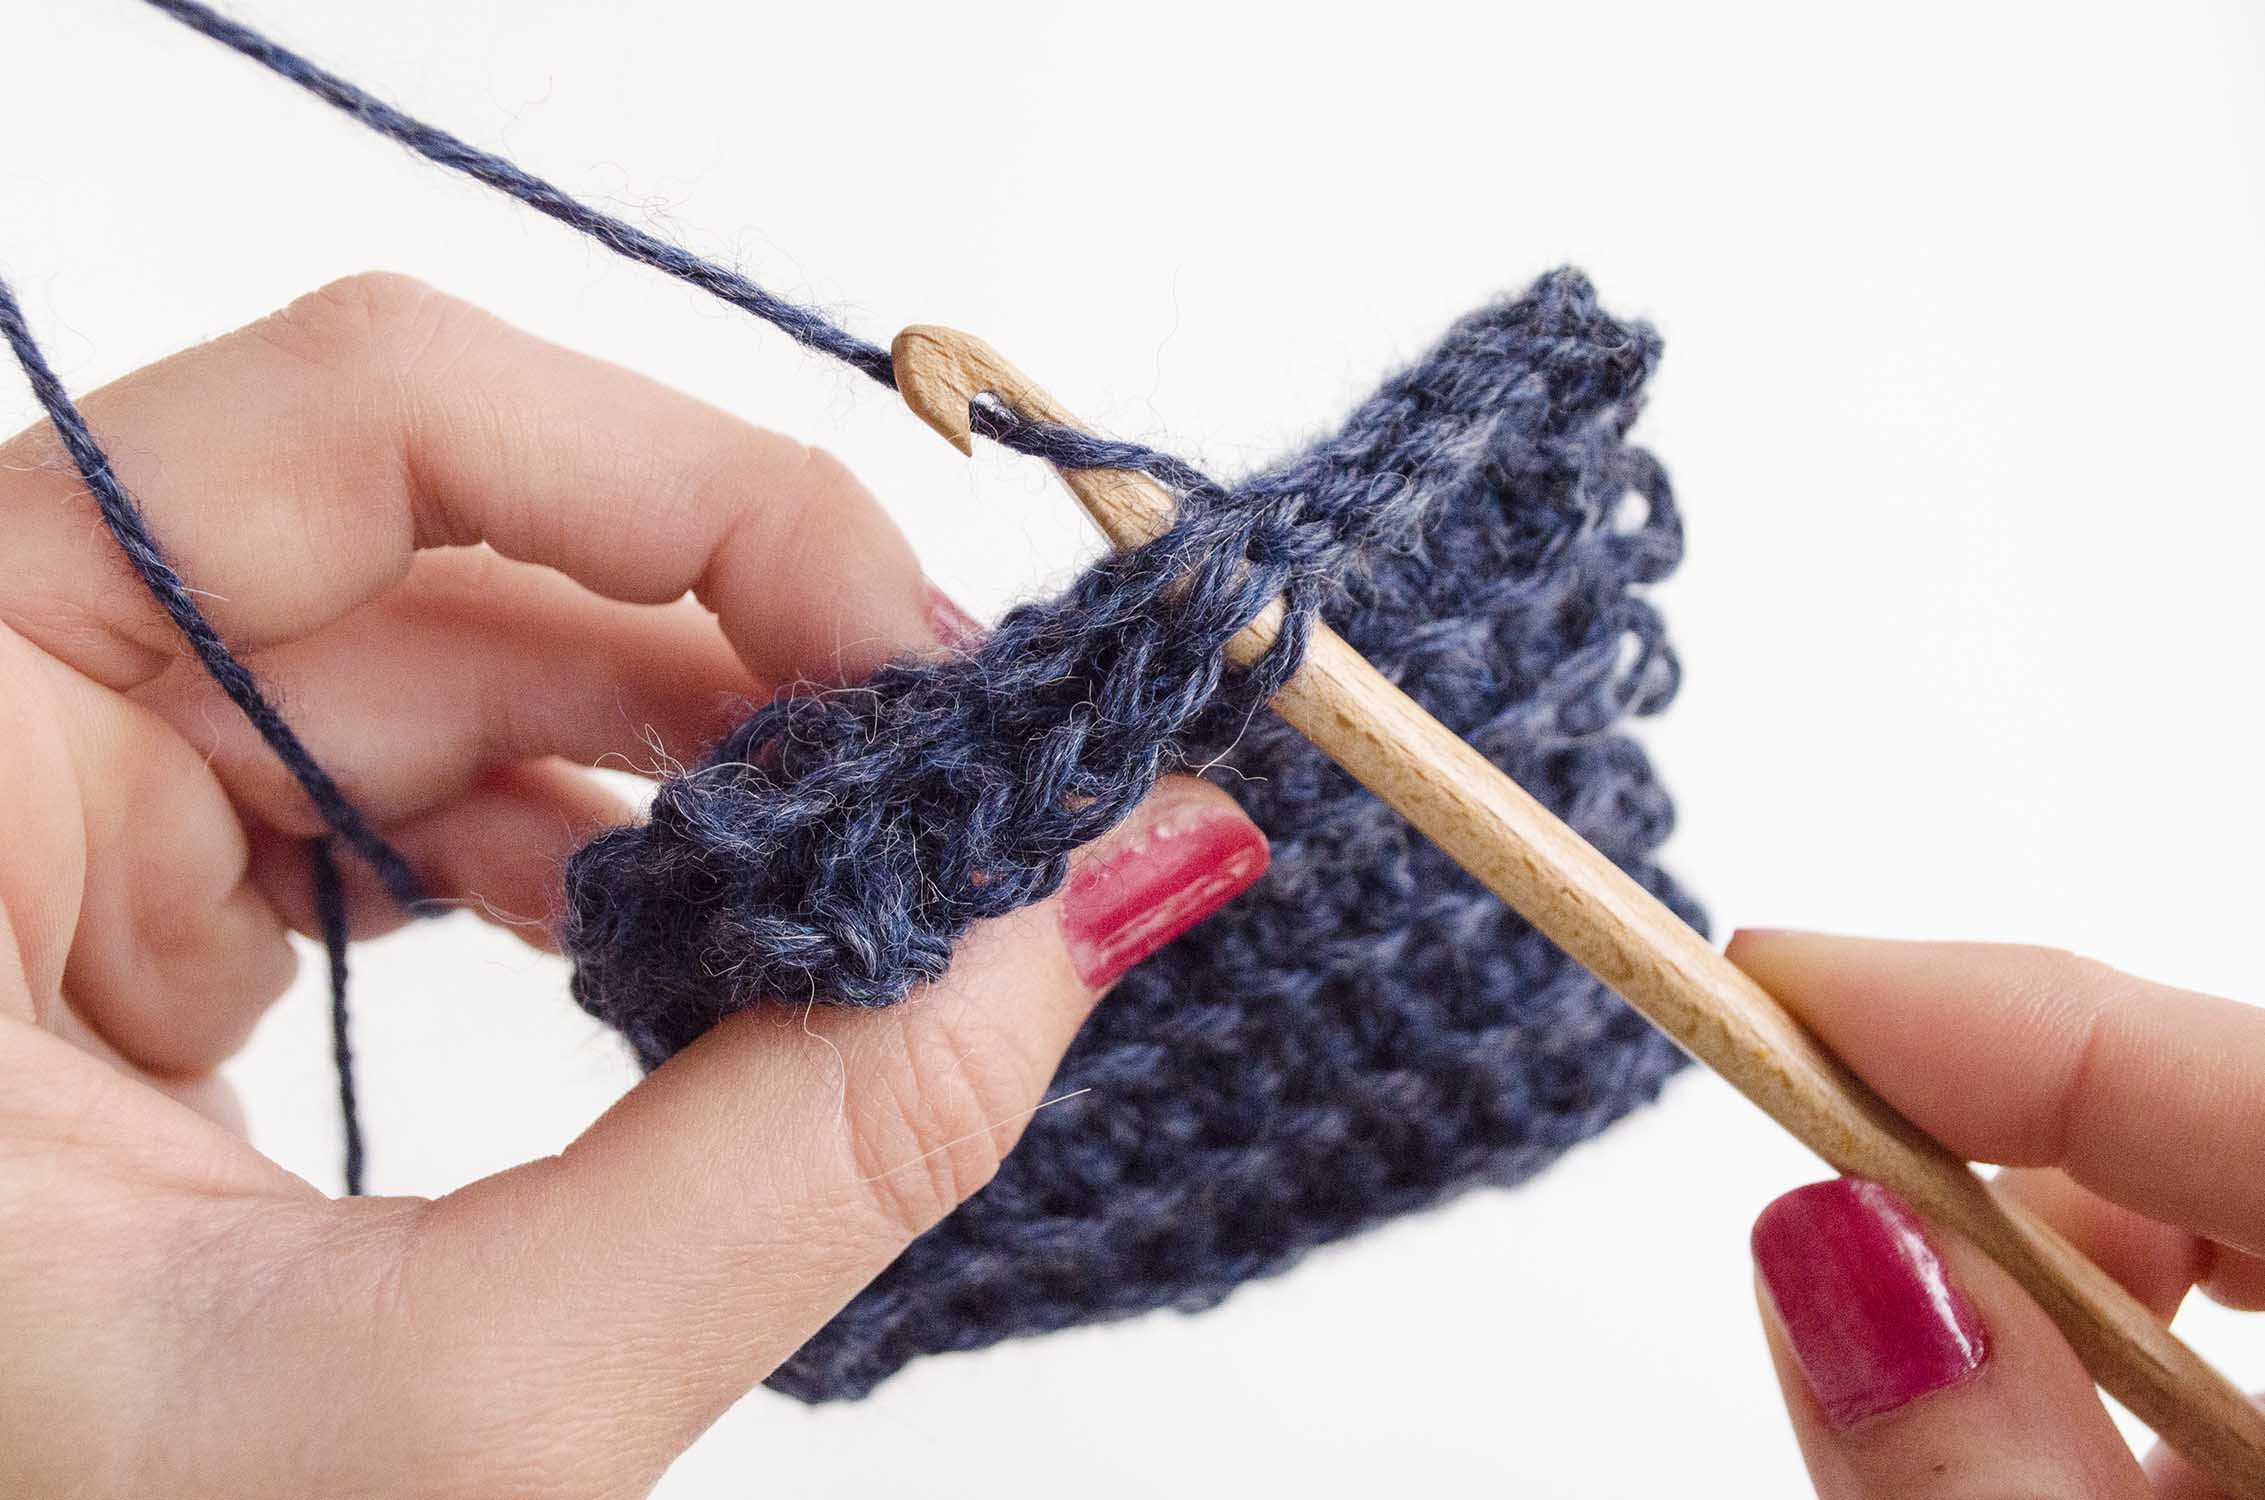
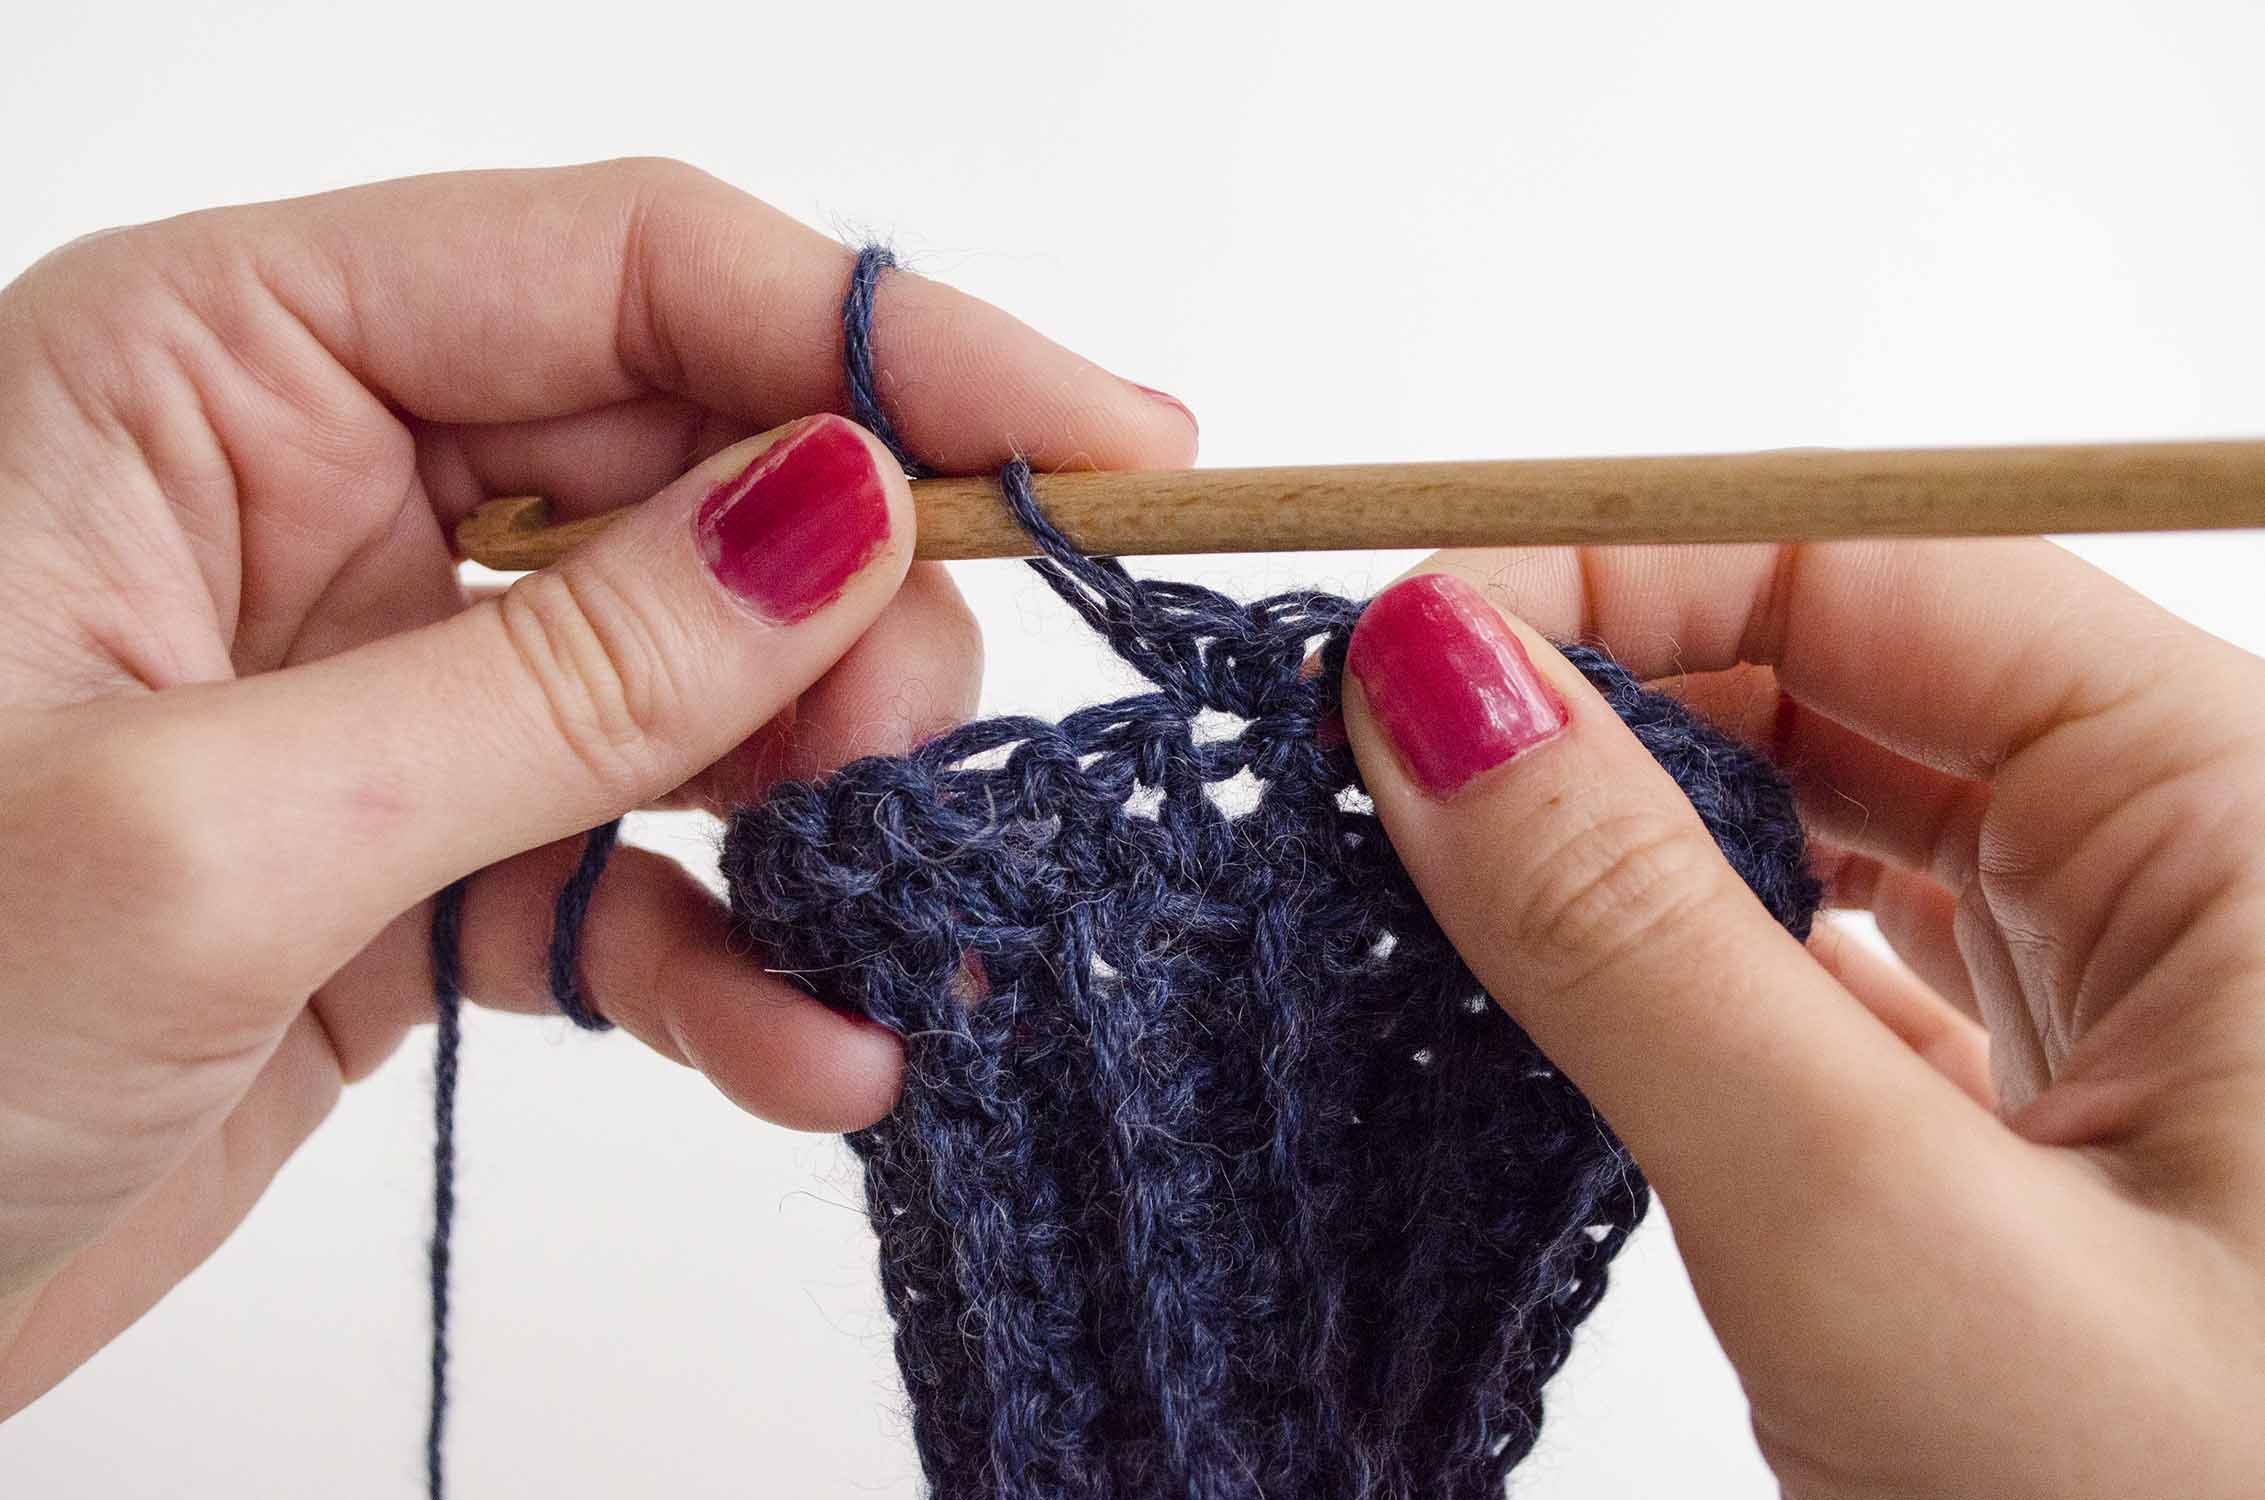
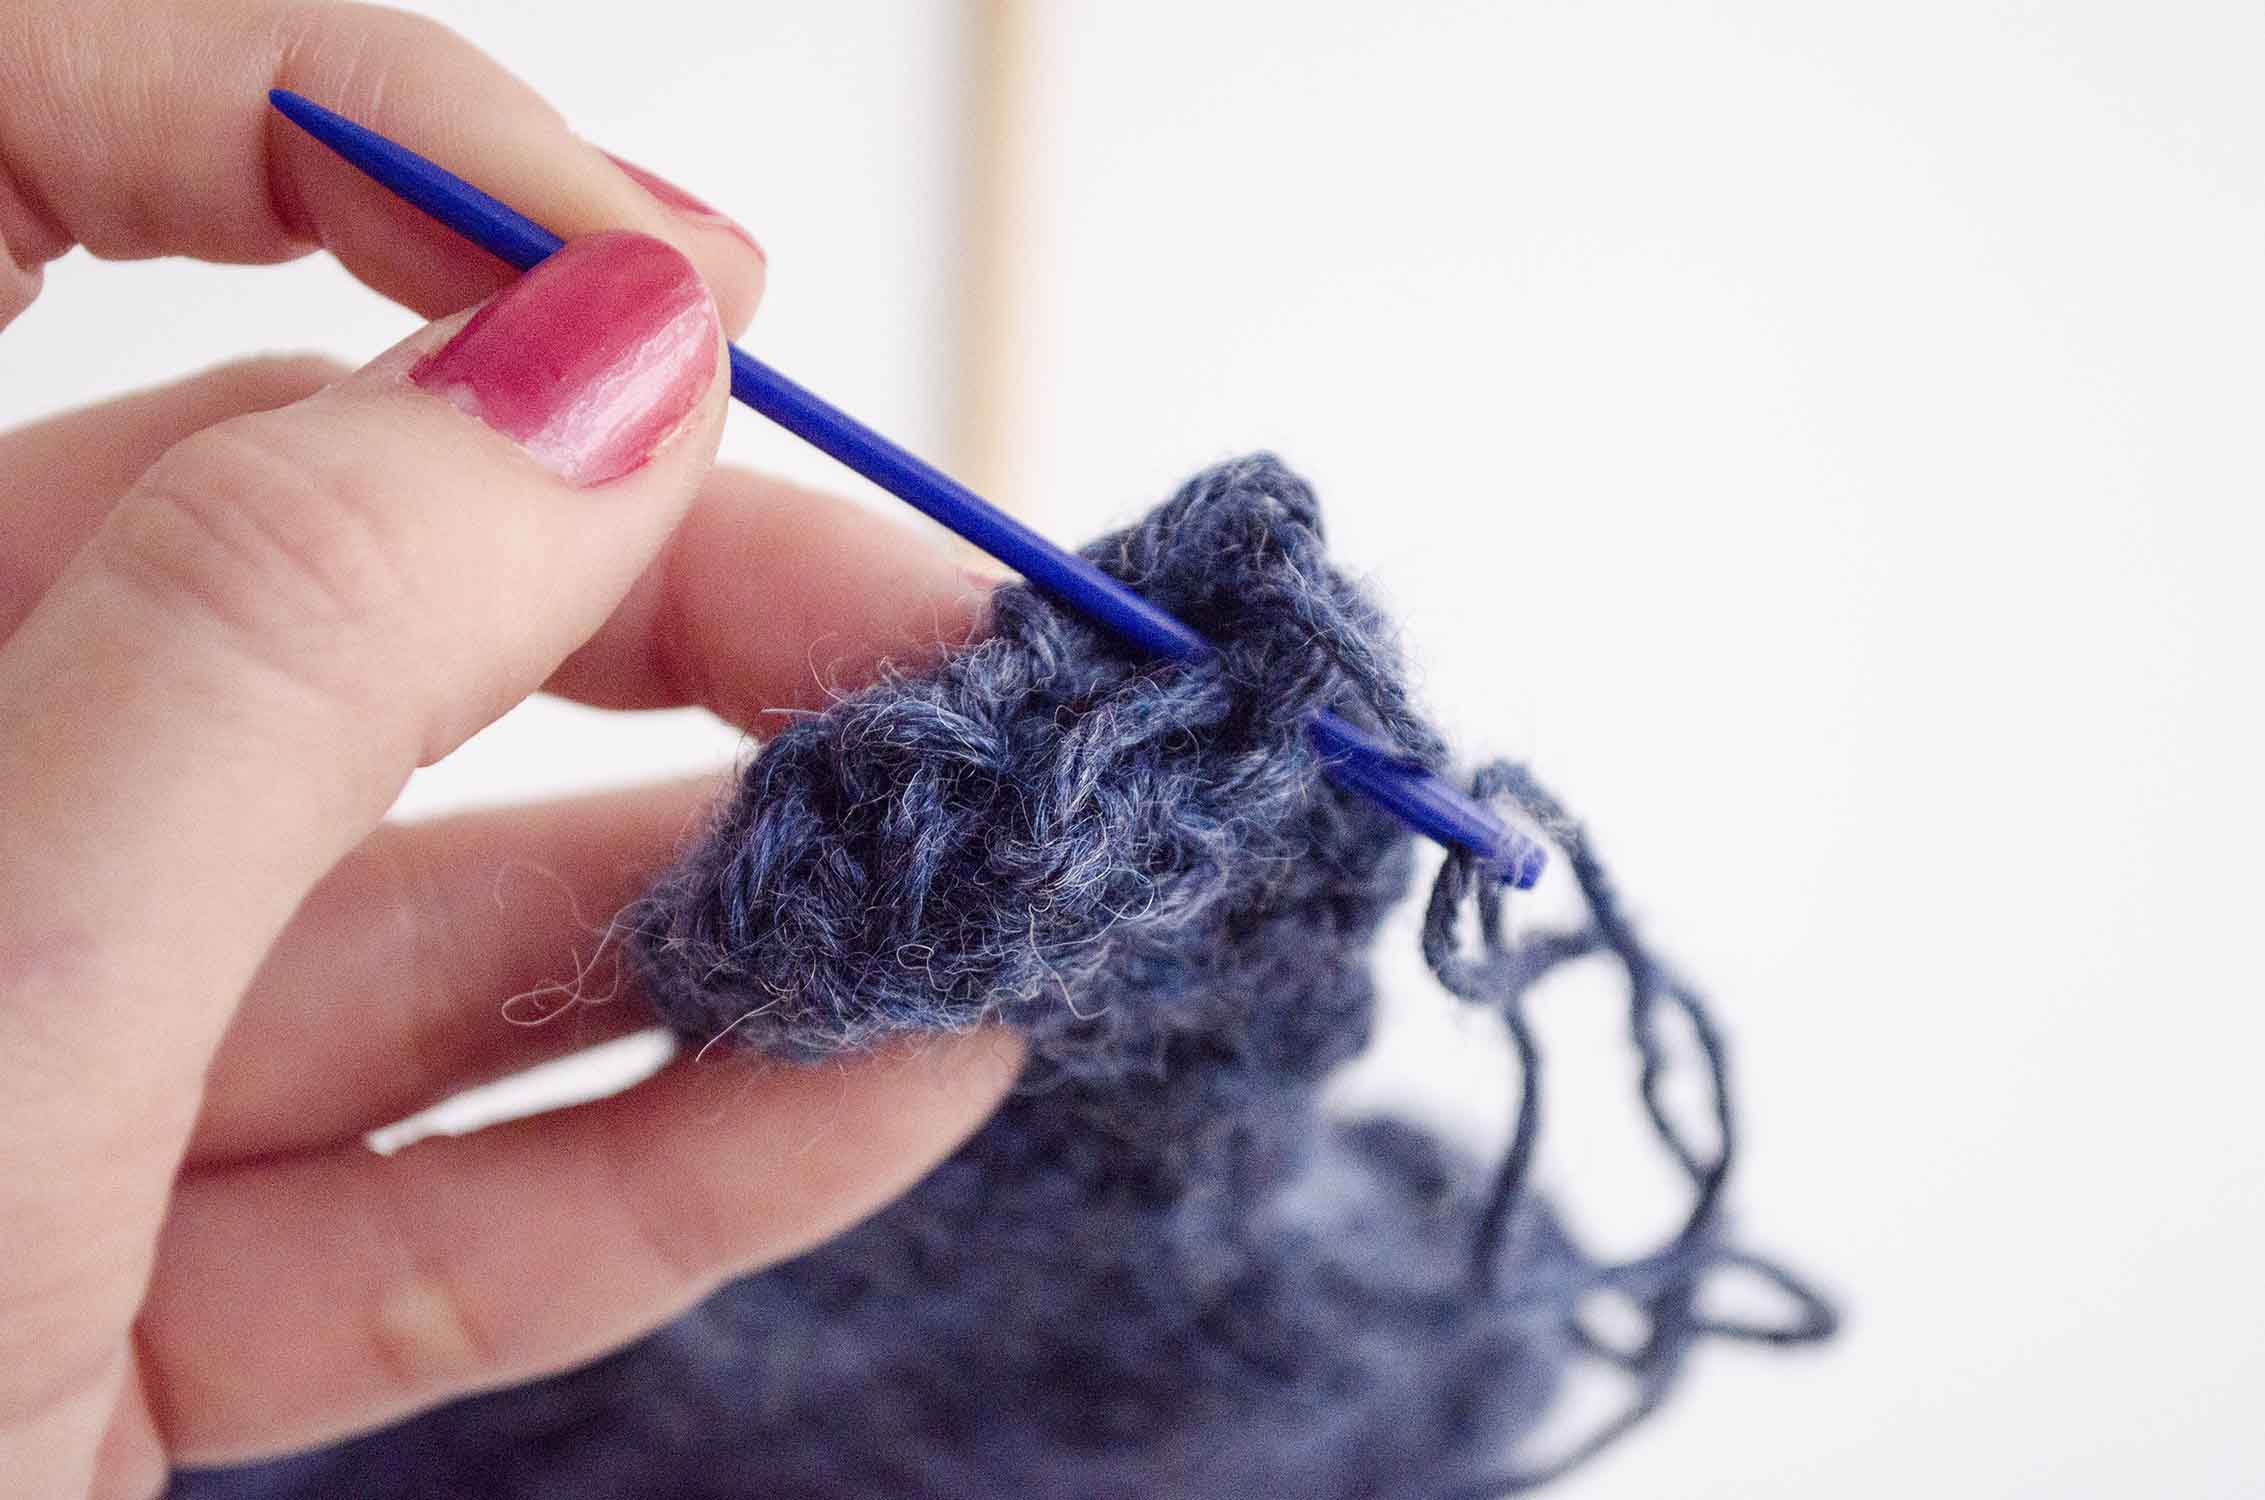
We now have the thumb:
We’ll make a decrease in all the stitches to close it.
Row 43: make 6 decreases. Join the row with a slip stitch, chain 1 and turn the work. You’ll have 6 stitches at the end of the row.
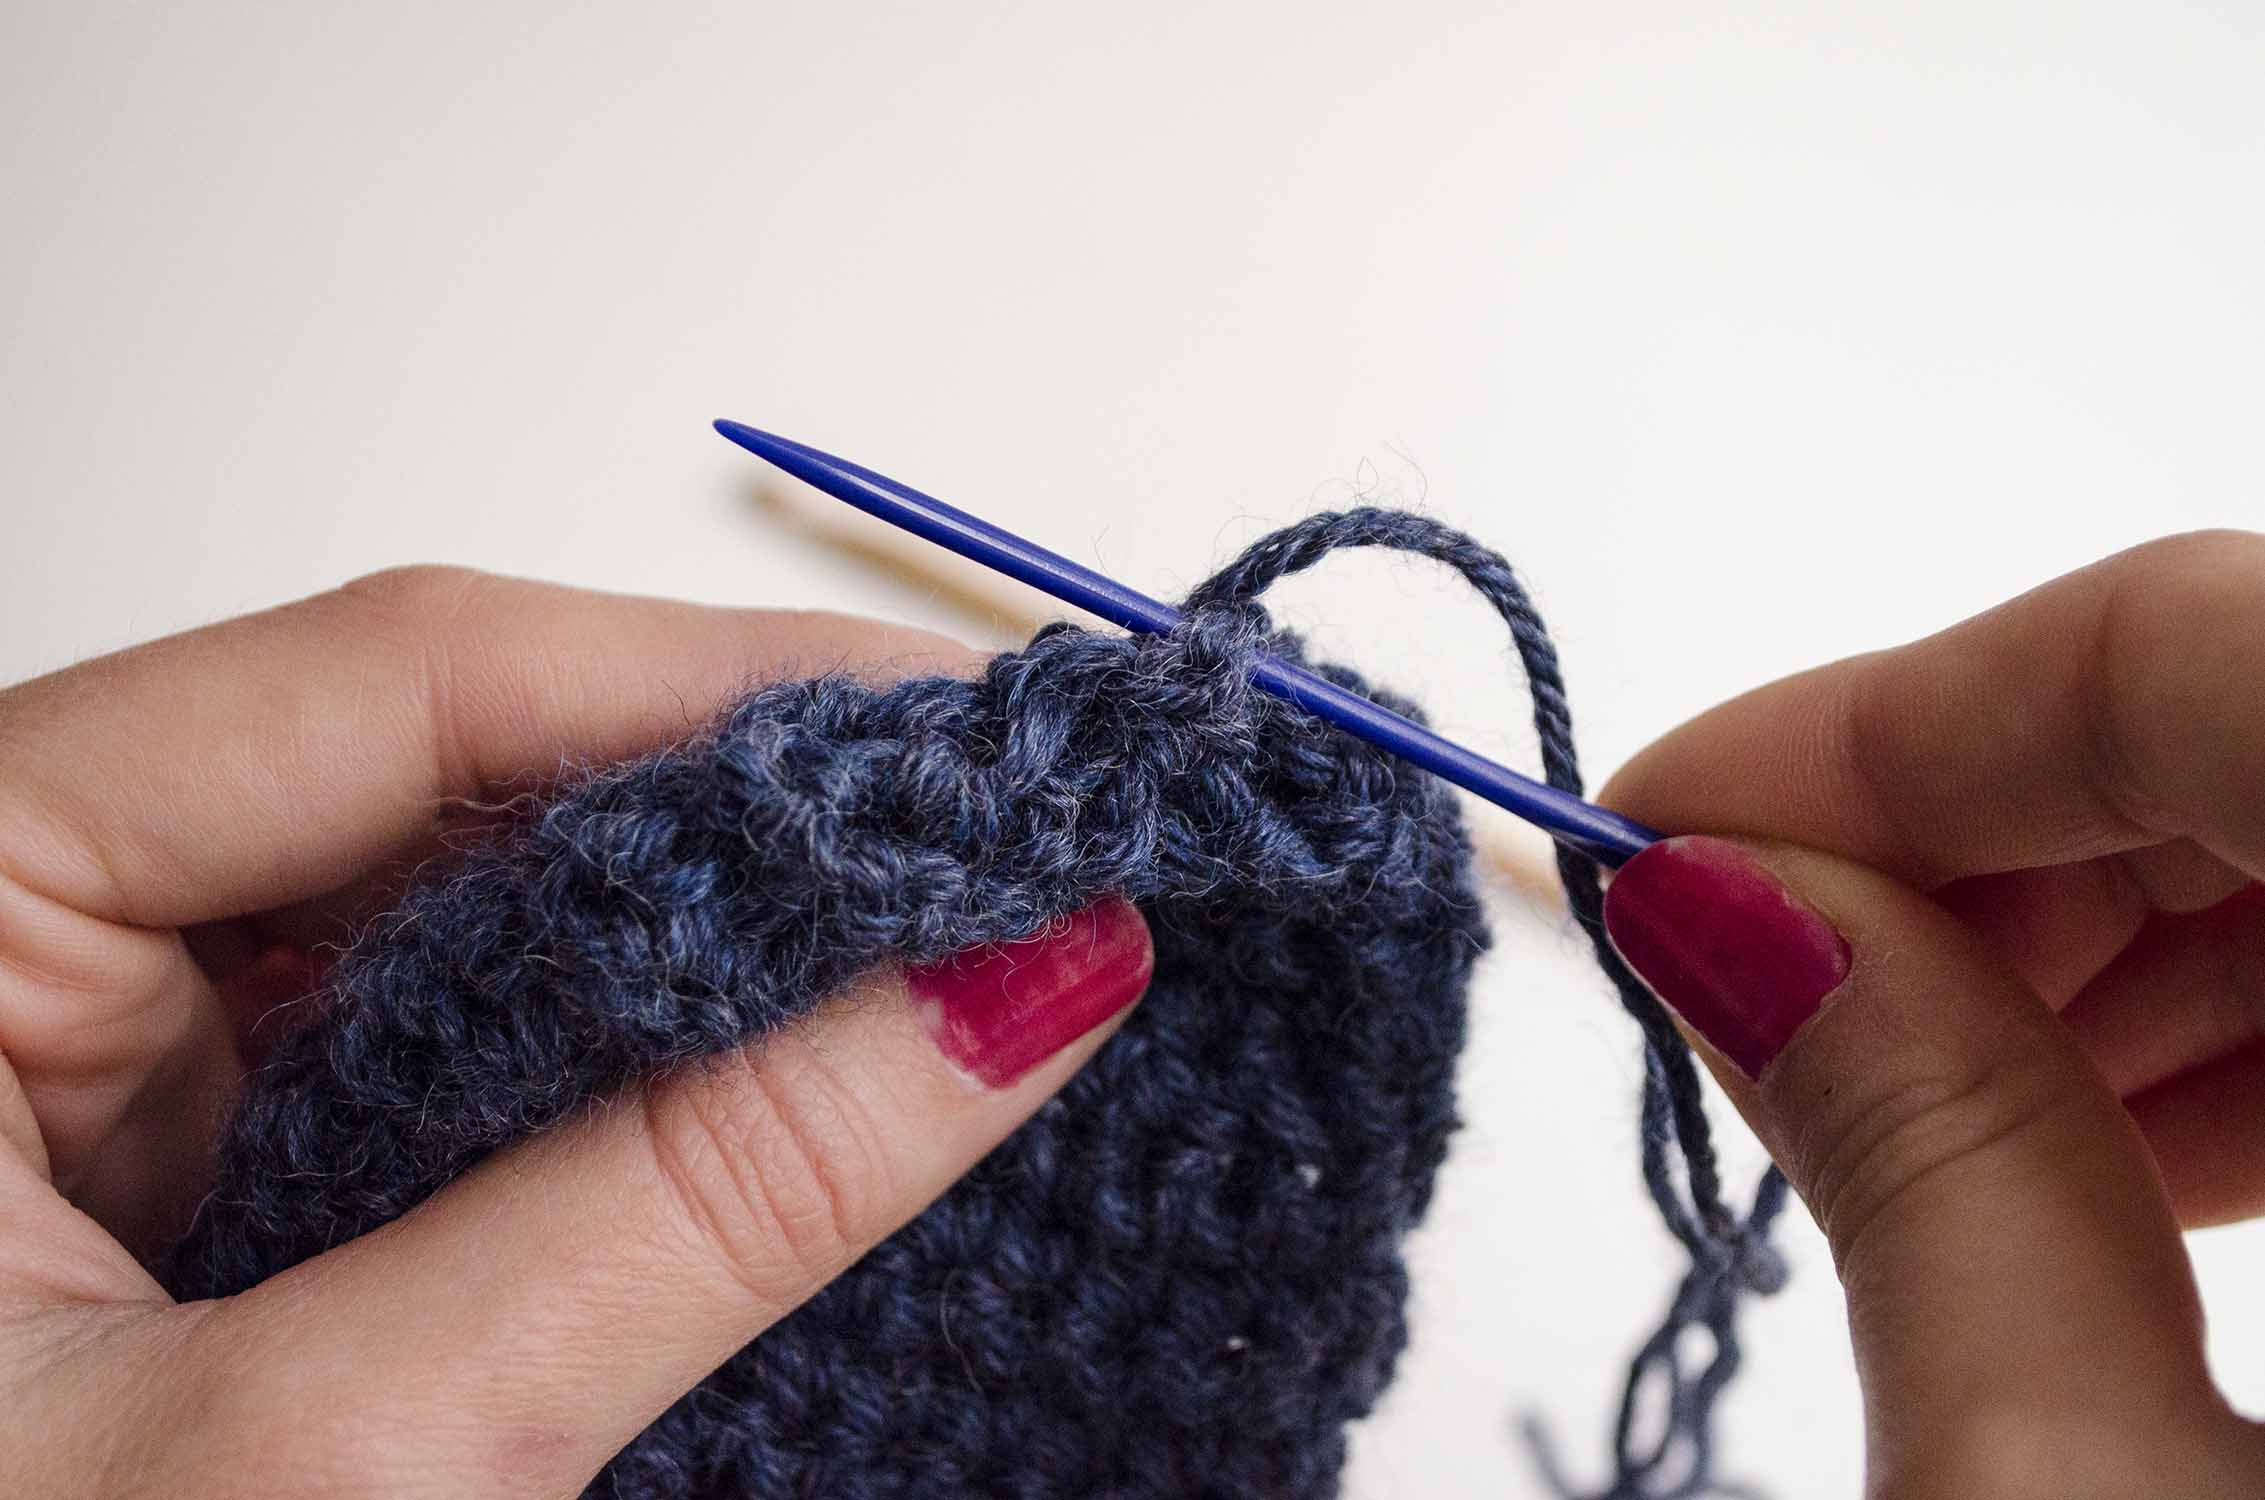
Cut the yarn leaving a long enough tail, thread i ton your tapestry needle and pass it through the 6 remaining stitched from last round. Pull it strongly to close the hole and then weave it in inside the thumb.
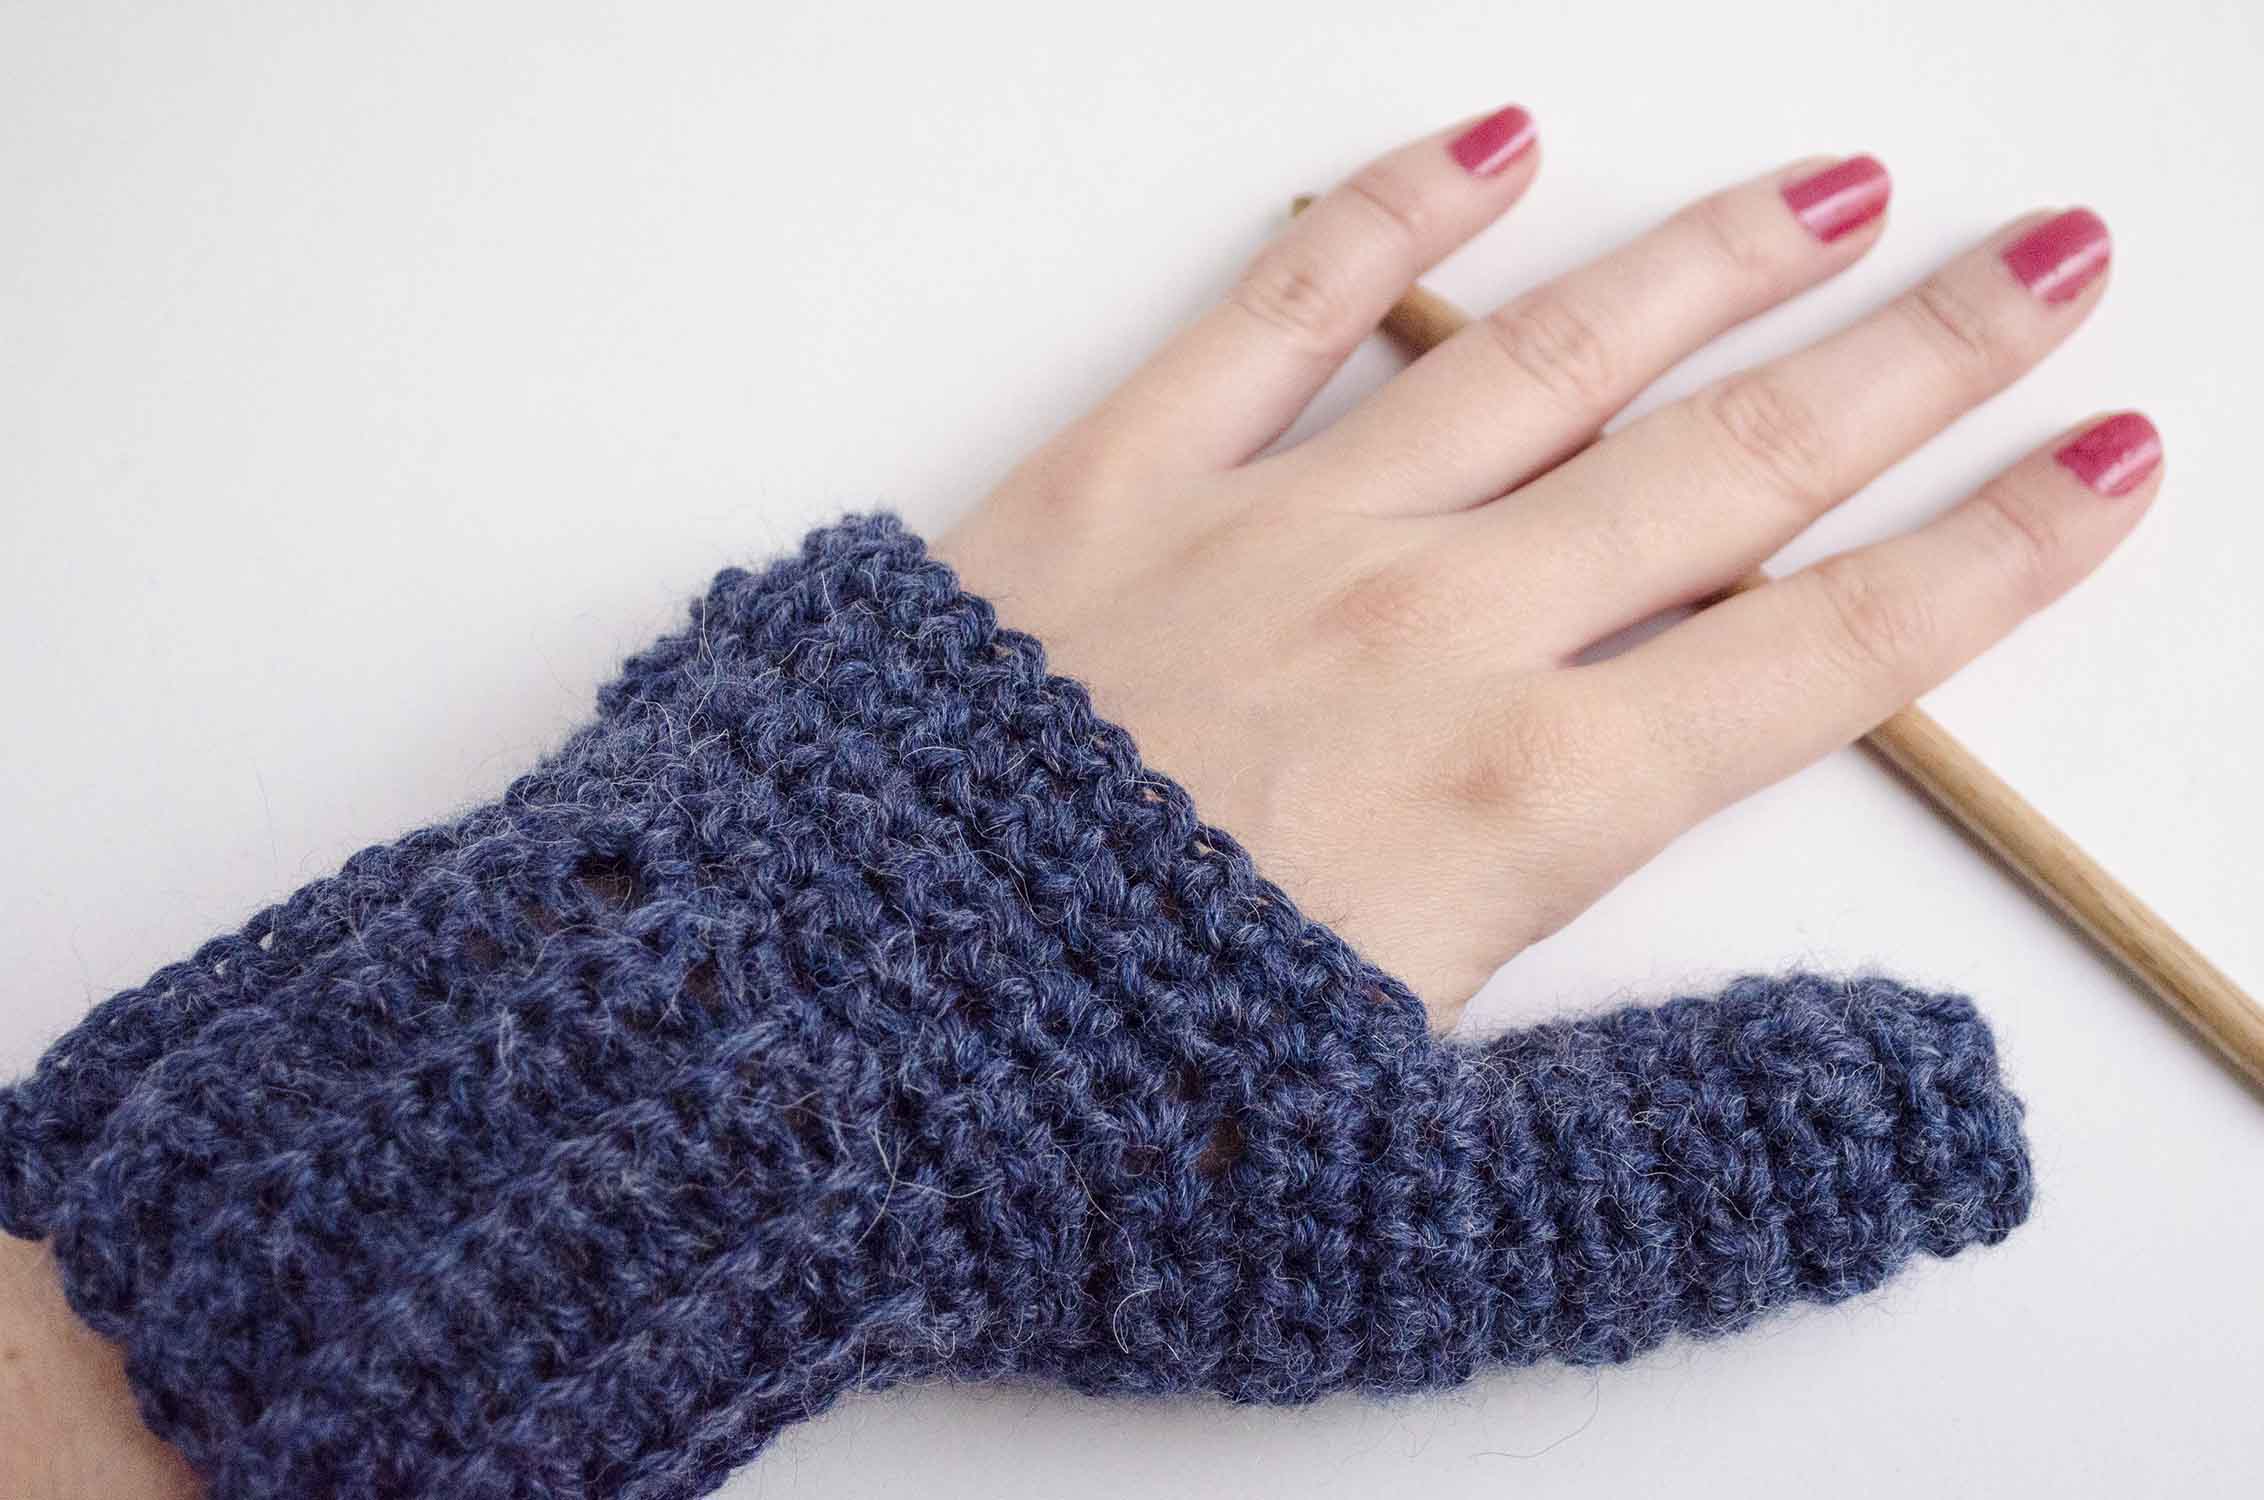
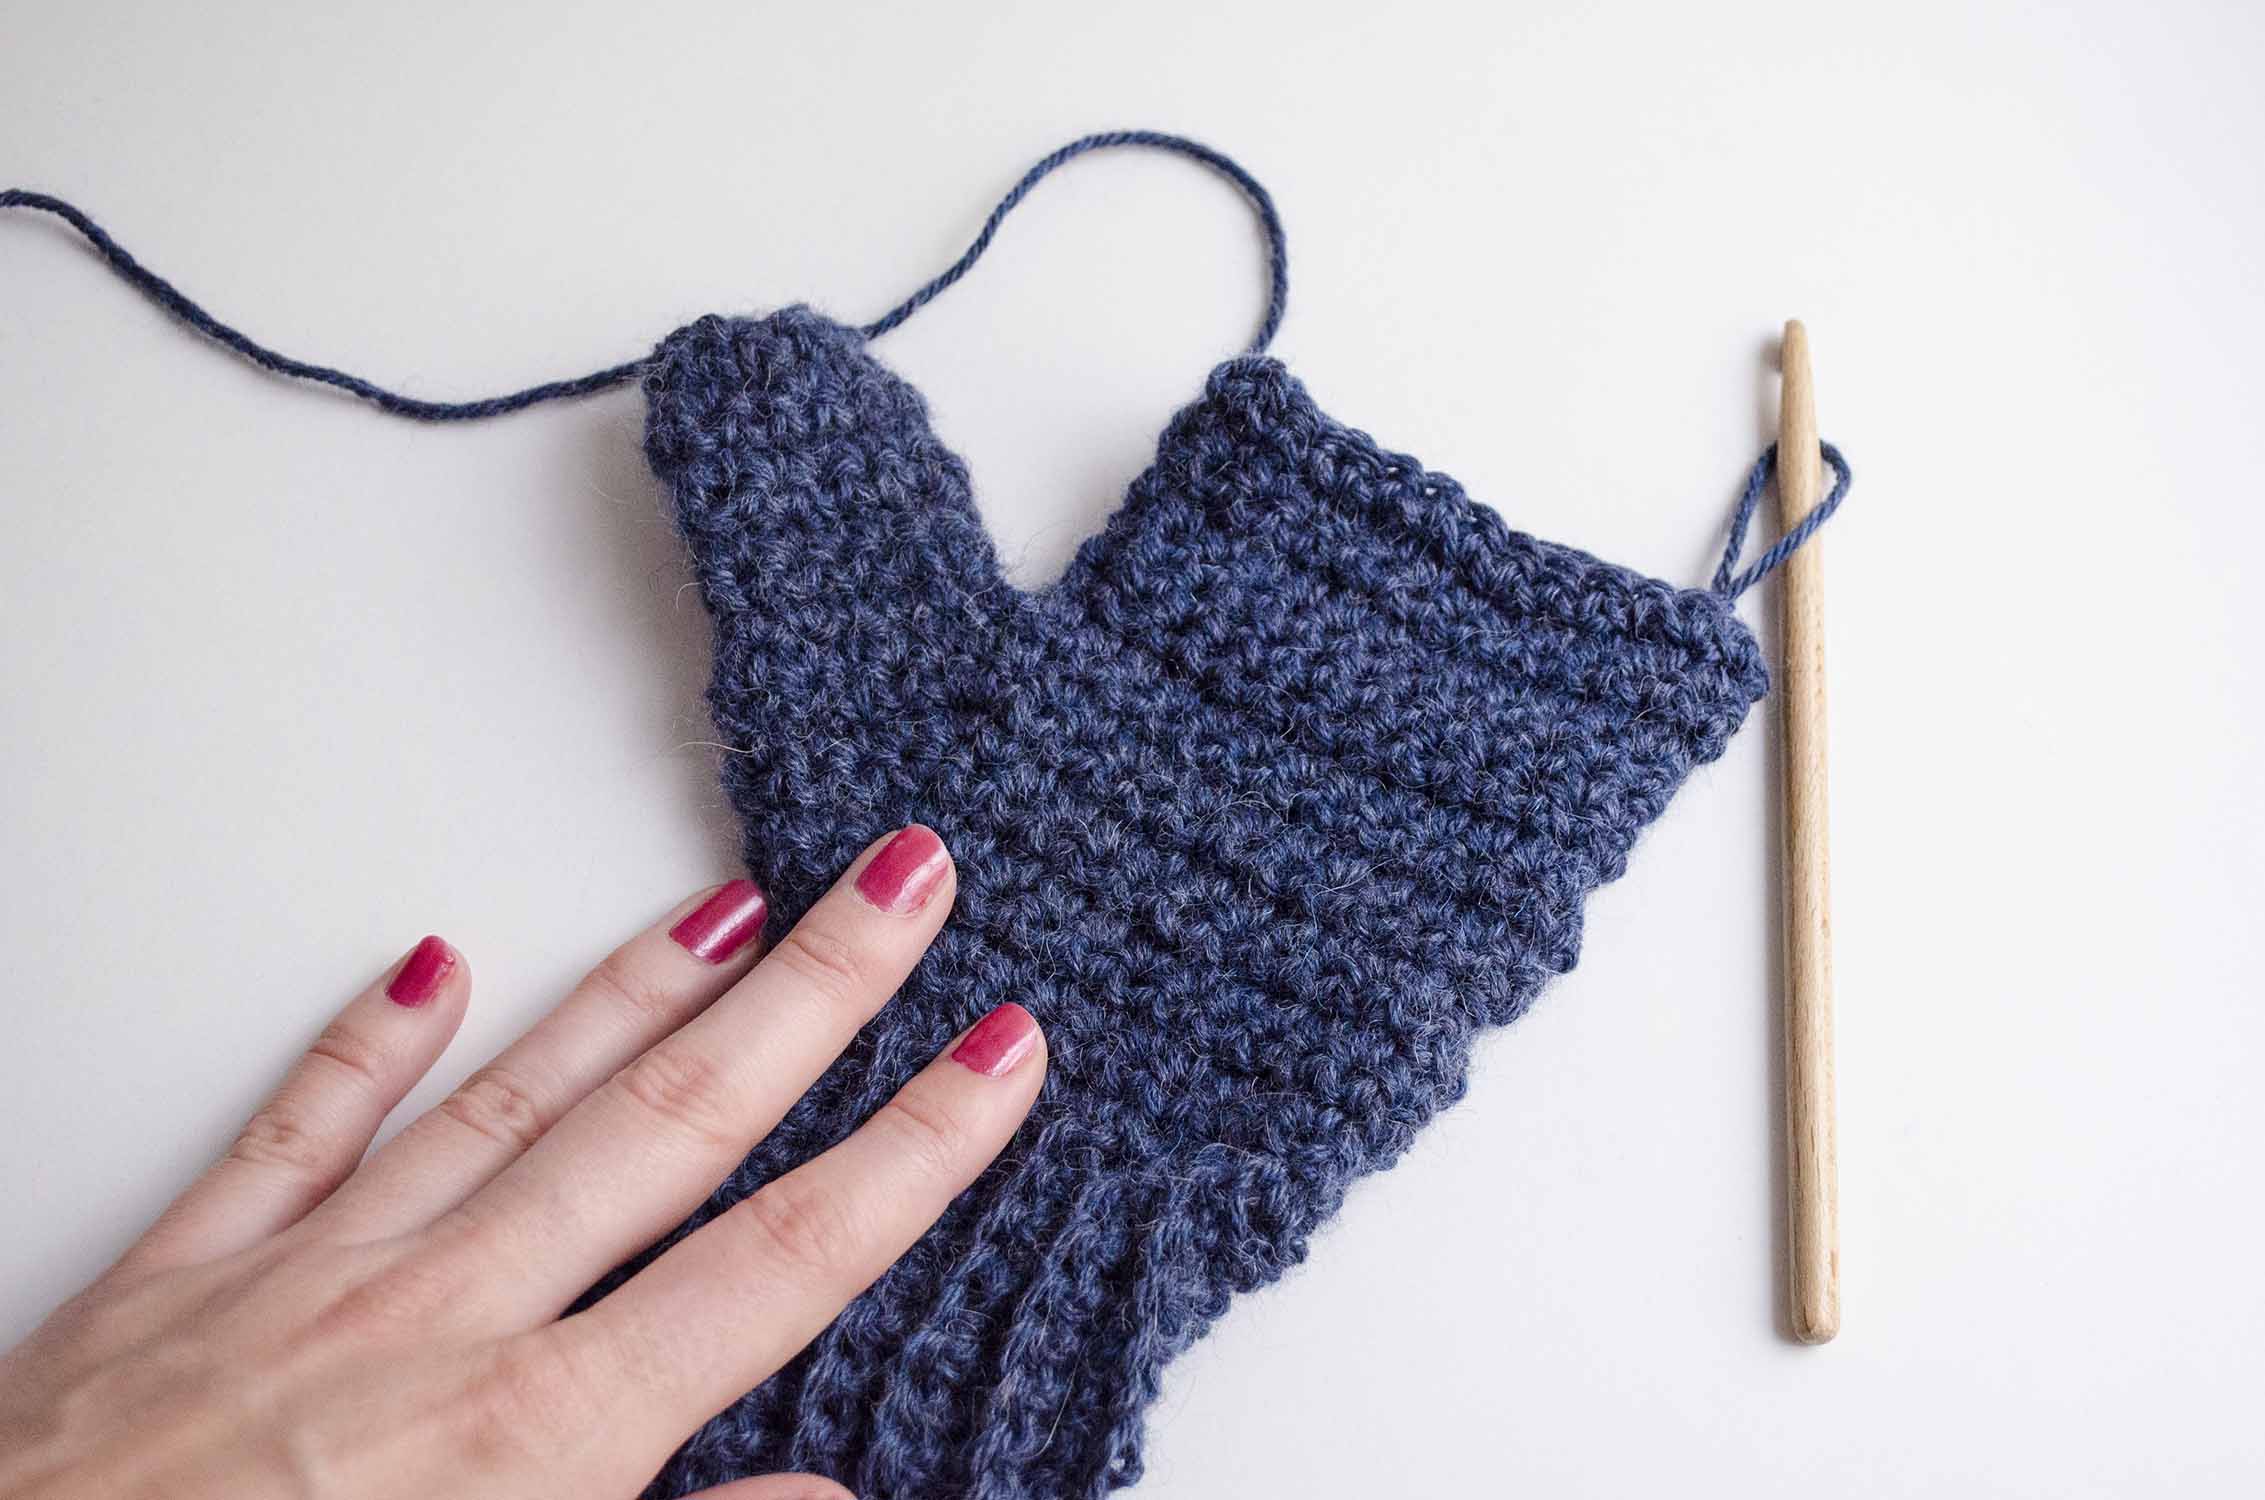
We have done the hardest part now! We only have to work the palm and finger parts to finish our mitten 😀
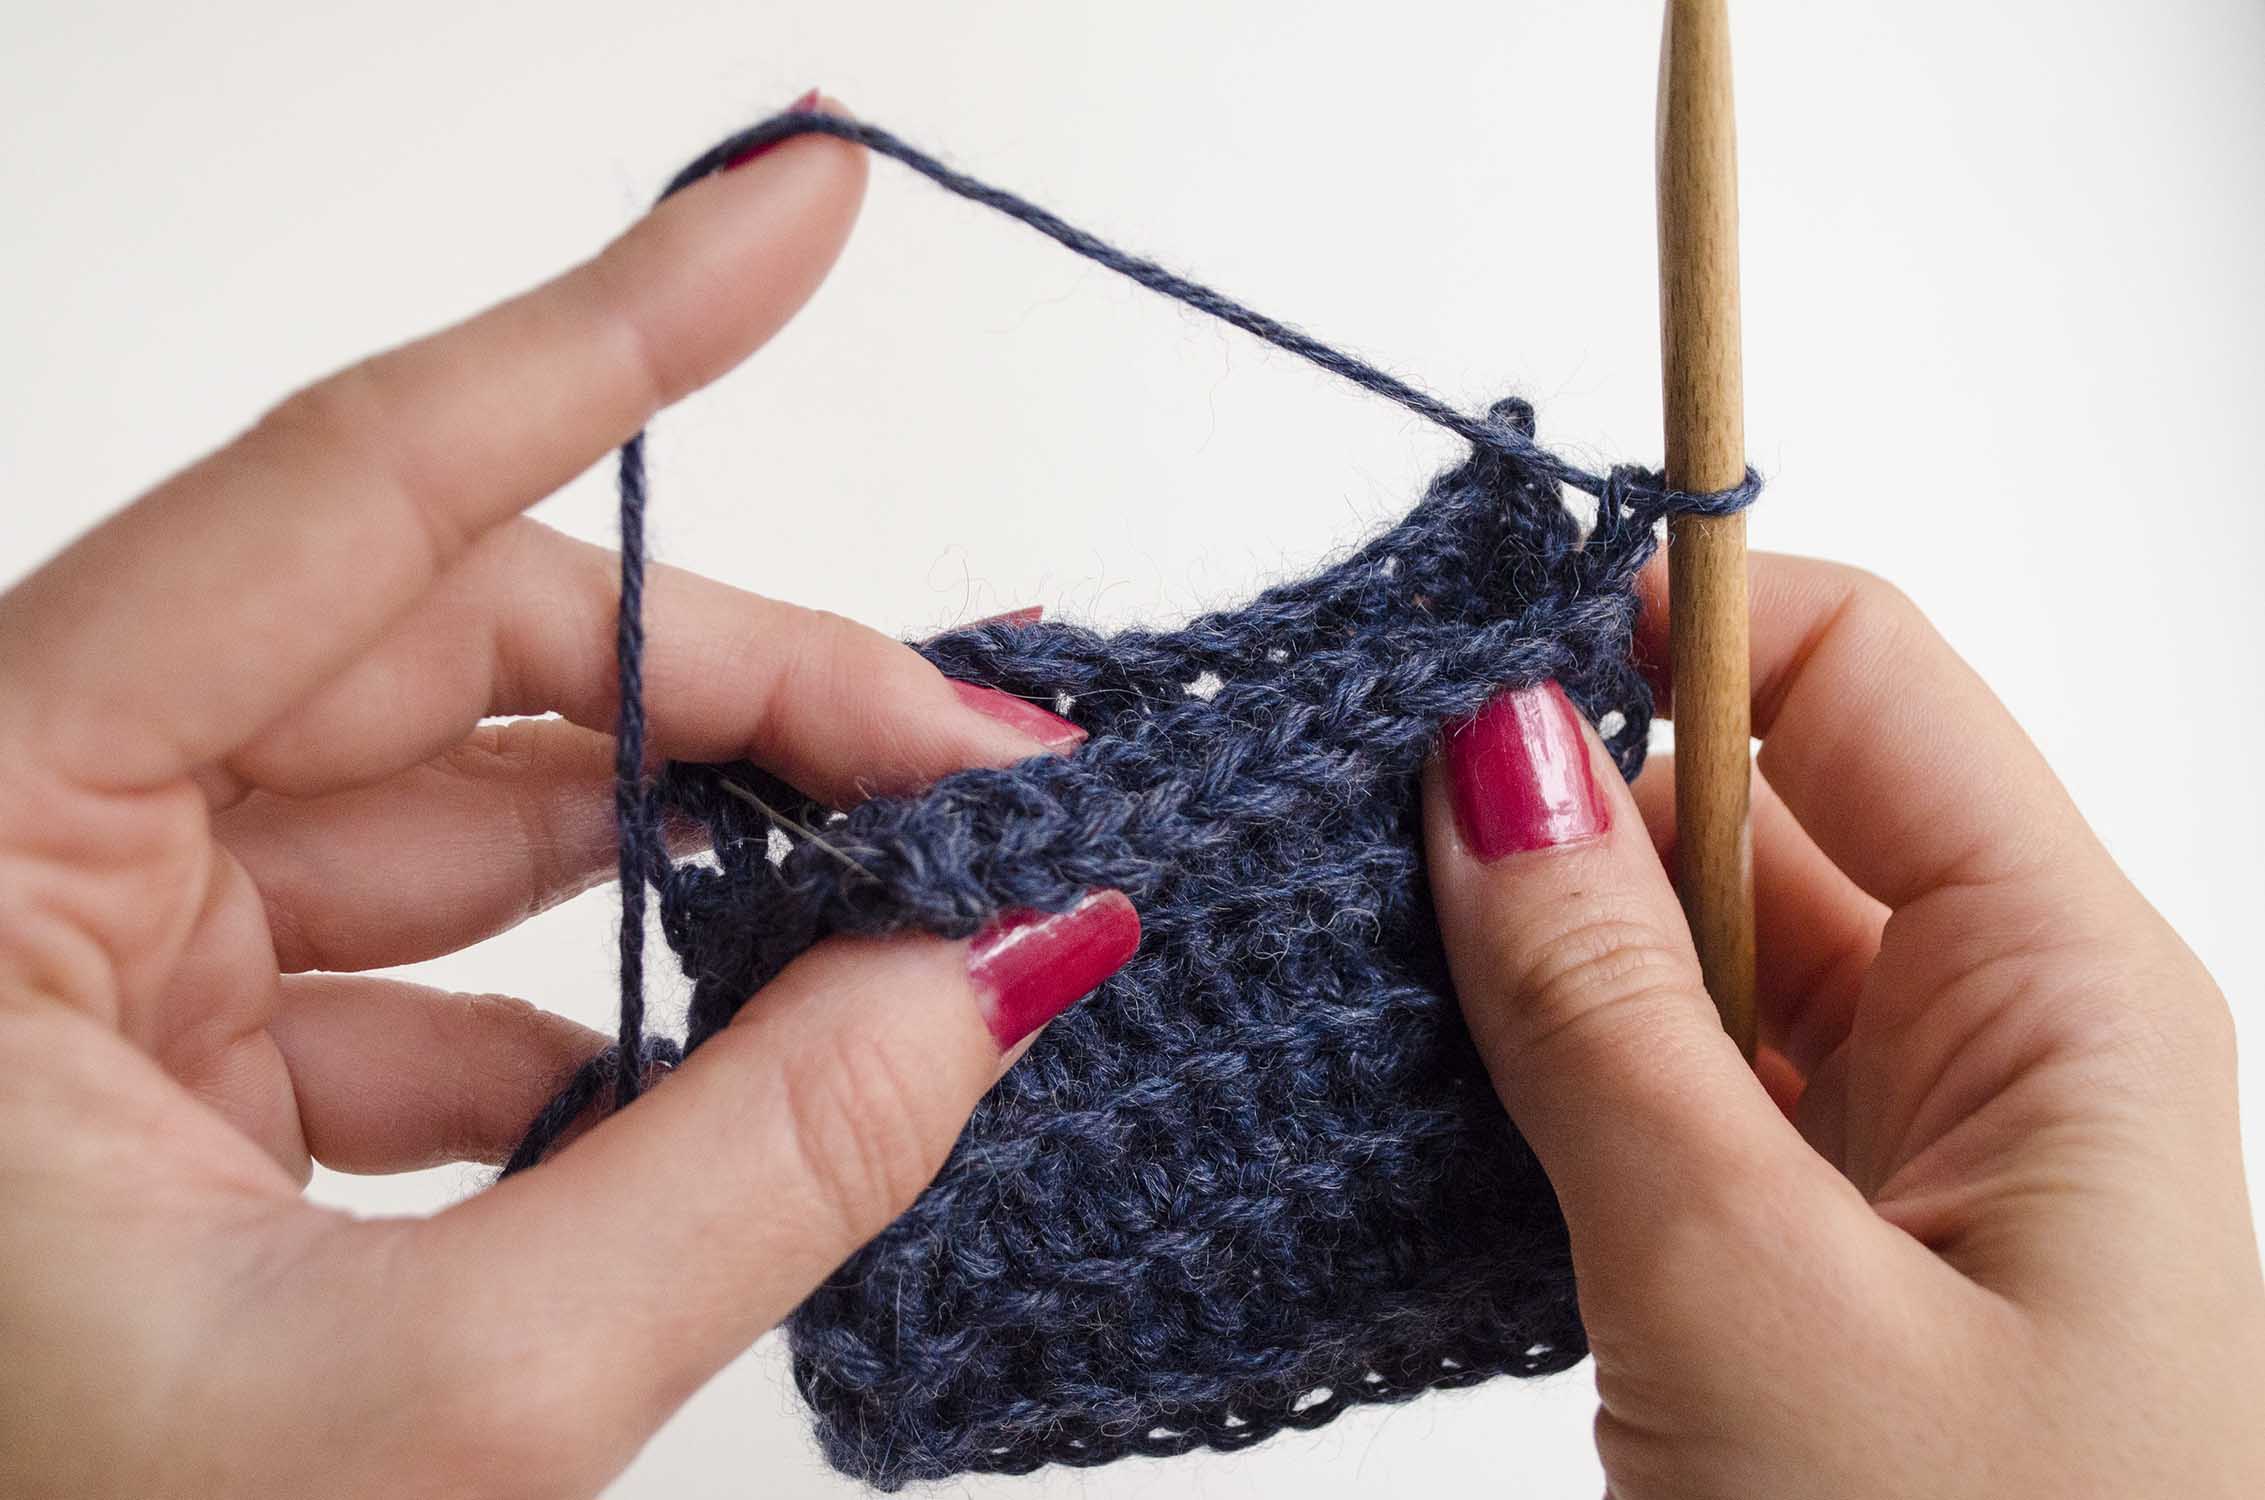
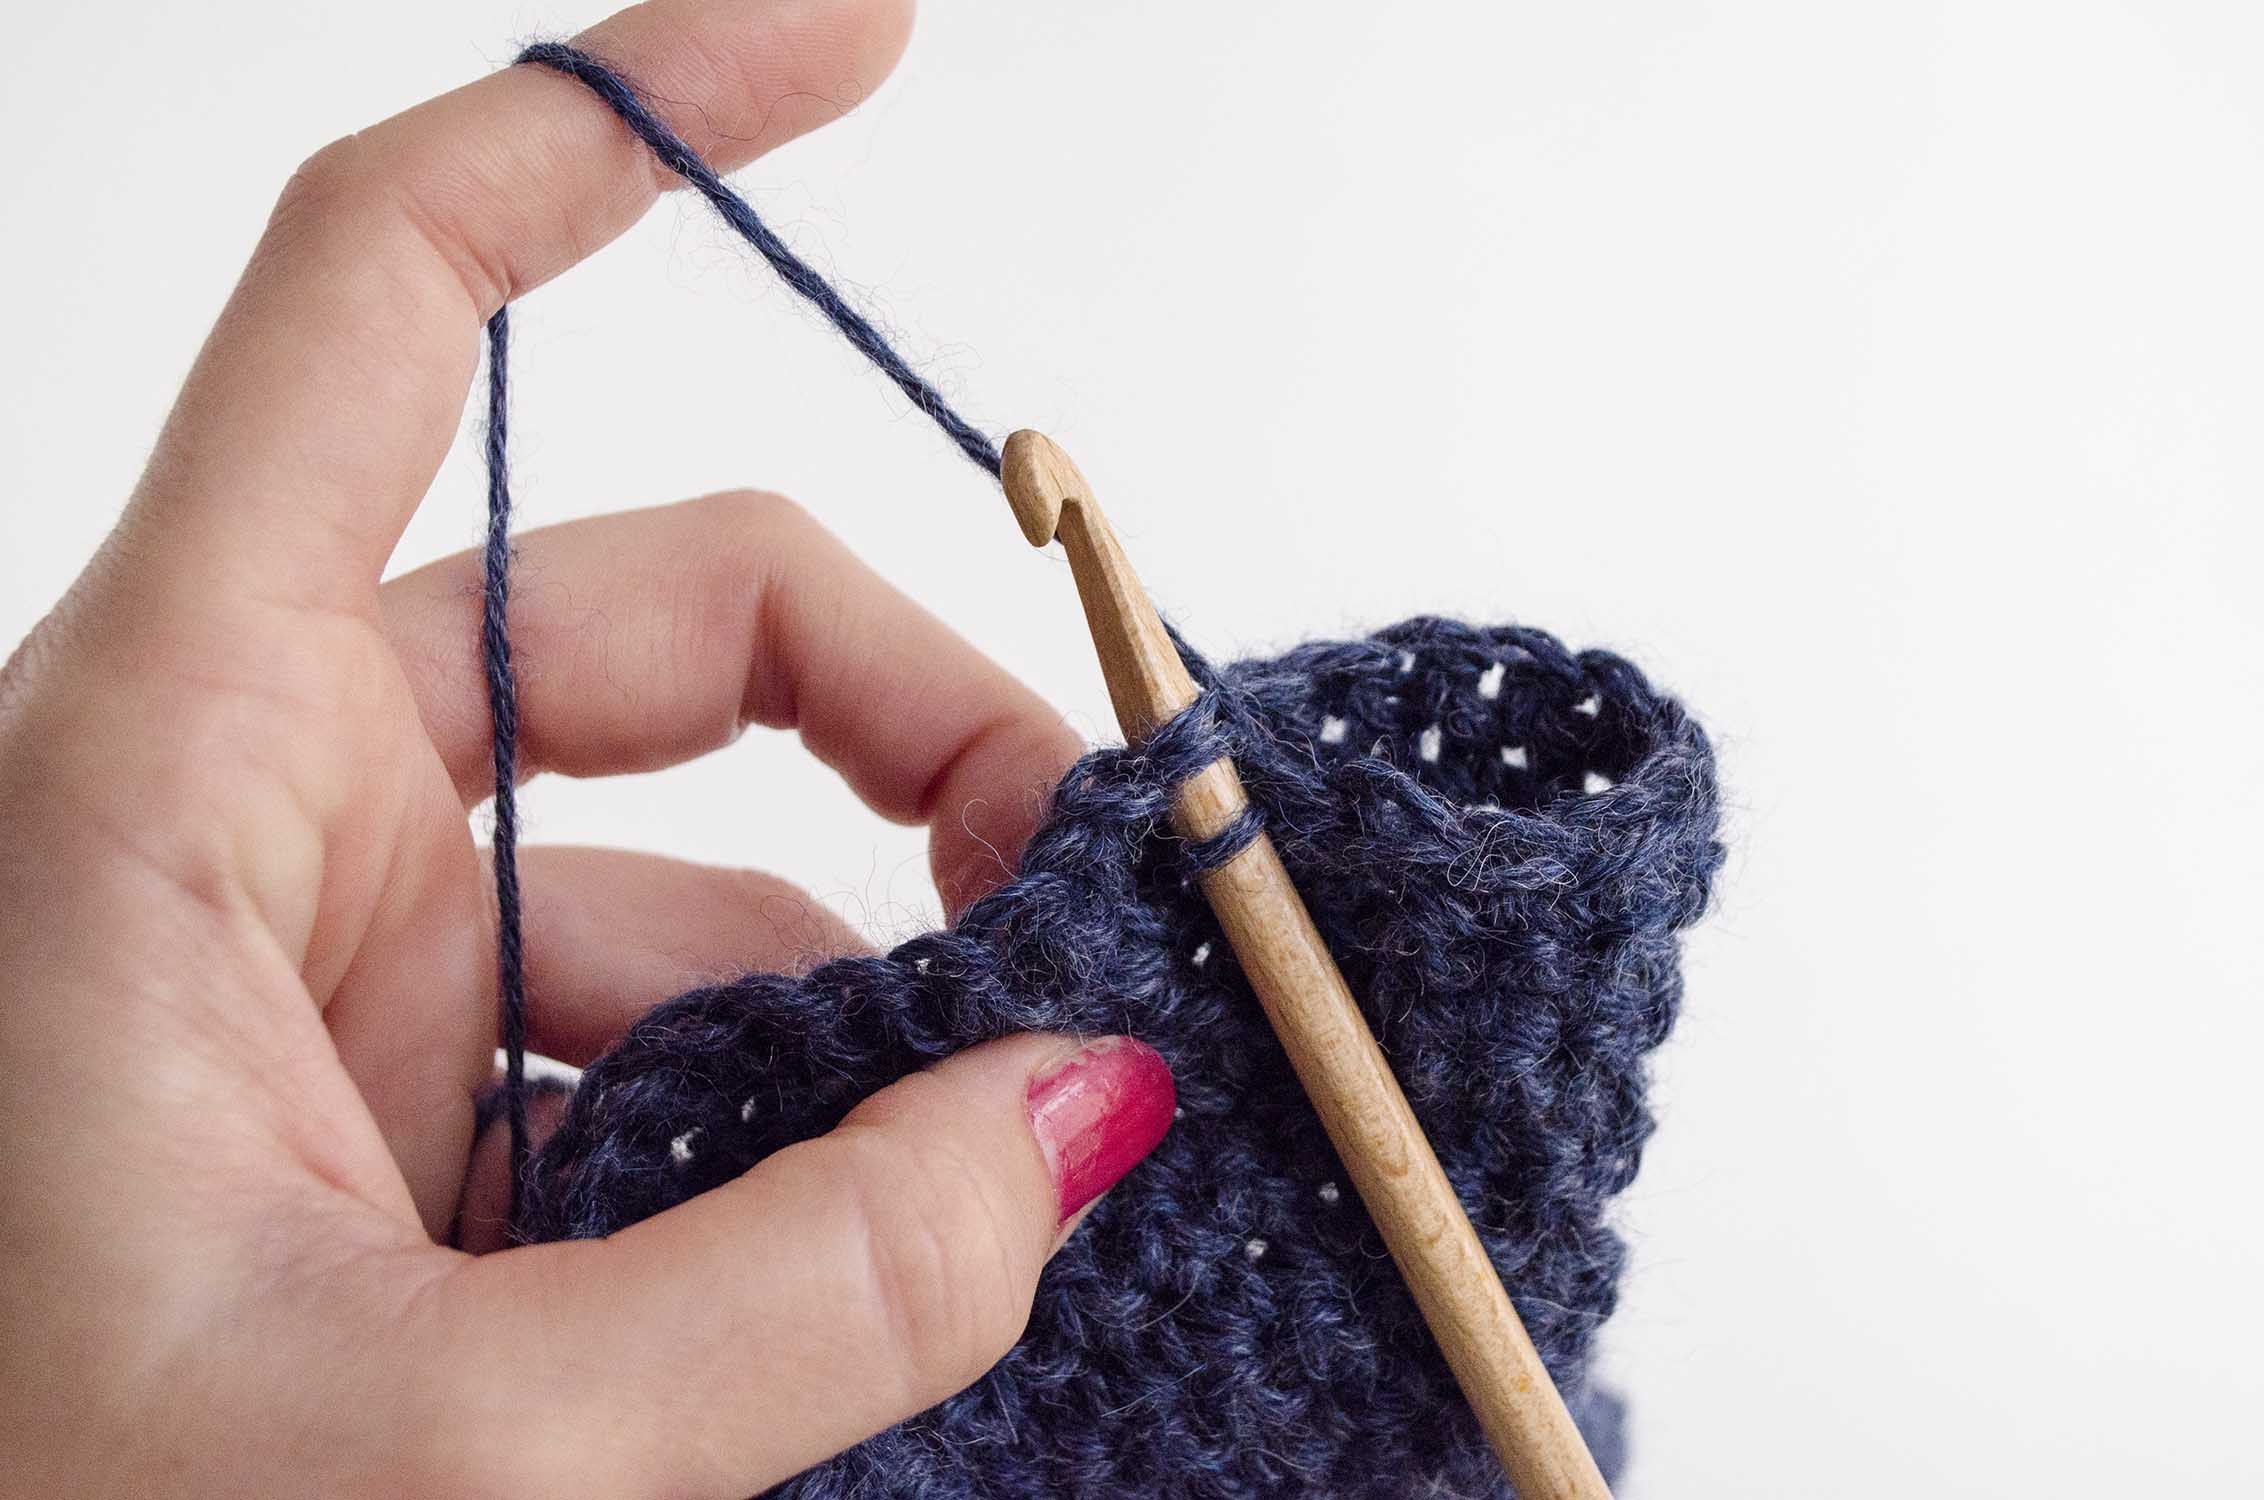
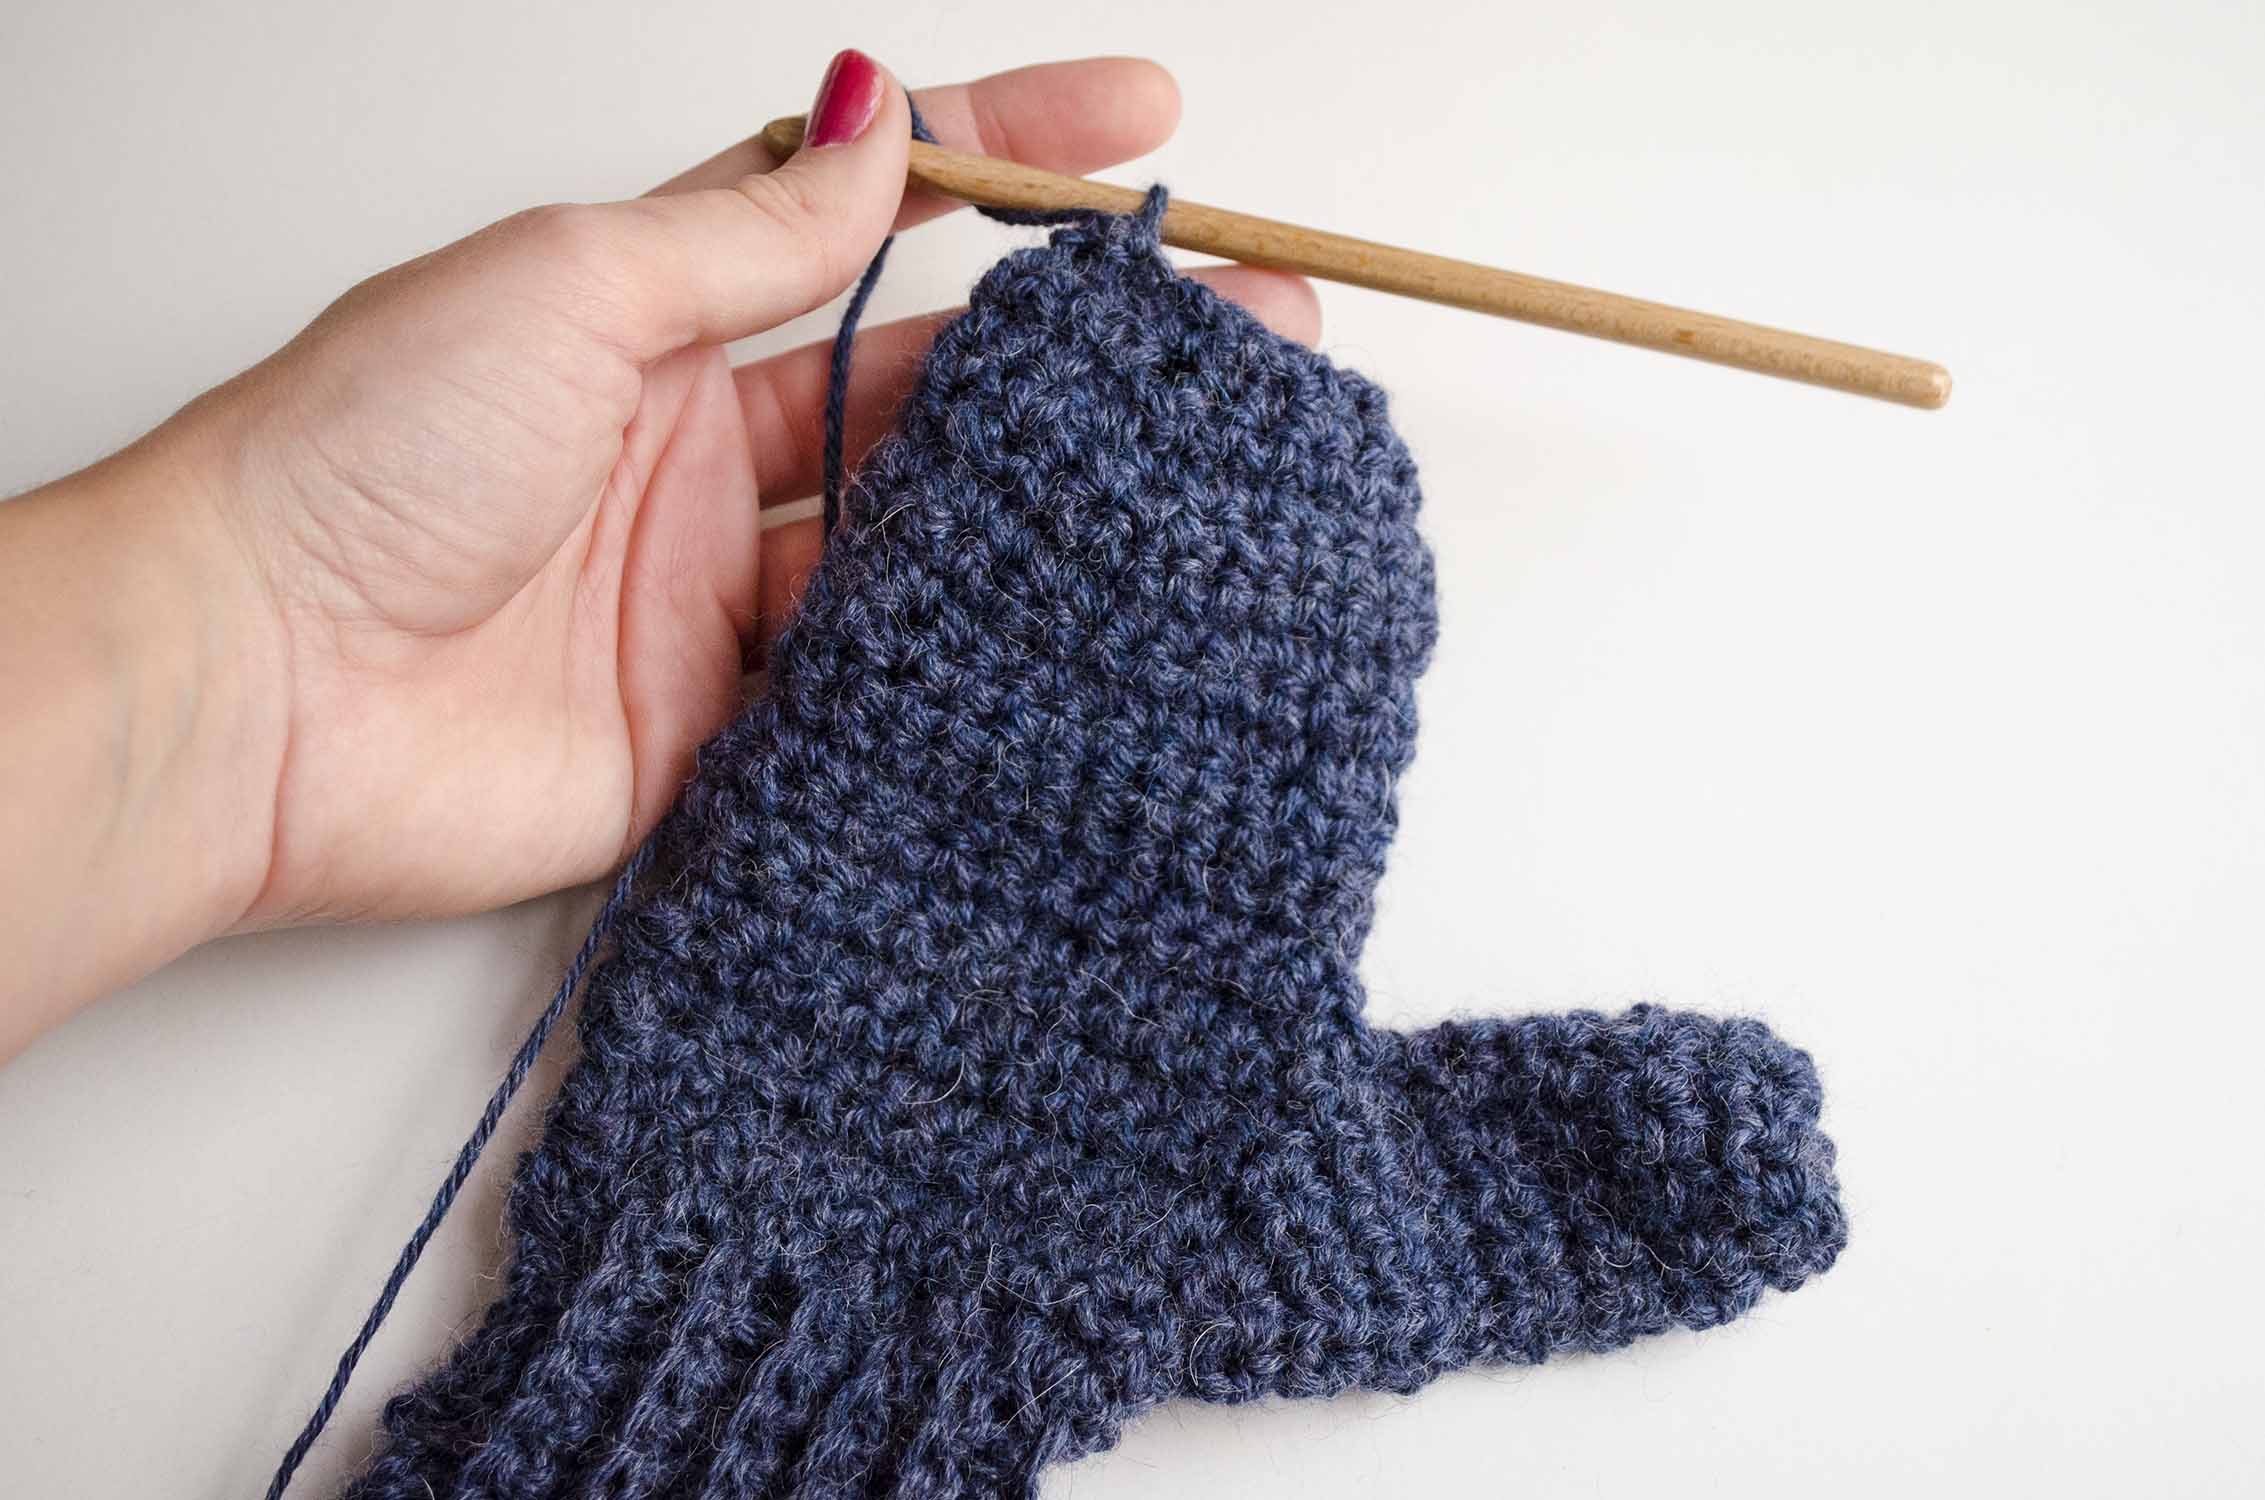
With the thumb to the right, join the yarn to the mitten. Find the first single crochet on the base of the thumb (check the picture above), make the yarn go through it, chain 1, and work a single crochet on the same stitch.
Now work 12 single crochets and you will reach the seam we have been doing on the side of the mitten. Join the row with 1 slip stitch, chain 1 and turn the work.
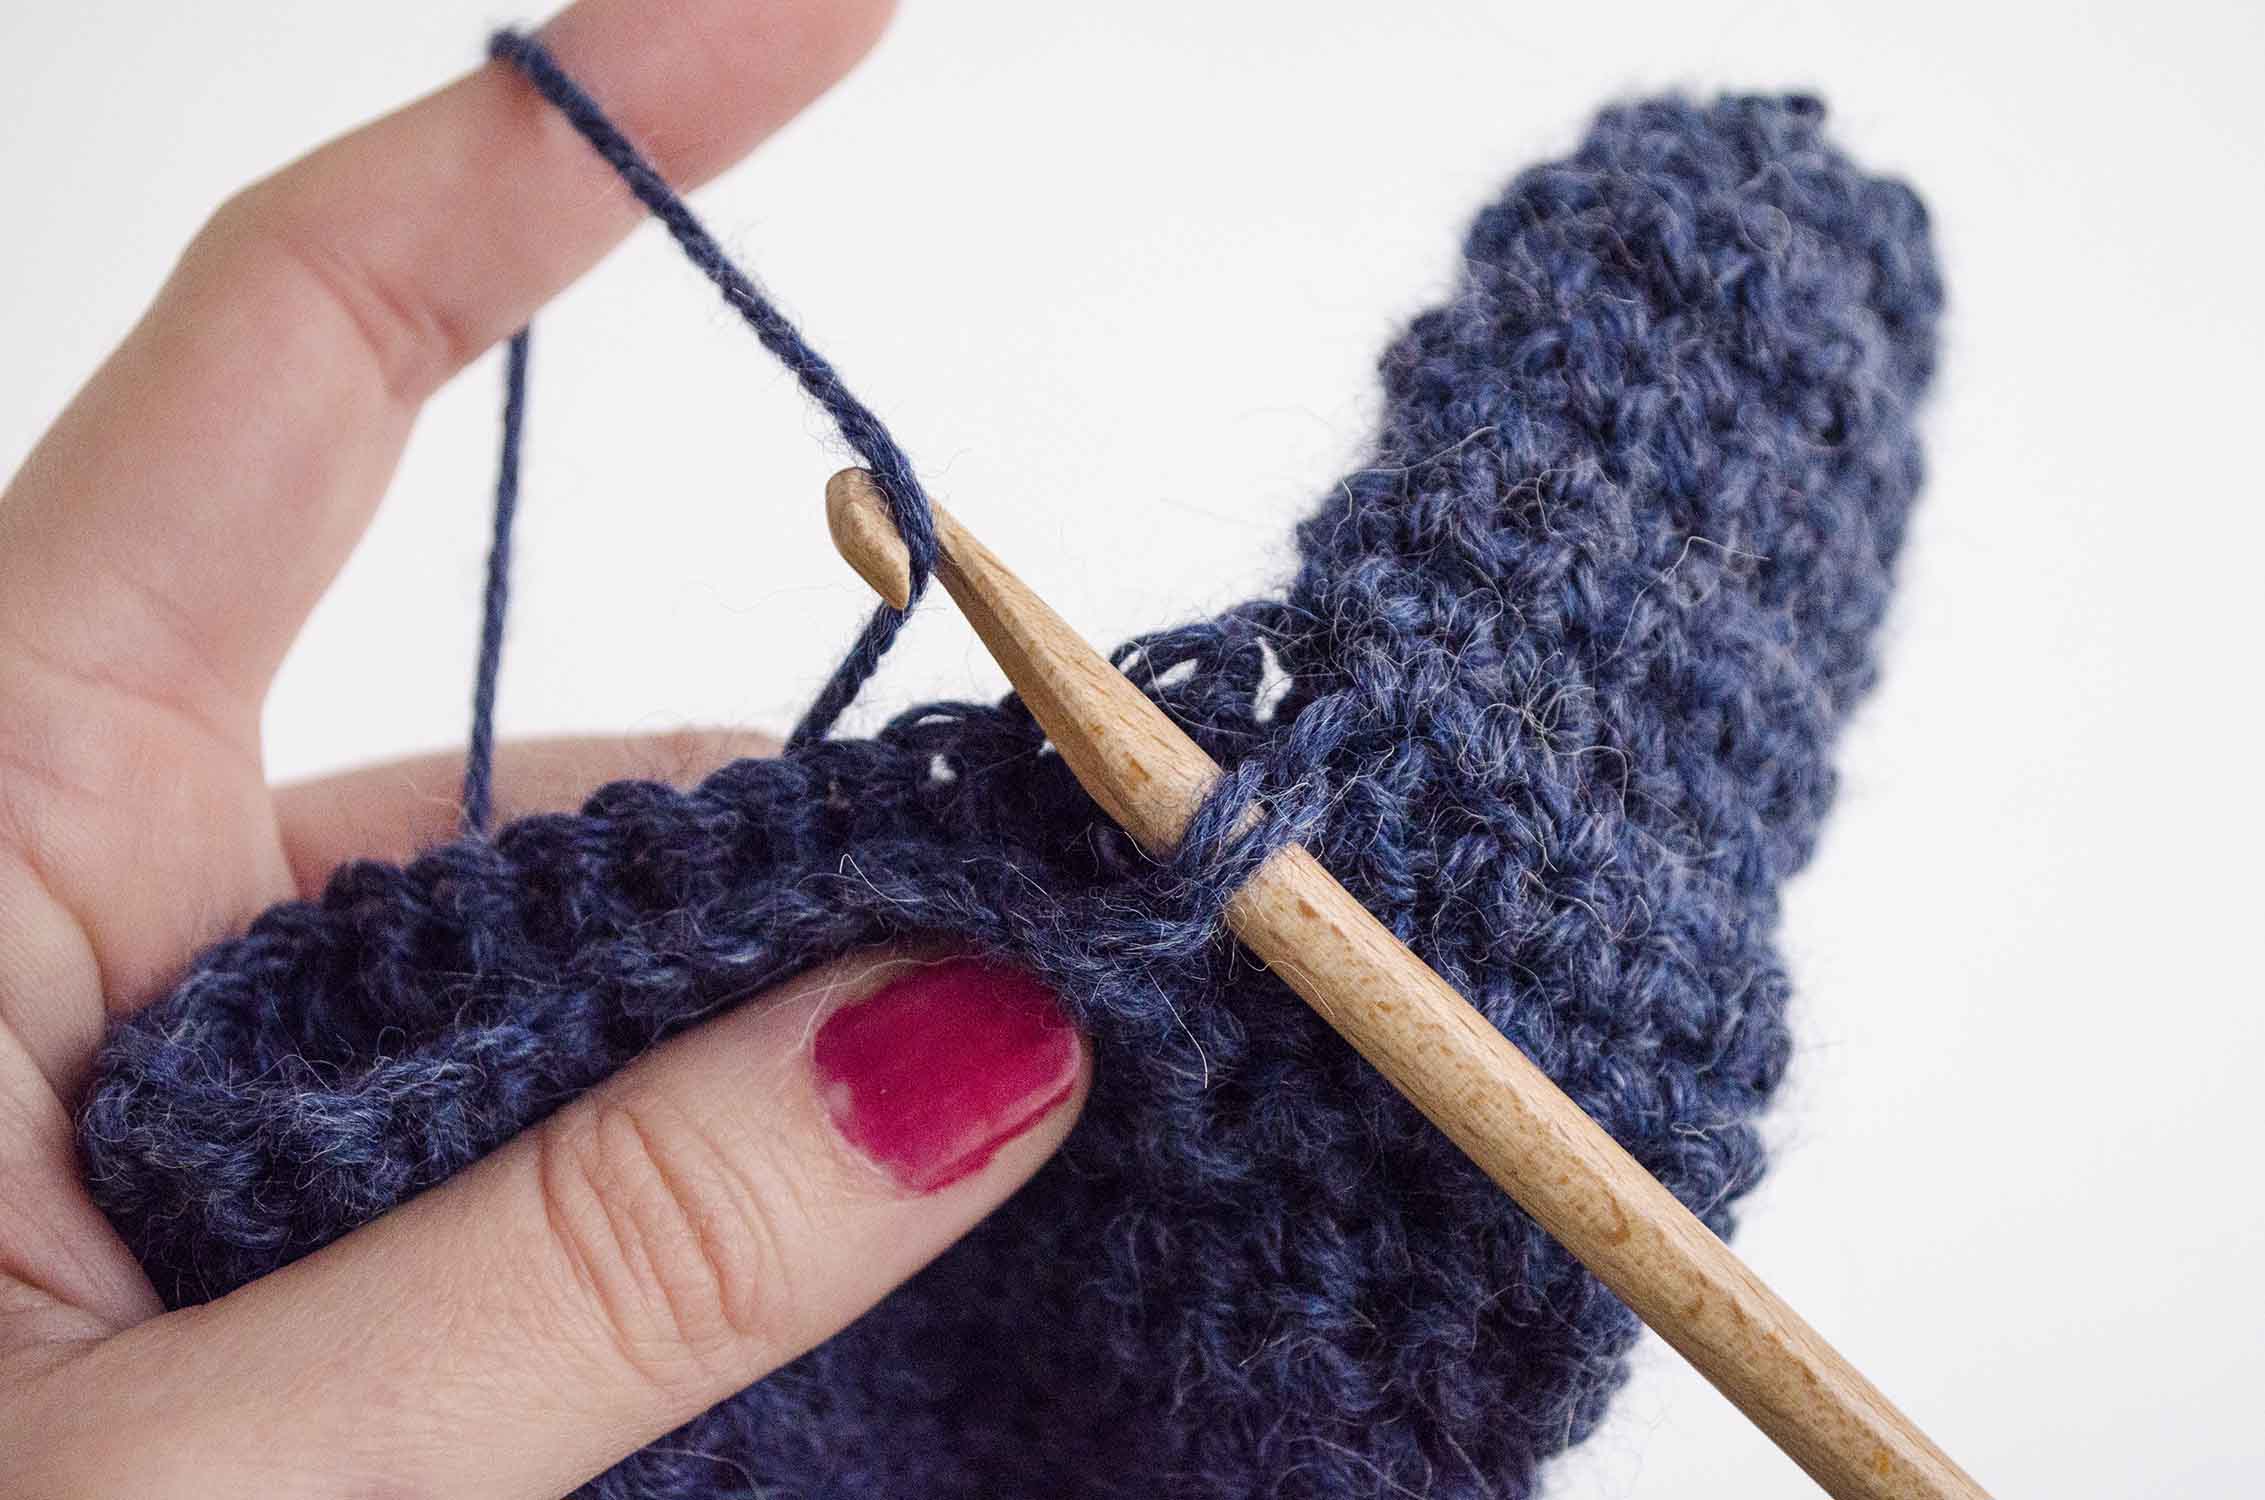
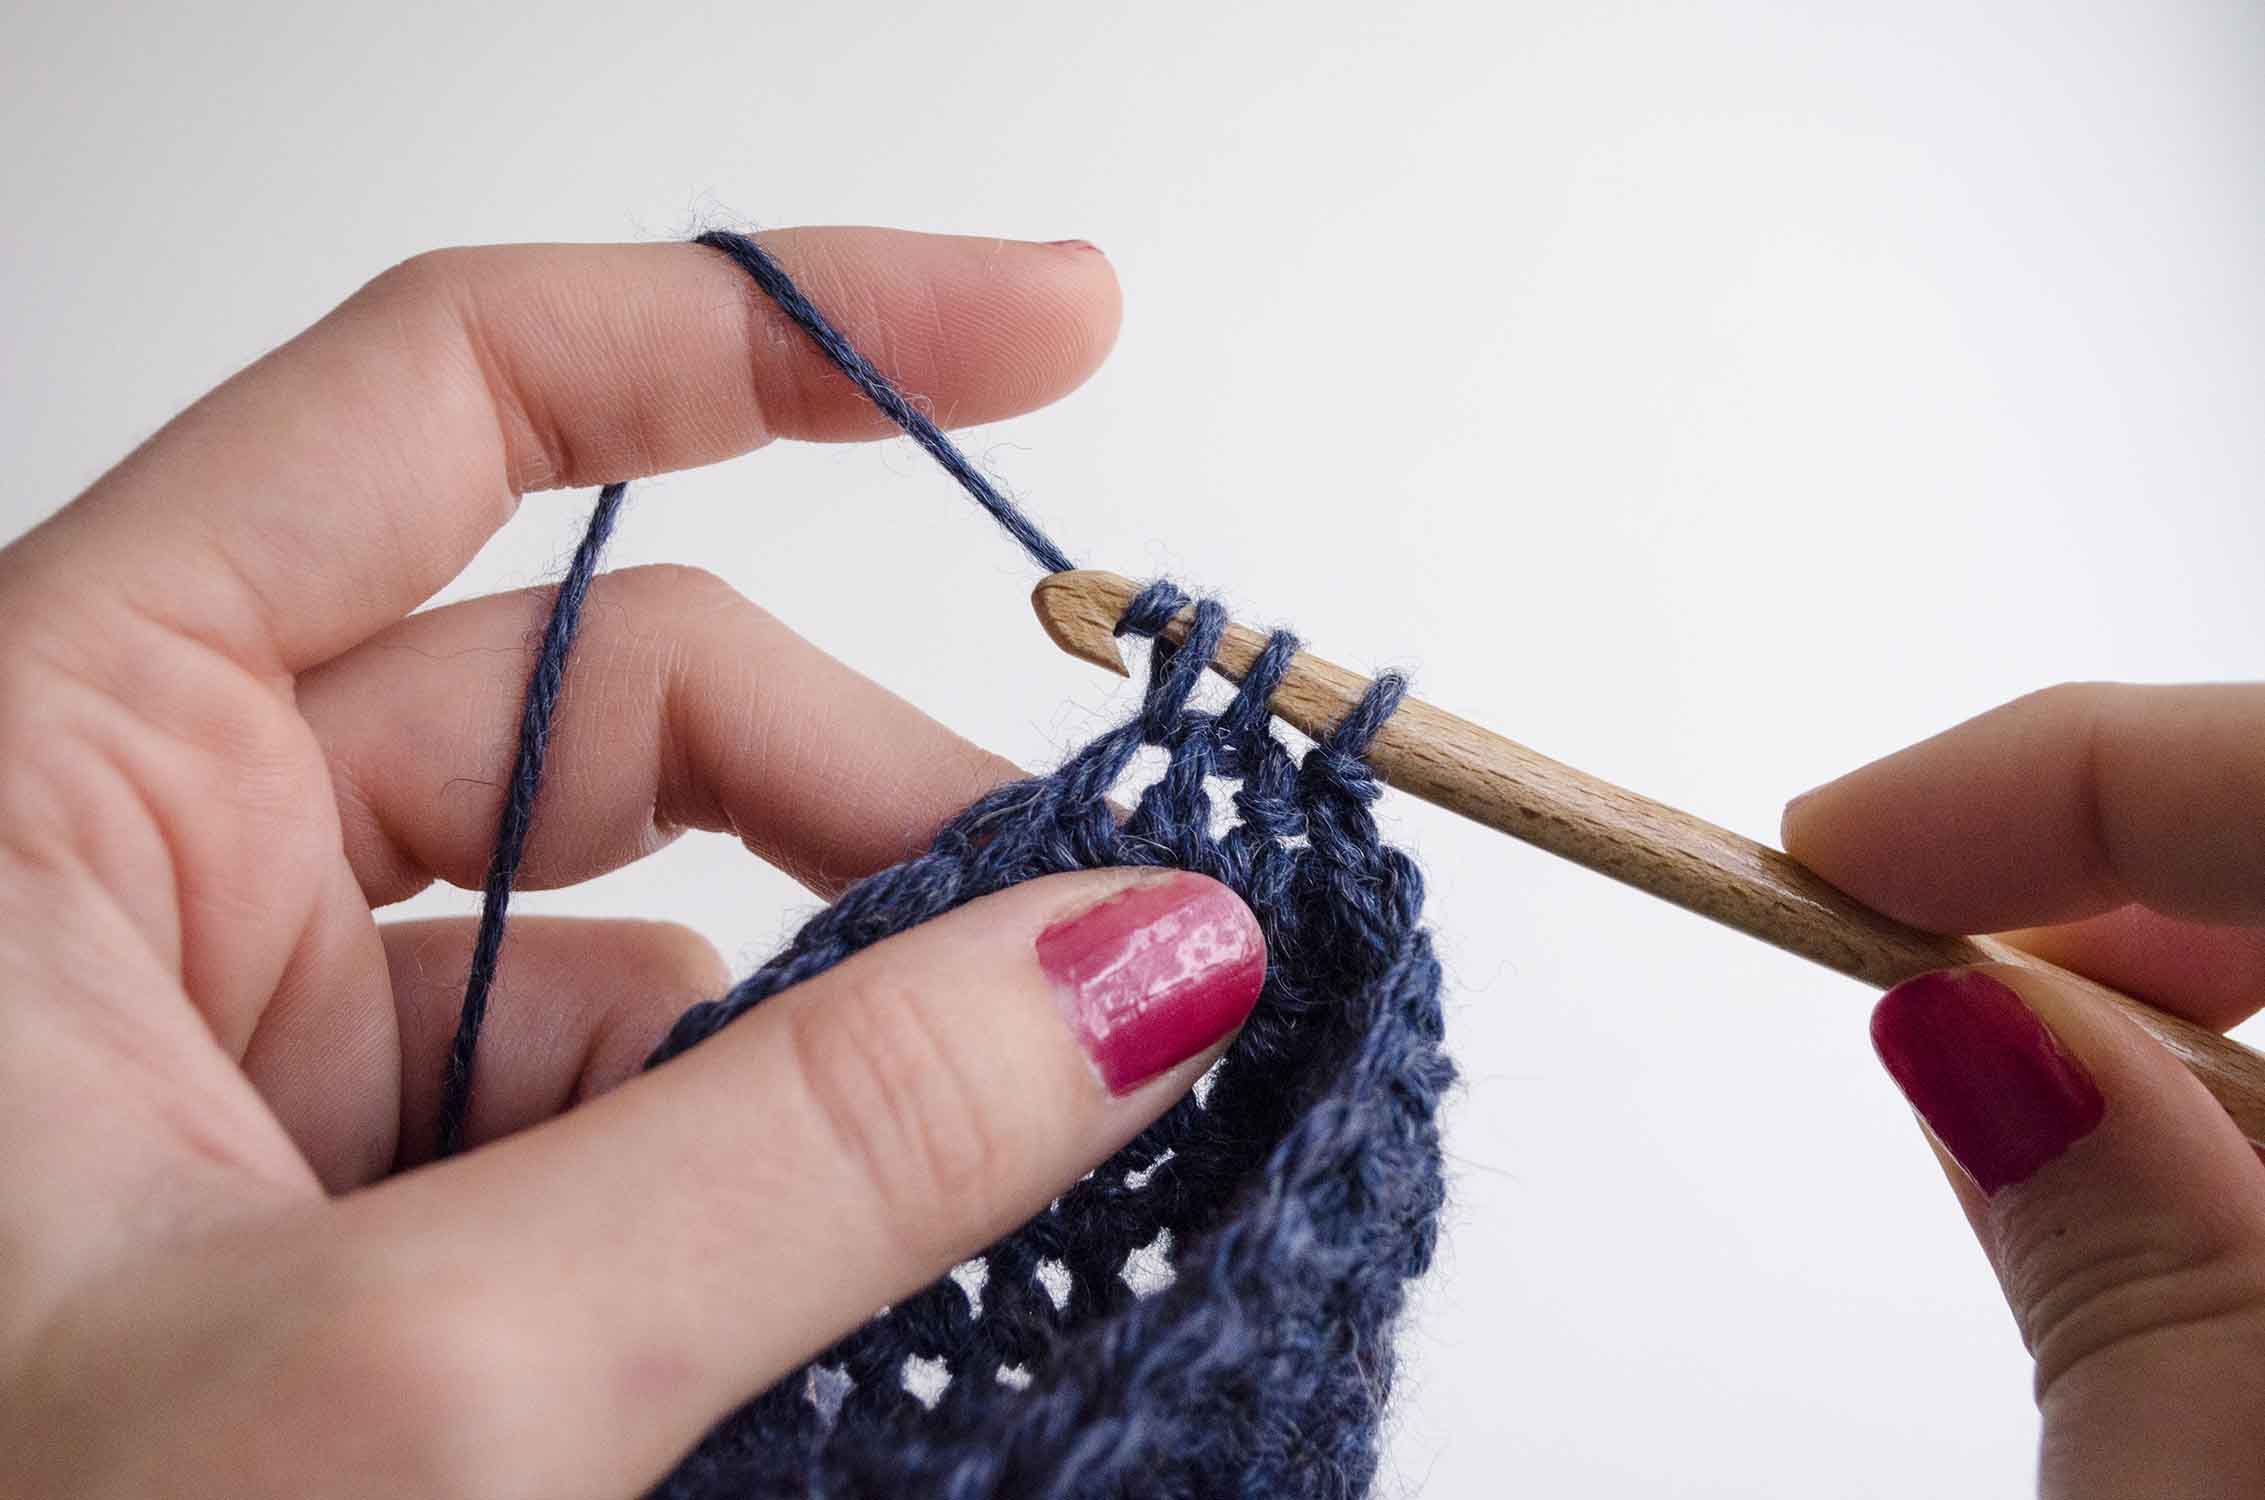
Row 44: work 13 single crochets, pick 2 stitches from the base of the thumb by working 1 single crochet in each of them, and work 13 single crochets. Join the row with 1 slip stitch, chain 1 and turn the work. You’ll have 28 stitches at the end of the row.
Row 45: work 12 single crochets, make 2 decreases and work 12 single crochets. Join the row with 1 slip stitch, chain 1 and turn the work. You’ll have 26 stitches at the end of the row.
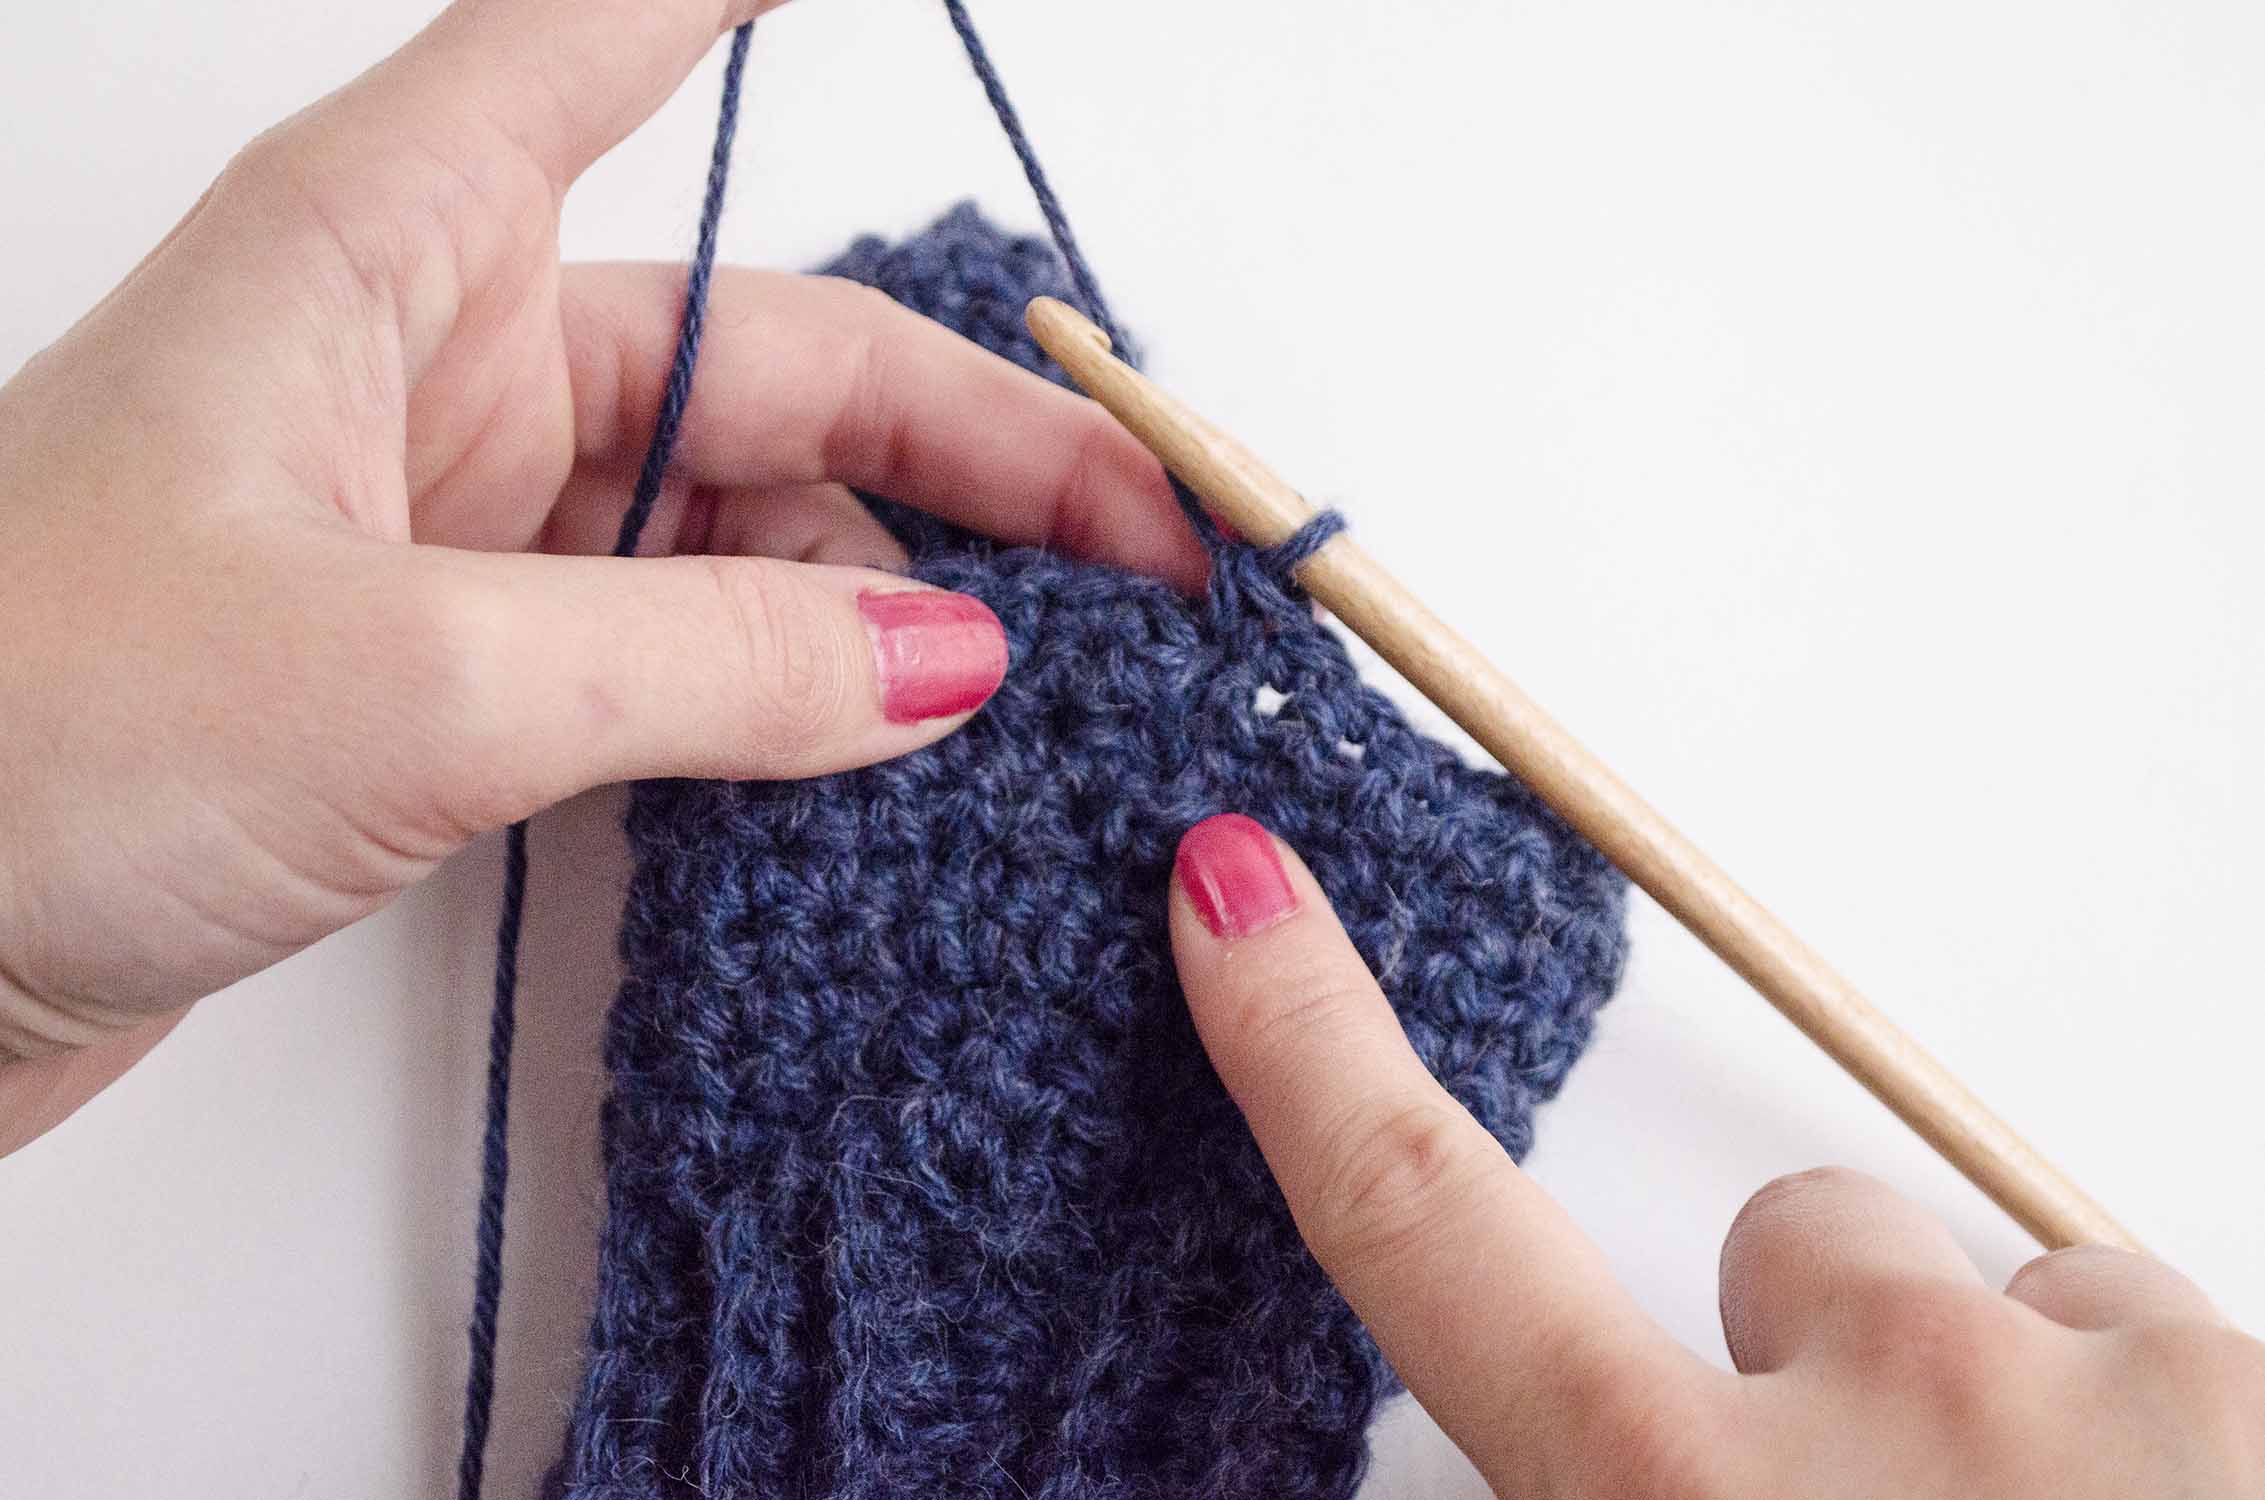
Row 46: work 26 single crochets. Join the row with 1 slip stitch, chain 1 and turn the work. You’ll have 26 stitches at the end of the row.
Rows 47 to 52: repeat row 46.
At this point, we have worked the palm and fingers part of the mitten. Now we are going to start closing the stitches in order to close the part of the finger tips.
Row 53: make 1 decrease, work 11 single crochets, make 1 decrease and work 11 single crochets. Join the row with 1 slip stitch, chain 1 and turn the work. You’ll have 24 stitches at the end of the row.
Row 54: work 24 single crochets. Join the row with 1 slip stitch, chain 1 and turn the work.
Row 55: make 1 decrease, work 10 single crochets, make 1 decrease and work 10 single crochets. Join the row with 1 slip stitch, chain 1 and turn the work. You’ll have 22 stitches at the end of the row.
Row 56: make 1 decrease, work 9 single crochets, make 1 decrease and work 9 single crochets. Join the row with 1 slip stitch, chain 1 and turn the work. You’ll have 20 stitches at the end of the row.
Row 57: make 10 decreases. Join the row with 1 slip stitch, chain 1 and turn the work. You’ll have 10 stitches at the end of the row.
Row 58: make 5 decreases. Join the row with 1 slip stitch, chain 1 and turn the work. You’ll have 5 stitches at the end of the row.
Now we have closed enough stitches to finish the mitten, so cut the yarn leaving a tail long enough and thread the tapestry needle.
Pass the tapestry needle through the 5 remaining stitches and pull strongly to close the hole. Weave the ends inside the mitten.
Repeat the same steps for the second mittens.
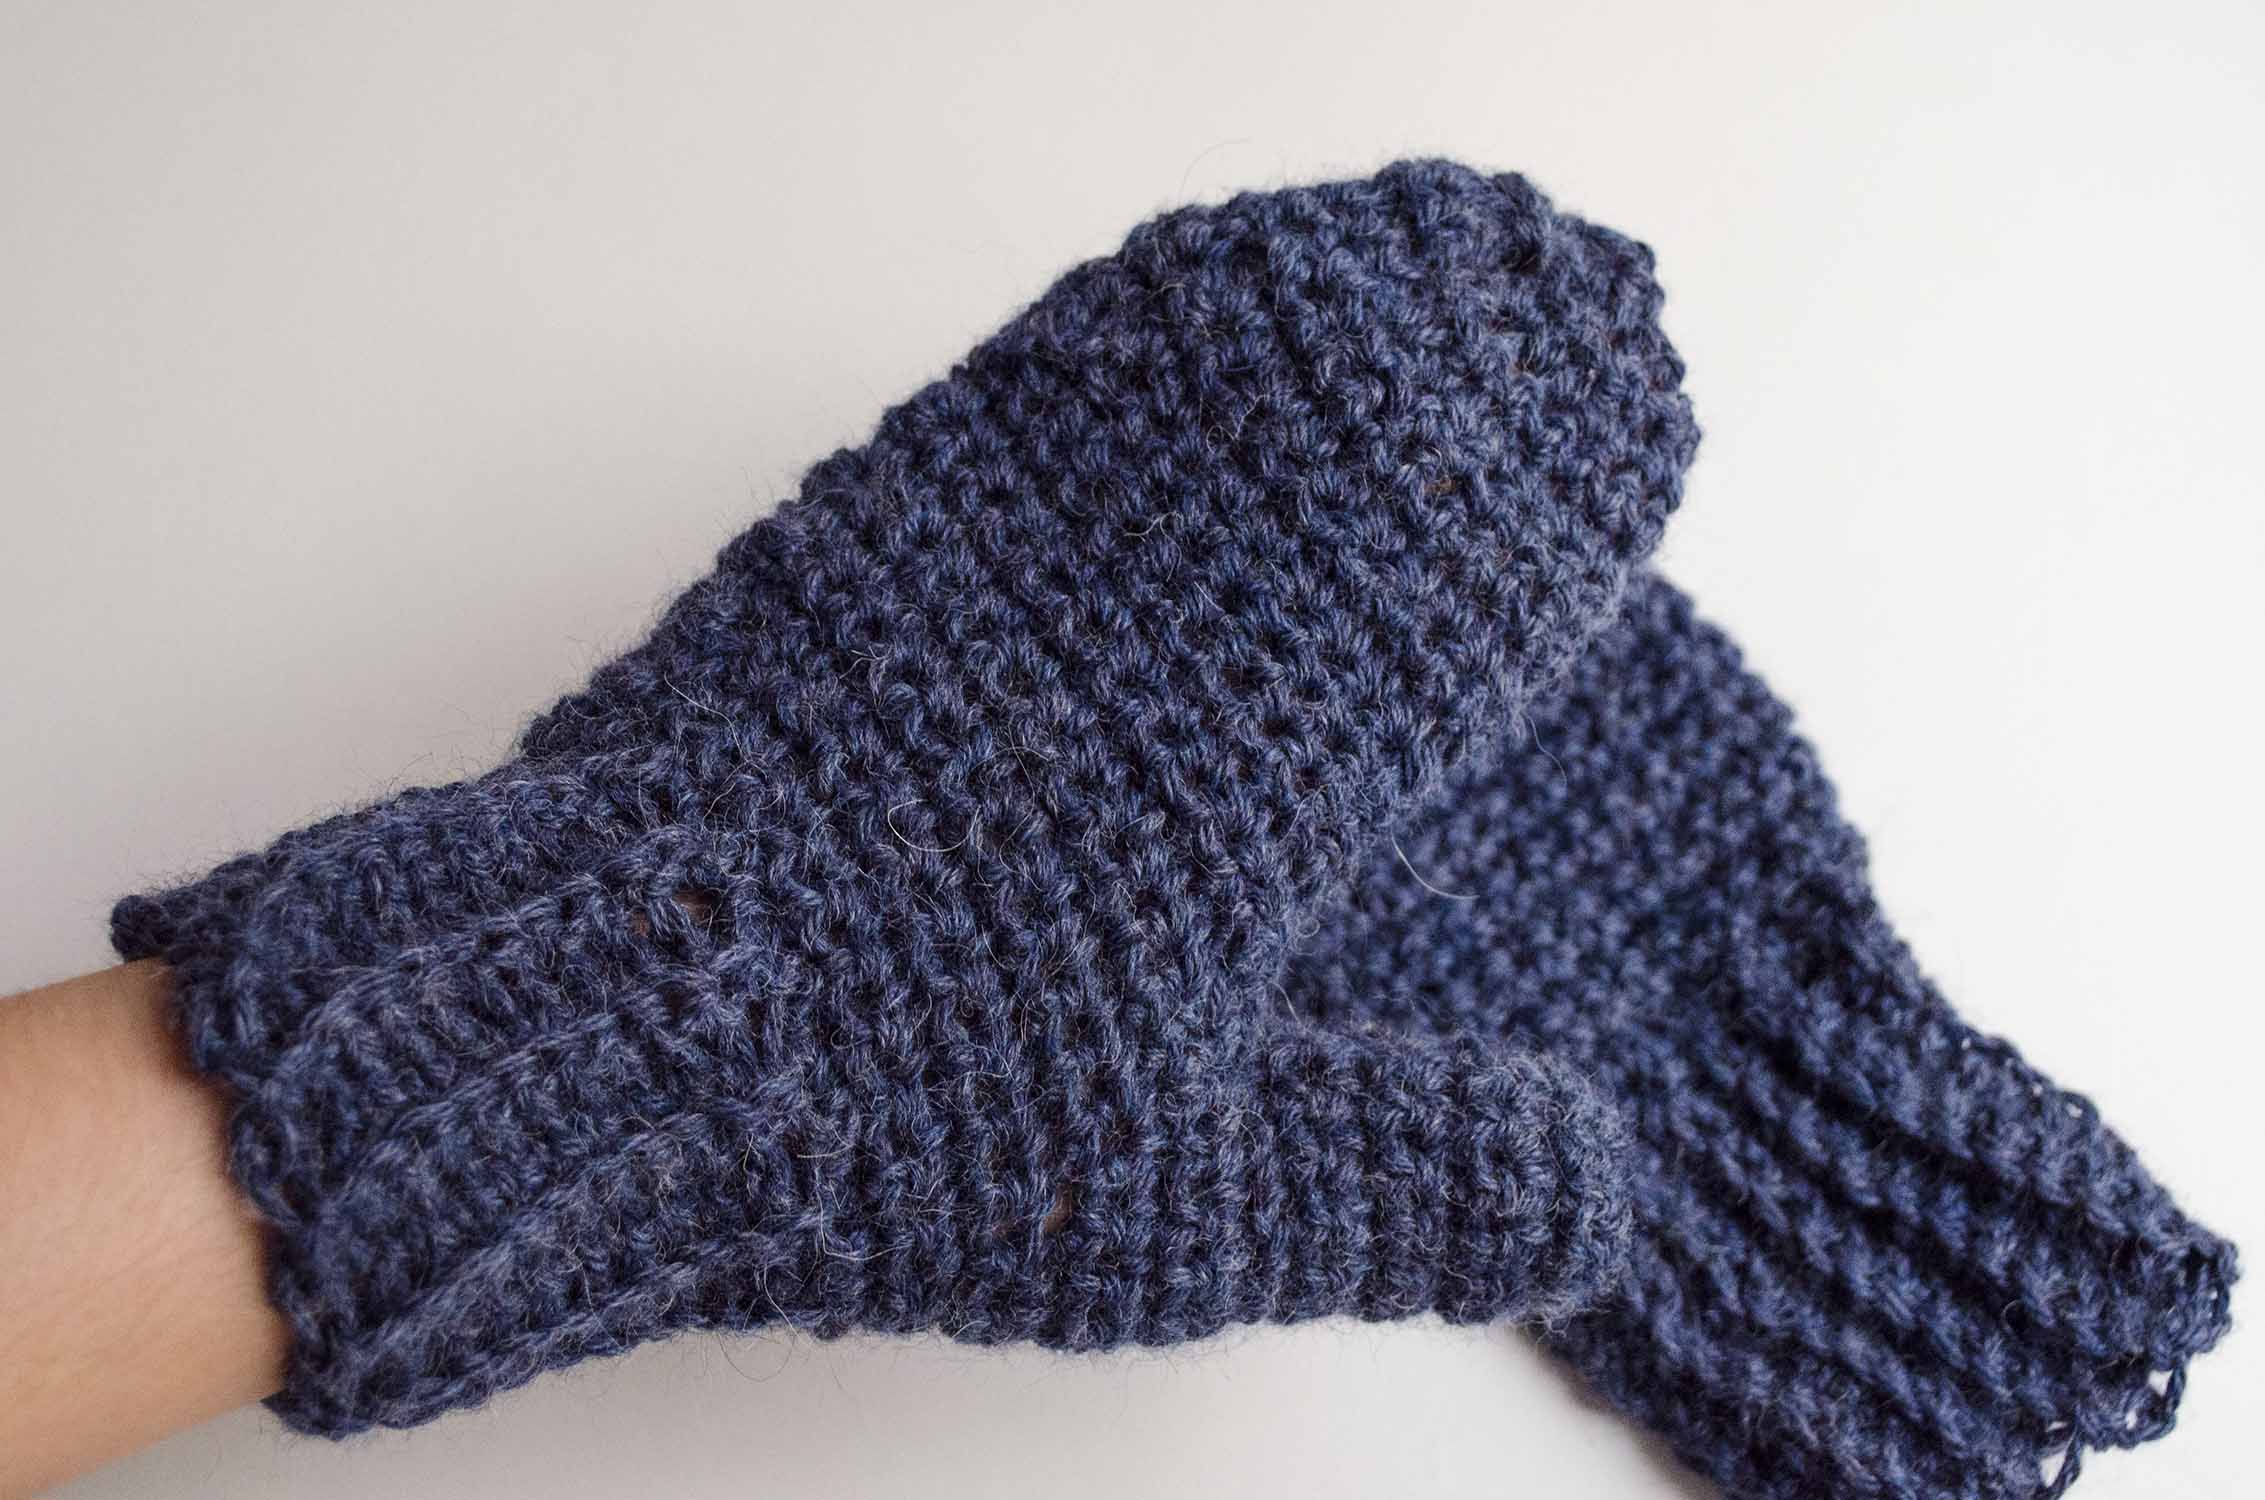
Your mittens are done now! And they are super warm 🙂
These mittens are a hand size S, but you can easily adapt them to other sizes by adding more single crochet rows where there are no increases or decreases.
Don’t forget to crochet a pair for each of your friends and family members. And share the results with the hashtag #weareknitters on your social networks.