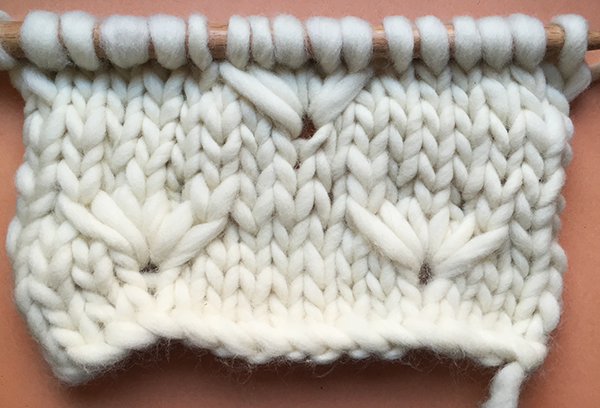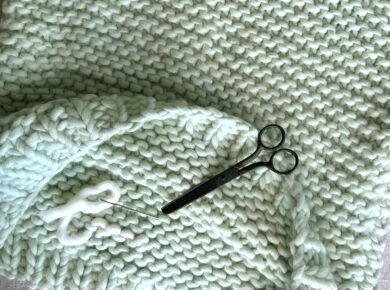
We are fascinated by cables. They add texture and volume to garments and accessories, and can be modified a thousand ways to get the result you’re looking for. They are a basic technique for any knitter, but we know the first few times can be a challenge; they look so hard to do!
But there’s no mystery to cables, it’s just a question of learning the technique once and for all, and then they practically knit themselves. You’ll see, once you knit a few you’ll quickly get the hang of it. Today we want to show you how to knit a basic cable and after that you can change it up for your needs.
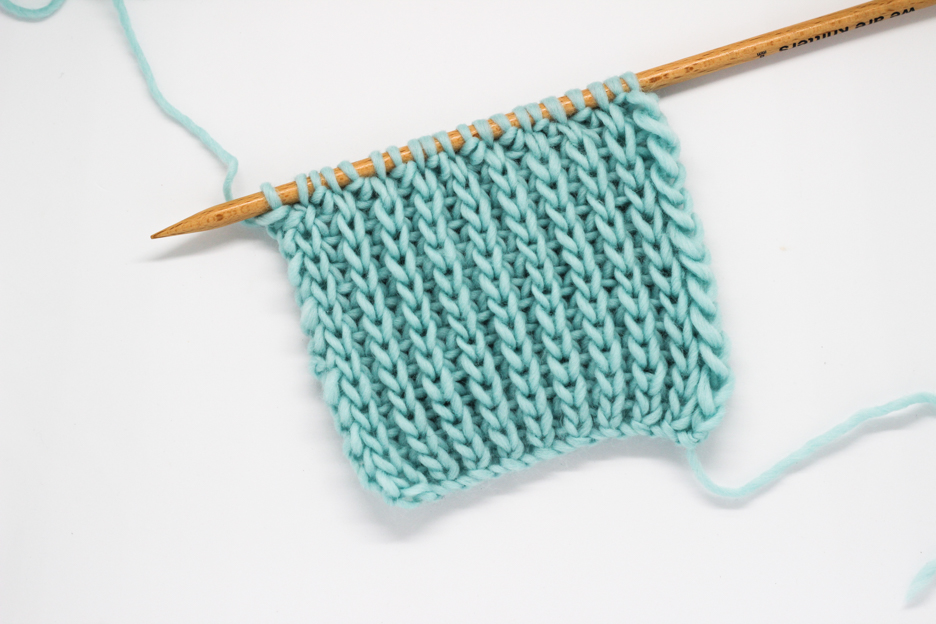
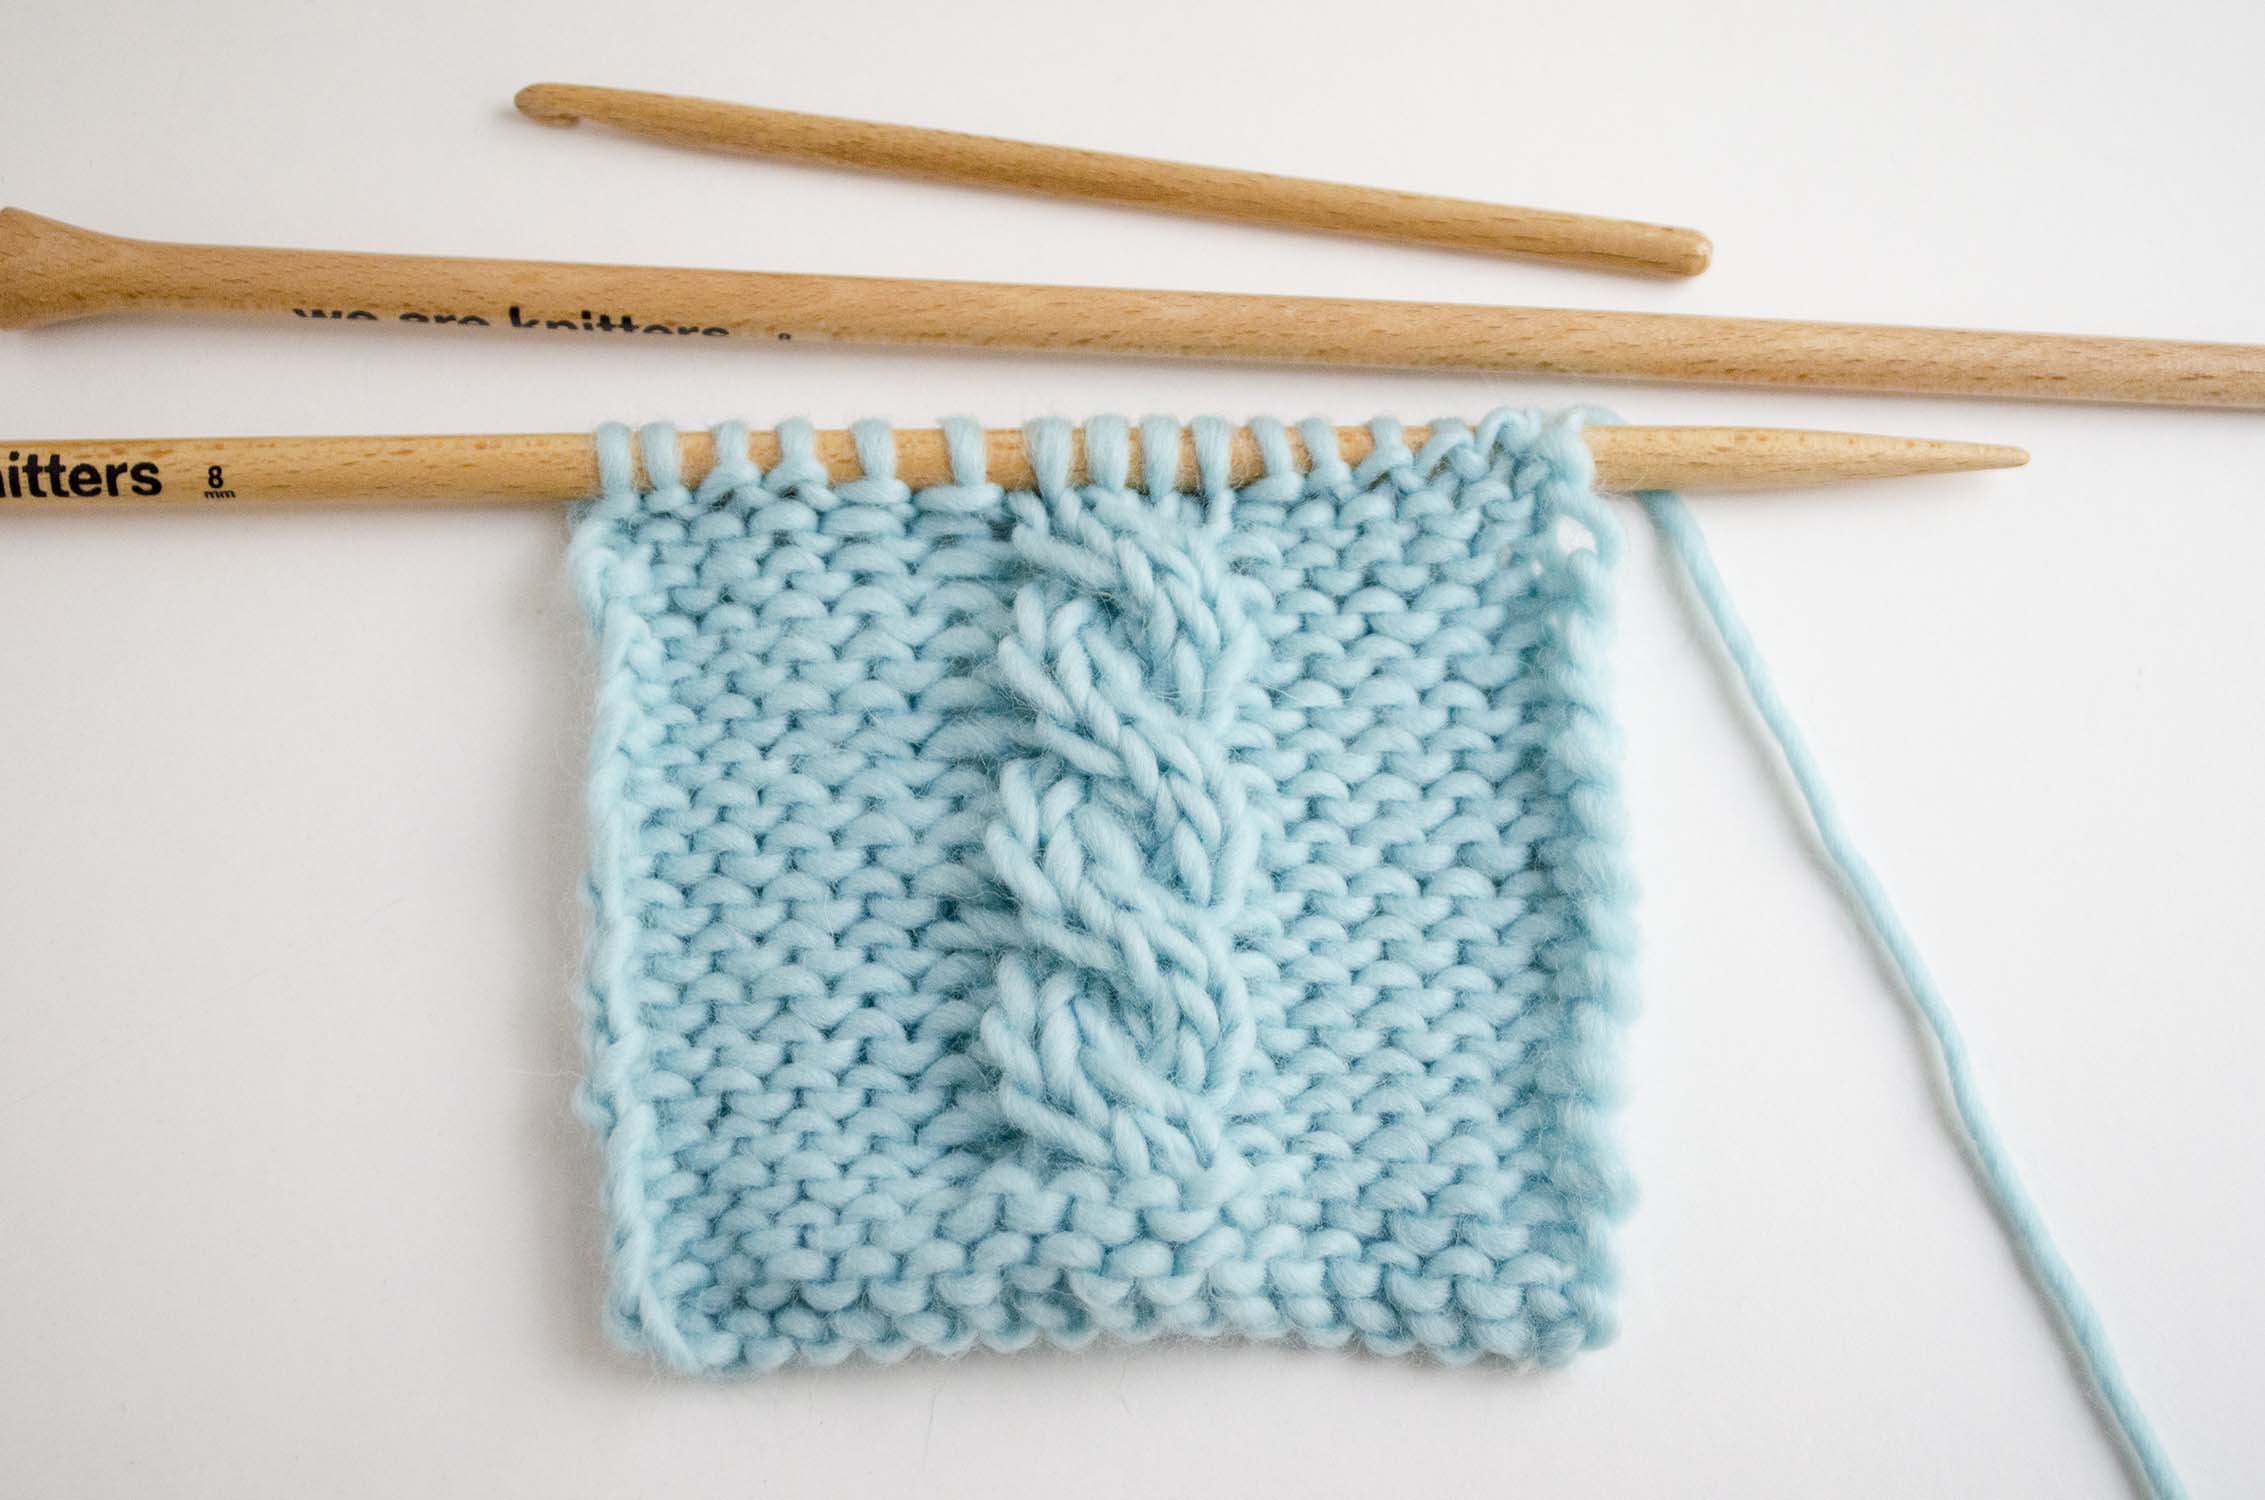
To knit cables you will need a cable needle or a crochet hook a little smaller in diameter than the needles you are using to leave the stitches on hold. For our example we used Petite Wool in aquamarine, a US size 8 beechwood crochet hook, and US size 11 knitting needles.
The cable we made in the video is a 4 stitch cable. This means that the total number of stitches required to make it, counting the ones we leave on hold and the ones we knit after them is 4 total ( so, we cross 2 stitches over another 2 stitches). We knit our cable over a base of reverse stockinette stitch, but you can use whatever stitch you prefer.
Row 1: purl until you reach the spot where you want to place the cable. Knit the next 4 stitches. Purl until the end of the row.
Row 2: knit until you reach the 4 stitches where the cable will be. Purl 4. Knit until the end of the row.
Row 3: purl until you reach the 4 stitches where the cable will be. Slip the next 2 stitches onto the crochet hook or cable needle, and place them in front of your work. Knit 2. Return the 2 stitches that you had on hold in front of your work and knit them. Purl until the end of the row
Row 4: knit until you reach the 4 stitches where the cable will be. Purl 4. Knit until the end of the row.
Repeat these 4 rows until you reach the desired length.
As you can see, in this 4 row repeat cable it twists to the left. You can vary the direction just by leaving the stitches on hold in back of your work instead of in front. You’ll see that many cables that appear in patterns use a combination of both forms to create different cables. You just have to experiment to which effect is the one you like best!
And if you need it, you can consult our video tutorials of knitting techniques for various skill levels on our blog, and also see different types of stitches to make your projects, we have everything you need.