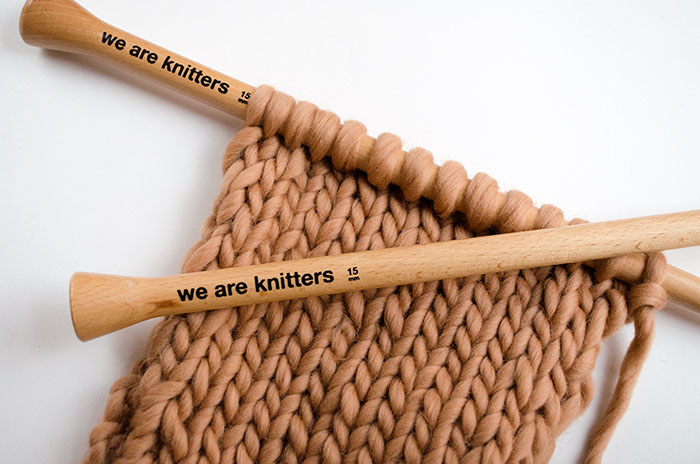
You’ve probably asked yourself more than once how to achieve a denser and tighter stitch in crochet. The benefit of a tighter stitch is that it results a final project that is warmer or more resistant, making it a better choice for items such as coats or bags… today we’re going to learn how to do so using waistcoat stitch!
It really isn’t a new or difficult stitch to do, but instead an alternative way to work single crochet to make a fabric that is thicker and warmer.

This stitch is worked in circular rounds, so it’s perfect for projects that need to be worked in a circle. Besides, you can crochet it in one color (so you don’t have to change colors at the end of each row) or combine a different color for each row to liven up your project.
Make a foundation chain of as many stitches as you need and work the same as for single crochet, but insert the hook into the center of the “v” formed in the stitch in the previous row, as shown in the video.
Bring the yarn over the hook and pull it back through the stitch, then finish the stitch in the usual manner, by yarning over again and pulling the hook through the two loops of yarn on the hook.
Now you just have to repeat these steps in each stitch! It’s a little complicated at first, but after a few rounds we’re sure you’ll get the hang of it 😉
This stitch can also be worked flat, but you’ll have to cut the yarn at the end of each row and then join it again at the beginning, so we recommend using this stitch for flat projects that have many stitches per row, so you don’t get impatient cutting and joining.
As you can see, this stitch doesn’t require learning a new or different technique, but you can use it for all of your projects to achieve a different result.

Of course,, don’t forget to show us your results and how you used this stitch on social networks, using the tag #weareknitters.