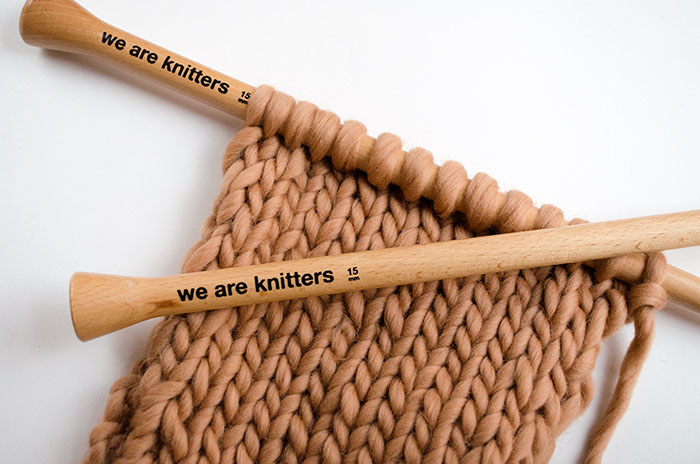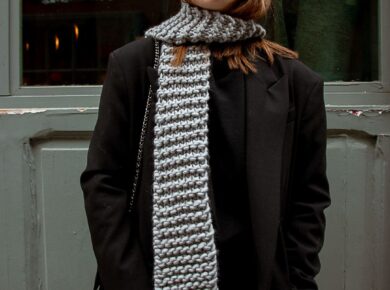
Do you want to have a clean and smooth edge in your projects, easy to pick up stitches from, when you work with more than one color? We got you! It’s ideal for those projects where you work with two or more colors at the same time to knit stripes, the result is a pretty and clean looking edge.

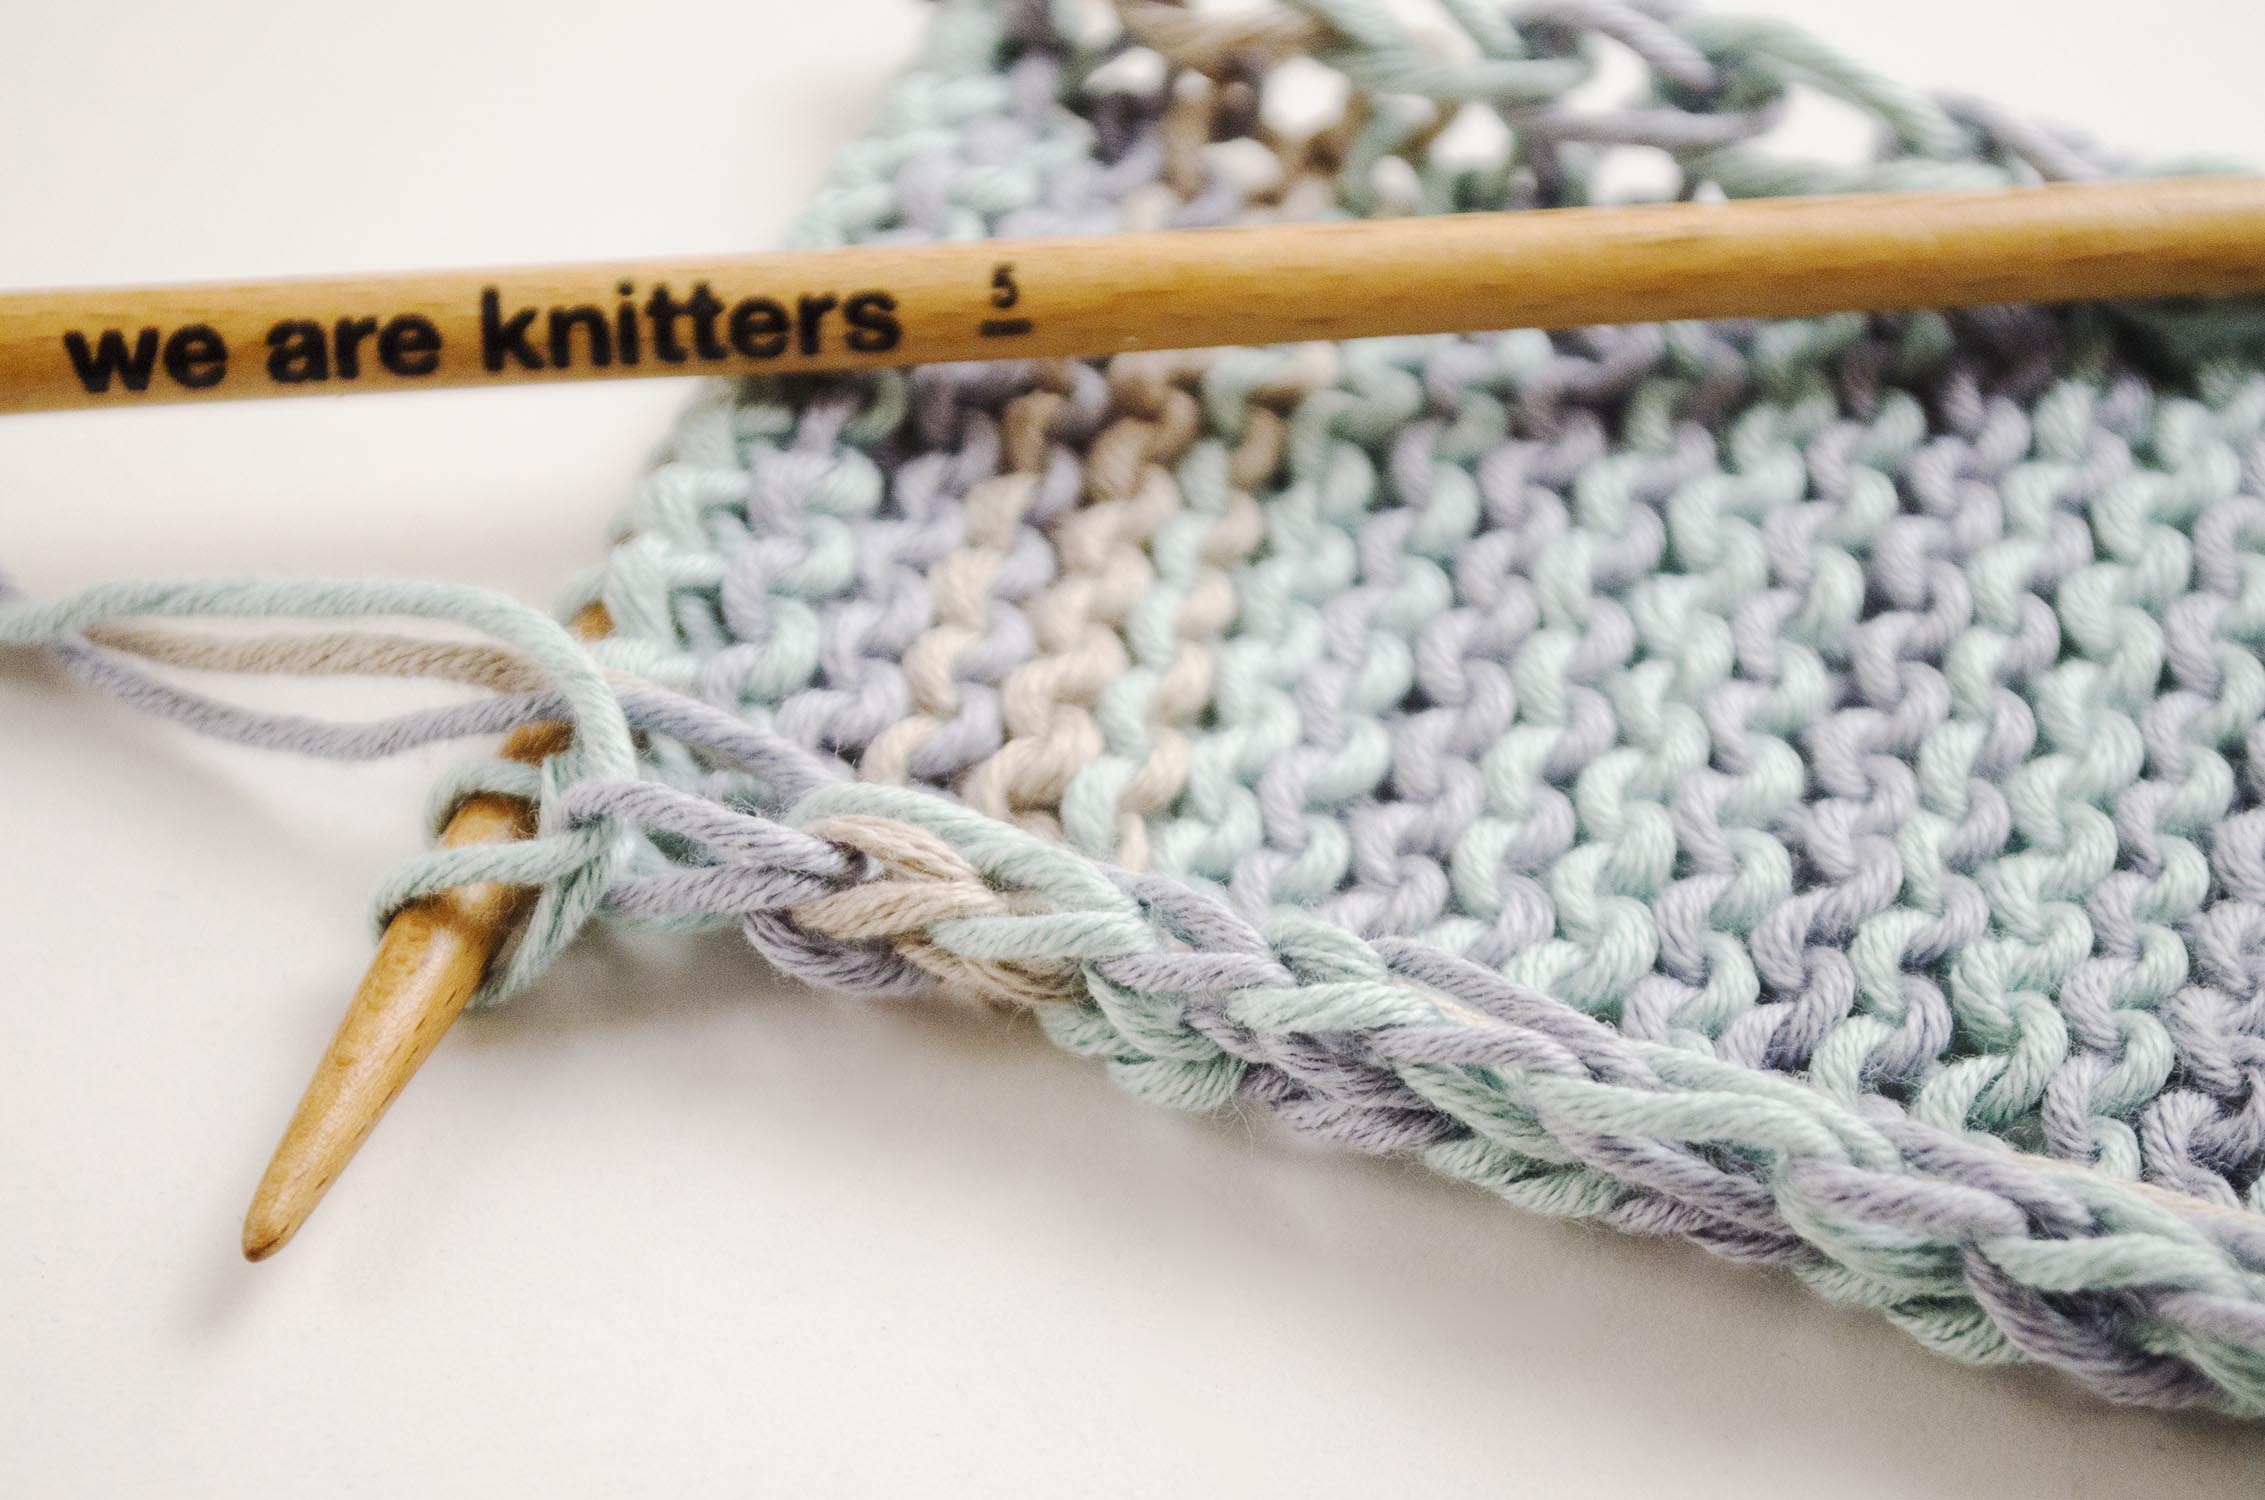
The trick for the edges to look good and with the chain shape you can see on the picture, is to pass the strand of the inactive color always behind the working color strand. Place the strands just as you see on the above picture.
Now, you need to slip the first stitch of the row as if you were going to purl it with the strand behind the project. Work the remaining stitches of the row as indicated on the patter until there is one stitch left, which must be purled. Remember! You need to do the same every row in order to get this kind of edge.

You will notice the first stitch of every row will be a different color, but it’s ok because it won’t show in the final result.

And that’s how the chain edge looks when following the former instructions. As you can see, it’s a pretty edge and one you can easily pick stitches from to work a different edge or to join it to another piece.

If on the contrary we work with three colors or more, we need to follow the same process: always leaving the inactive color behind the working color strand, and taking care not to tighten the first stitch in the row so the edge is not gathered on a side. So watch your tension when changing colors!

This way we would get the chain edge when working with three different colors.
No more irregular and ugly edges when working stripes! Show us how this technique works on social networks using the hashtag #weareknitters, we love to see how you adapt our advice!